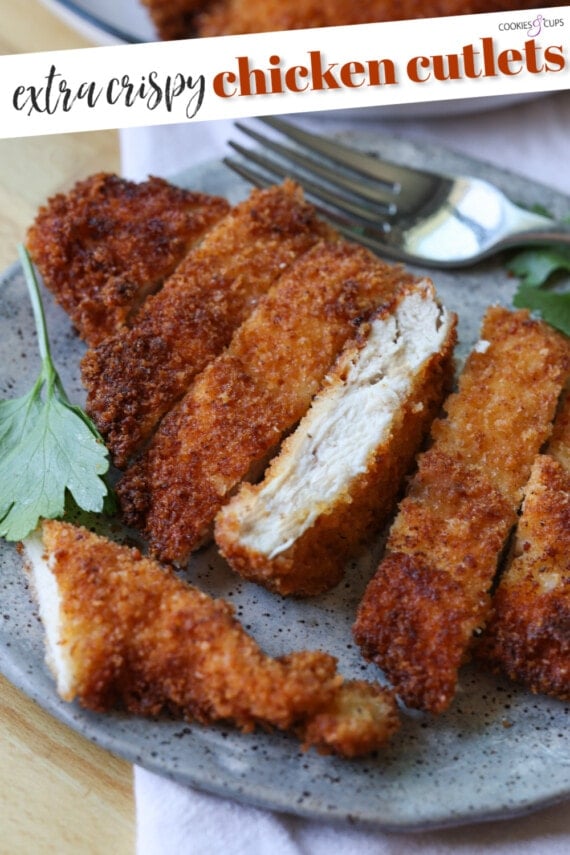
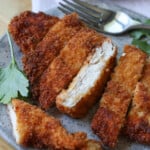
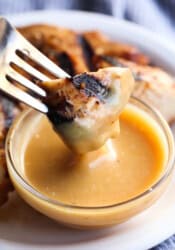
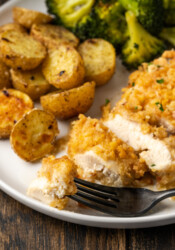
These Extra Crispy Chicken Cutlets are so easy to make with a crispy and flavor packed coating on the outside with juicy, tender chicken on the inside! Enjoy them on their own, on a sandwich, or sliced on a salad, or pasta!

The Best Crispy Chicken Cutlets
Chicken Cutlets are a forever recipe in our house. I never really thought to share how I make mine until recently when I posted a video on TikTok and everyone seemed to love it! SO I thought why not share that recipe here too! You could make this cutlet recipe as strips if you want to serve chicken tenders to your family, or even as nuggets too (although I HIGHLY recommend you check out my Homemade Chicken Nuggets which taste like Chick Fil A)!
What are Chicken Cutlets?
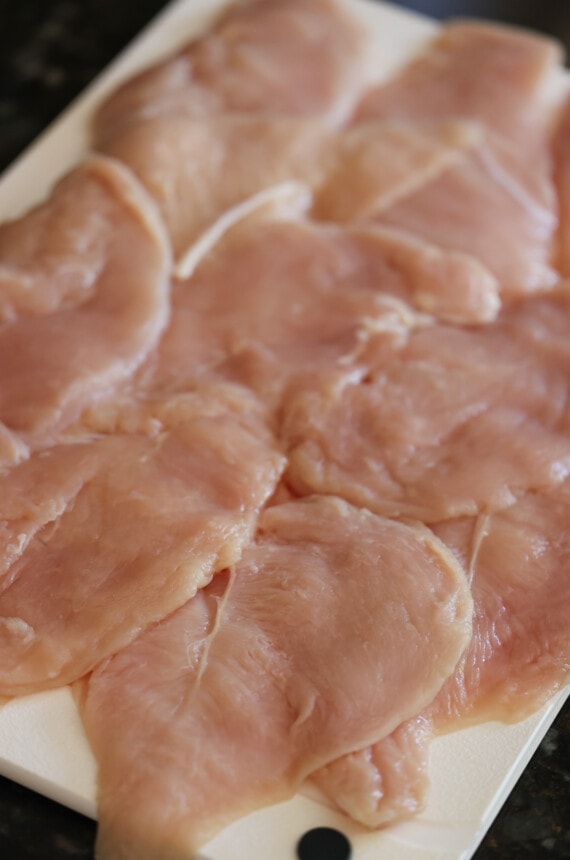
Chicken cutlets are very simply just thin sliced boneless chicken breasts. Generally a thicker breast will be cut horizontally in half and then pounded even thinner if necessary.

Why This Recipe Works
This is a classic chicken cutlet recipe that we have been making for years. I often will swap out the kind of breadcrumbs I use for different effect, but panko is the crispiest and we love that! Here’s why this chicken cutlet recipe is no-fail:
- Using thin chicken cutlets gives you uniform chicken that will fry evenly!
- The crispy coating is due to the 3 step breading process, as well as using Panko bread crumbs!
- Patting the chicken dry ensures you are removing extra moisture from the chicken giving you the crispiest coating possible. Note: Not all chicken is equal, and some DOES hold more water than other chicken. There are loads of factors at play here, but patting your chicken dry is an easy way to do your best at preventing a soggy coating.
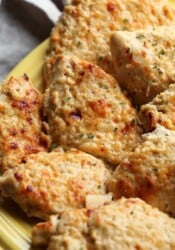
- Layers of flavor. You will notice that I season every layer of the coating: the flour is has seasoned salt, the egg mixture has hot sauce, and the panko has garlic powder, salt, pepper, and cheese.
Ingredients:
- Thin Sliced Chicken Breasts. You can buy them already sliced thin or you can slice thicker breasts in your own kitchen. You can also pound the chicken out between 2 pieces of parchment paper to ensure that they are all the same thickness.
- All Purpose Flour
- Seasoned salt
- Eggs
- Water
- Hot sauce. This is optional. but it’s a nice way to add a little more flavor in. You aren’t adding a lot, just enough to give it a little something. You can use any brand you like, I used Frank’s.
- Panko breadcrumbs. You could make your own breadcrumbs as well using a leftover baguette. Or you can use traditional style breadcrumbs, or Italian breadcrumbs as well, I just love the added crunch that Panko gives!
- Garlic powder
- Kosher salt
- Black pepper
- Parmesan Cheese. You can omit the cheese here if you prefer, but note it adds some really great flavor without making the chicken “cheesy”. You could also sub out the Parm for any other firm grated cheese like Pecorino Romano.
- Oil to fry. Any light oil will work.
The Classic 3-Step Breading Technique
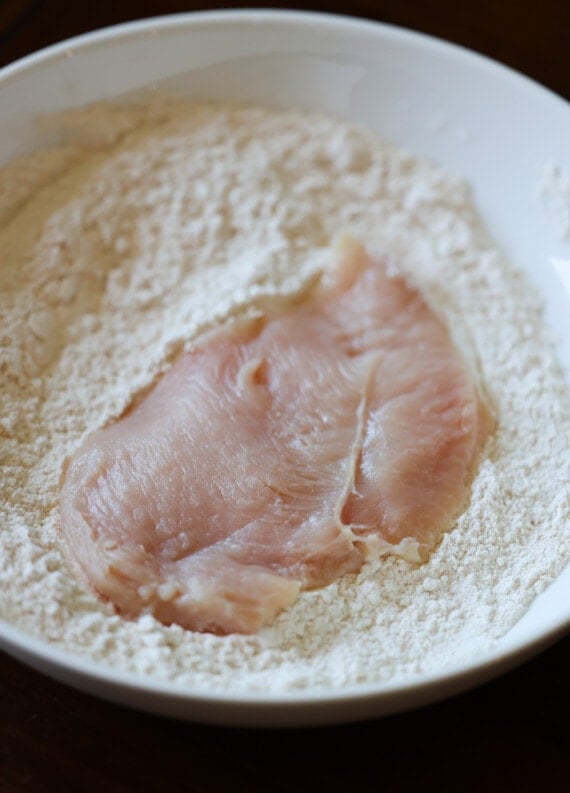
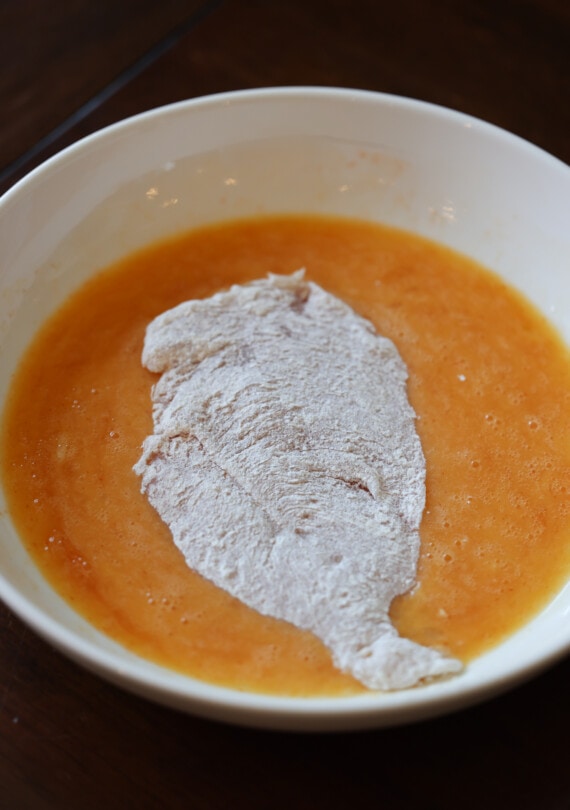
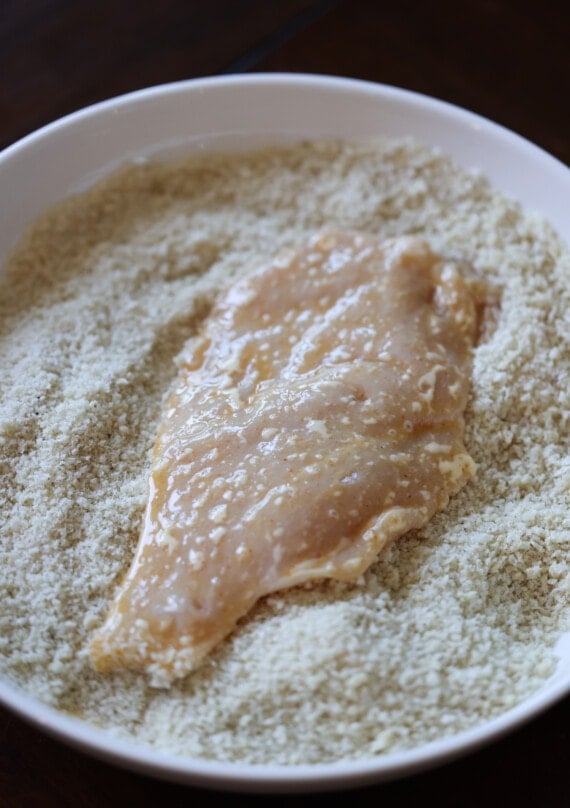
I use a 3 Step Breading technique that is tried and true. This method involves dredging the chicken in flour, dipping in egg, and then coating in breadcrumbs. You can use this process to fry just about anything and make it crispy!
Instructions:
Here’s how to make these chicken cutlets, The full printable recipe is down at the bottom of the post!
- Trim chicken breasts of excess fat, if necessary and pat dry. Set aside.
- Prep Your Work Station: In a shallow bowl whisk together flour and seasoned salt. In another shallow bowl whisk together the eggs, water, and hot sauce. In a third shallow bowl mix together the breadcrumbs, garlic powder, salt, and black pepper.
- Coat the Chicken: Dip each chicken breast into the flour mixture, then the egg mixture (allowing excess egg to drip off), and then into the panko mixture. Place on a plate or platter as you repeat the process with all the chicken.
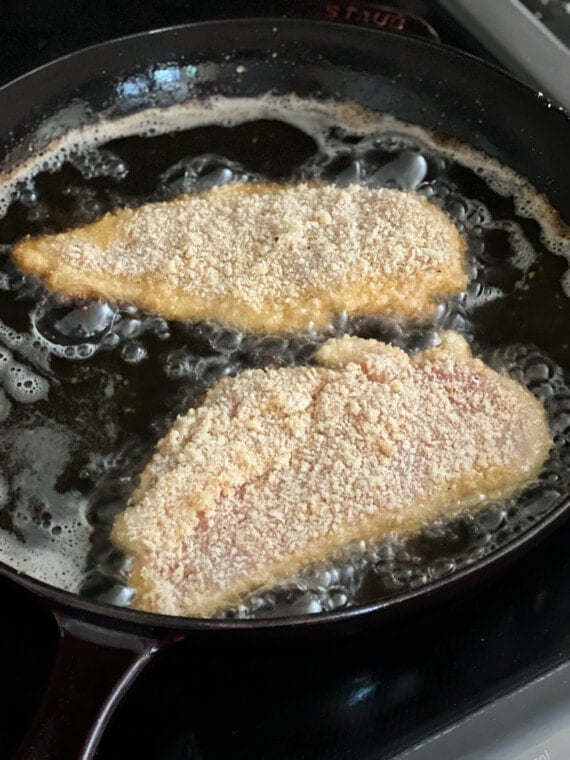
- Fry: In a 10- inch skillet heat the oil over medium heat until it reaches 350°F. To test the oil you can dip the back of a wooden spoon into the oil and if bubbles form immediately, the oil is ready.
- Place each chicken cutlet in the hot oil for 2 – 3 minutes on each side. If you notice the oil getting too hot and the chicken browning too quickly, simply turn the heat down to medium-low. Don’t overcrowd the pan. I fry 2 cutlets at a time.
- Transfer the cooked chicken to a paper towel lined plate to absorb any excess oil. Repeat with all the chicken cutlets.
- Serve warm.

Tips and Tricks for Making Breaded Chicken Cutlets:
- I’ve written you a pretty simple recipe. It can be switched up, altered, and built upon to suit your own tastes. You could brine your chicken cutlets before frying. This will make your chicken extra juicy! You can also play around with seasonings!
- Like I said before make sure to pat your chicken dry. This not only removes excess moisture from the chicken giving you a crispy coat, but it also allows the breading to stick to the chicken much better! You don’t wan tall the perfect crispy coating sliding off!
- Make sure your oil is hot enough! If you put your chicken in a skillet with oil that isn’t completely up to temperature your coating will absorb all that oil and you will end up with soggy, oily chicken.
- Let your chicken drain on a paper towel lined plate when you remove it from the oil, but don’t leave it there. Let it sit for a minute or two and then transfer to a platter or place on a wire rack. If you let the chicken sit on the paper towel the heat gets trapped, producing a soggy bottom.
What to Serve With Chicken Cutlets:
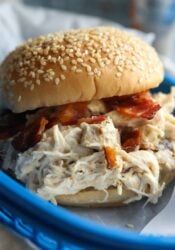
Chicken cutlets are totally versatile. You can eat them on their own, on a sandwich with some mayo, on pasta, or sliced on a salad to name a few ways! Here are a few recipes that would be great with these crispy chicken cutlets:
- Buffalo Chicken Grilled Cheese
- Chicken Parm Sliders
- Skillet Chicken Parmesan
- Southwestern Cobb Salad

Storage/Reheating:
Store these in an airtight container in your refrigerator for up to 3 days or freezer for up to 30 days. We actually eat them cold straight from the fridge too, but you can reheat them easily. To reheat:
- Air Fry: 400°F for 4 minutes
- Oven: 400° for 5 – 6 minutes, flipping the chicken over once halfway through.
Crispy Chicken Cutlets
- Prep Time: 10 minutes
- Cook Time: 20 minutes
- Total Time: 30 minutes
- Yield: serves 4 – 6 1x
- Category: Chicken
- Method: Stove Top
- Cuisine: Dinner
Description
These extra crispy chicken cutlets are so easy and perfect for all occasions!
Ingredients
- 2 pounds thin sliced chicken breasts
- 1 cup all purpose flour
- 1 tablespoon seasoned salt
- 2 eggs
- 1 tablespoon water
- 1 teaspoon hot sauce
- 2 cups panko breadcrumbs
- 1 teaspoon garlic powder
- 1 teaspoon kosher salt
- 1/2 teaspoon black pepper
- 1/4 cup Parmesan cheese
- 1 cup light oil, like light olive oil, canola oil, or vegetable oil
Instructions
- Trim chicken breasts of excess fat, if necessary and pat dry. Set aside.
- Prep Your Work Station: In a shallow bowl whisk together flour and seasoned salt. In another shallow bowl whisk together the eggs, water, and hot sauce. In a third shallow bowl mix together the breadcrumbs, garlic powder, salt, black pepper, and Parmesan cheese.
- Coat the Chicken: Dip each chicken breast into the flour mixture, then the egg mixture (allowing excess egg to drip off), and then into the panko mixture. Place on a plate or platter as you repeat the process with all the chicken.
- Fry: In a 10- inch skillet heat the oil over medium heat until it reaches 350°F. To test the oil you can dip the back of a wooden spoon into the oil and if bubbles form immediately, the oil is ready.
- Place each chicken cutlet in the hot oil for 2 – 3 minutes on each side. If you notice the oil getting too hot and the chicken browning too quickly, simply turn the heat down to medium-low. Don’t overcrowd the pan. I fry 2 cutlets at a time.
- Transfer the cooked chicken to a paper towel lined plate to absorb any excess oil. Repeat with all the chicken cutlets.
- Serve warm.
Notes
Store airtight in the refrigerator for up to 3 days.
To reheat: Air Fryer: 4 minutes at 400°F. Oven 6 minutes at 400°F.
Want To Save This Recipe?
Find more recipes like this:
PIN for later:


This is the best cutlet recipe! The breading stays on even after reheating!
Excellent recipe! Will make it many times
Oh Snap! Best and crispiest cutlets ever! I never get cutlets to come out crispy without loosing the breading before serving, but not with this recipe! It’s just 2 of us so I cooked 2 cutlets and used half of the recipe and they came out perfect and perfectly seasoned! When I took them out of the skillet I “tapped” them on a paper towel then laid them on the rack in a warm toaster over (with nothing under them). I’ll be printing this recipe for A LOT of future use. Thank you and blessings
Love hearing this and thanks for the review!!
These cutlets came out perfect! I am always looking for the perfect recipe and now I found it. They had flavor and were juicy.
Love hearing that! We love them so much!
Can this be used for the air fryer to avoid the calories of the oil?
sure!