This Easy Chocolate Mousse recipe is so creamy and deliciously rich. You can eat it all by itself, or layer it in a trifle or a cake… whatever you do, just don’t skip this no bake mousse!
The pictures and tips and tricks within the post for this recipe were updated in 2021. The recipe remains the same!
Homemade Chocolate Mousse
If you’re a chocolate dessert lover, this Chocolate Mousse recipe is absolutely going to make your day. Or your week. Possibly your year? I guess that last part depends on if you’re super obsessed with chocolate like I am… have I ever mentioned that I’m addicted to this Chocolate Pudding too?
At any rate, this easy mousse recipe came to be because I have been trying to develop it for years. Up until this point, the mousse-making-process has always ended in spoon throwing and tears, but no more! Today I’m sharing all the steps on how to get a perfectly creamy, thick-but-not-too-thick mousse that you will LOVE!
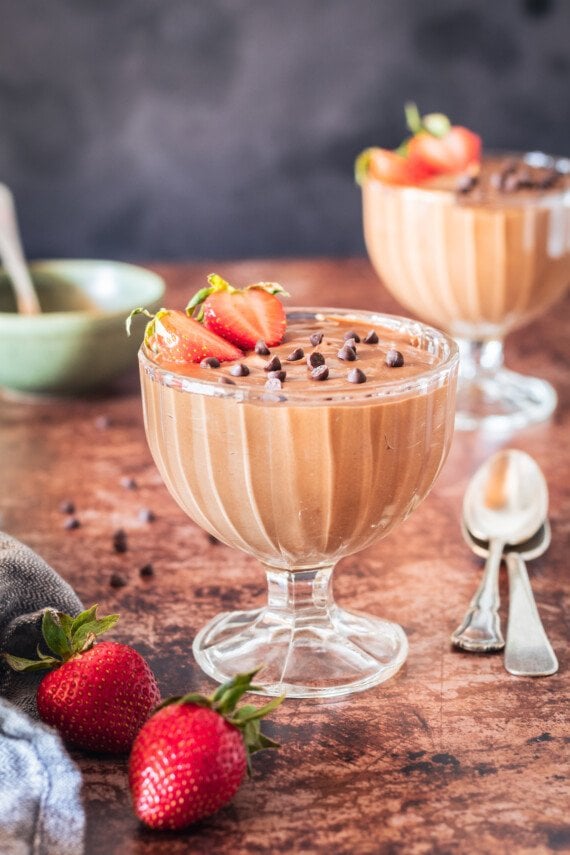
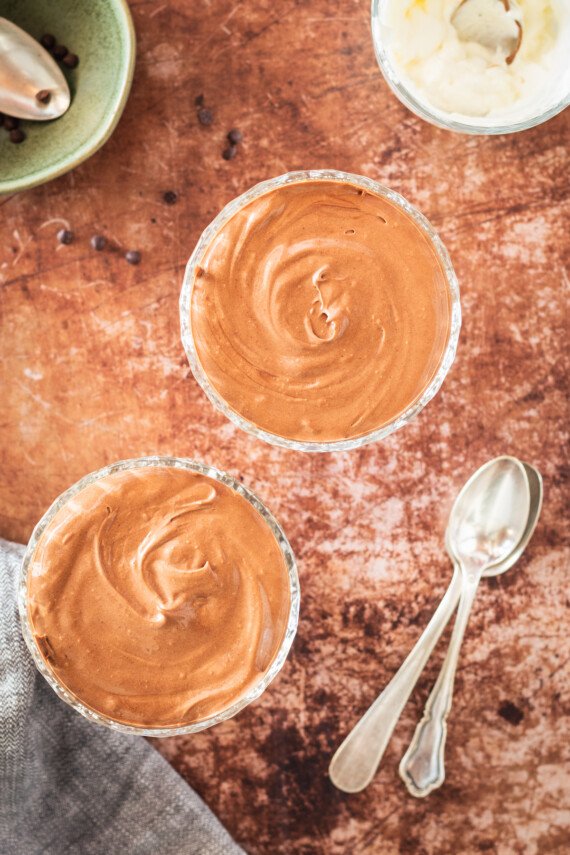
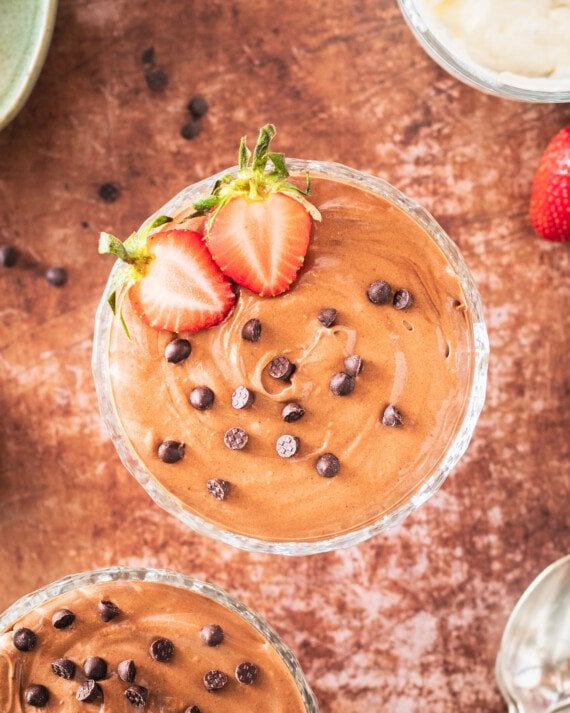
This homemade chocolate mousse is sweet, full of rich chocolate flavor, and a decadent but simple dessert that you can prepare for guests, if you want. Decorate it with fruit, sprinkles, and whatever other sweet treats you like!
What is Mousse?
Mousse is a French dessert that is kind of like pudding, but there are some key differences between the two. For one thing, mousse is airier and fluffier than pudding is. When the eggs in the mousse mixture are whipped together, air is incorporated, which makes the texture lighter.
Keep in mind, mousse should be served chilled for the best tasting experience!
Recipe Ingredients
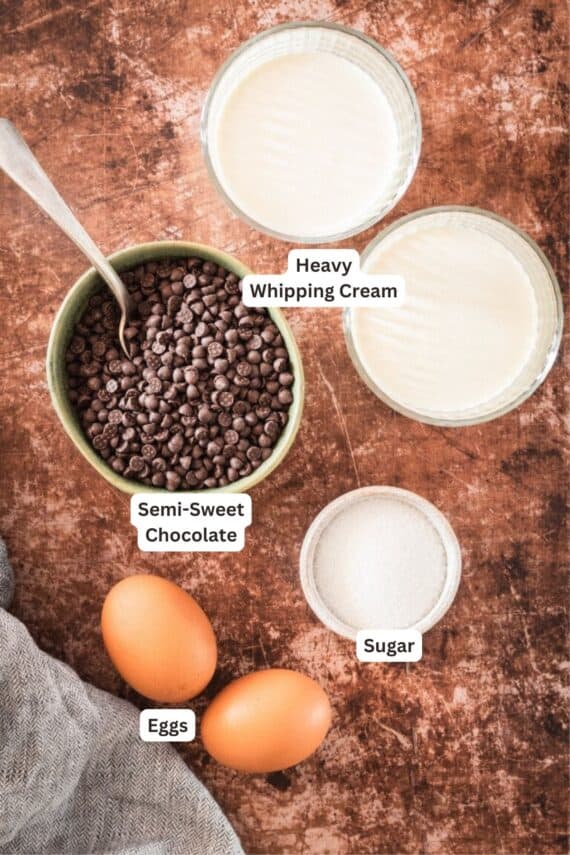
I forgot to mention one of the best parts about making chocolate mousse… you only need 4 ingredients! Let’s get right into this very short list of essential ingredients:
- Eggs: If you’re concerned about using raw eggs, consider using pasteurized eggs instead.
- Sugar: Regular old granulated sugar works best for this recipe!
- Cream: Heavy whipping cream, specifically, is what you’ll need. Make sure it’s nice and cold before you start!
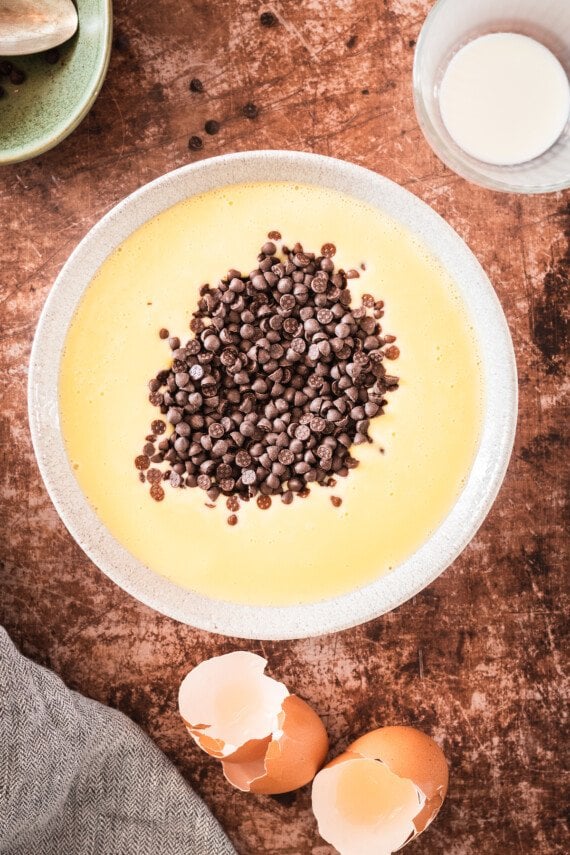
- Chocolate: I always use semi-sweet chocolate chips to make this mousse, but you can play around with different kinds of chocolate (like milk chocolate chips) if you want to.
How to Make Chocolate Mousse
This recipe has a few steps to it, but trust me when I tell you that none of them are that hard. Plus, they’ll only take you about 20 minutes to complete, so the hardest part of making this chocolate mousse is waiting for it to chill!
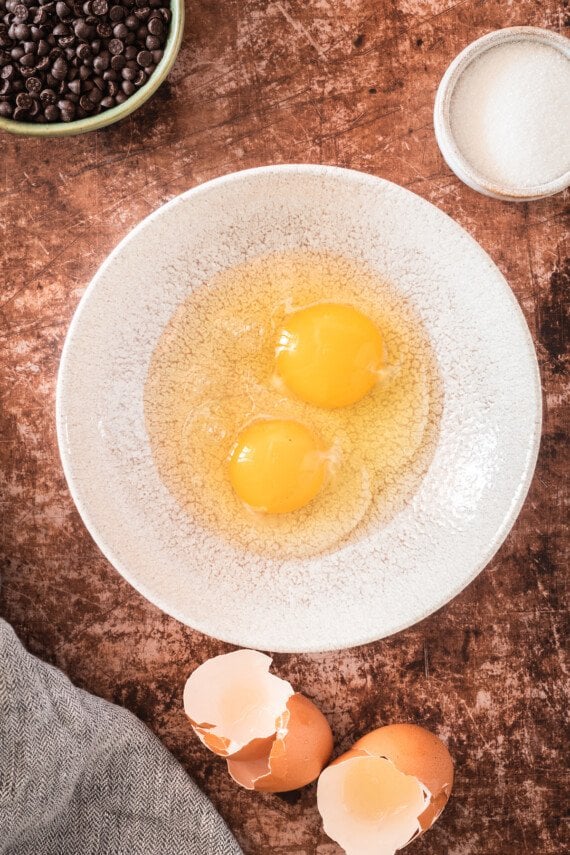
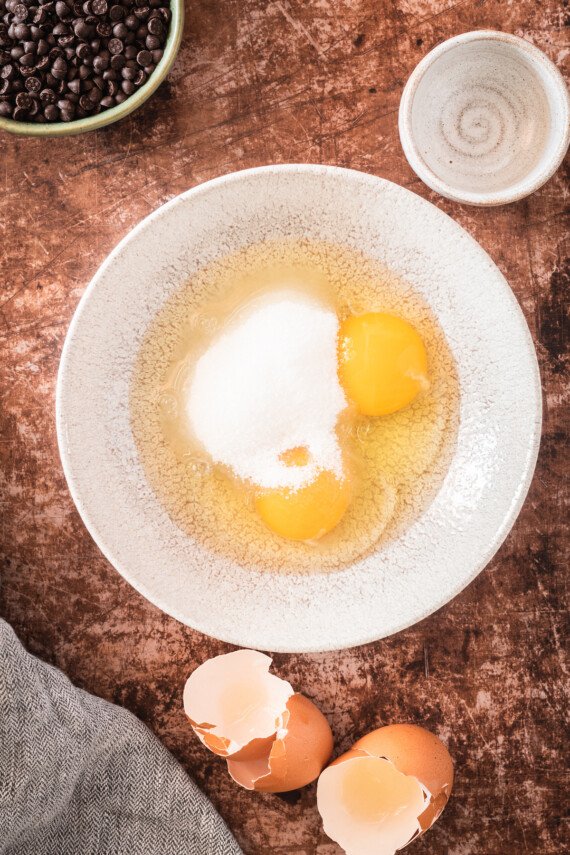
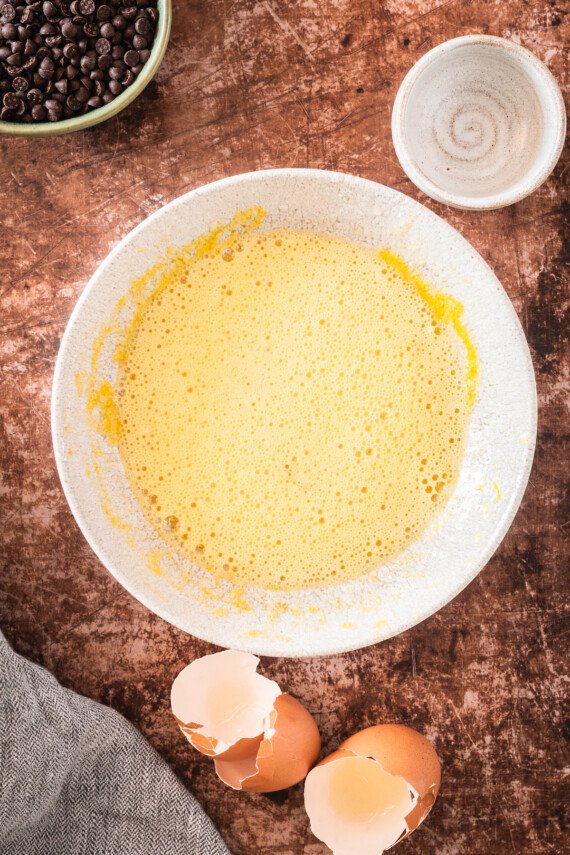
Beat the Eggs & Sugar: Do this with your mixer for about 3 minutes.
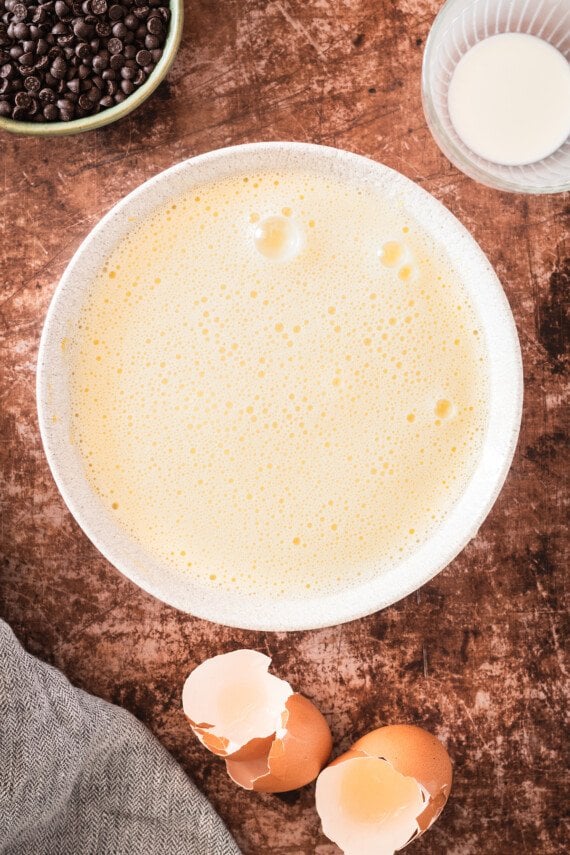
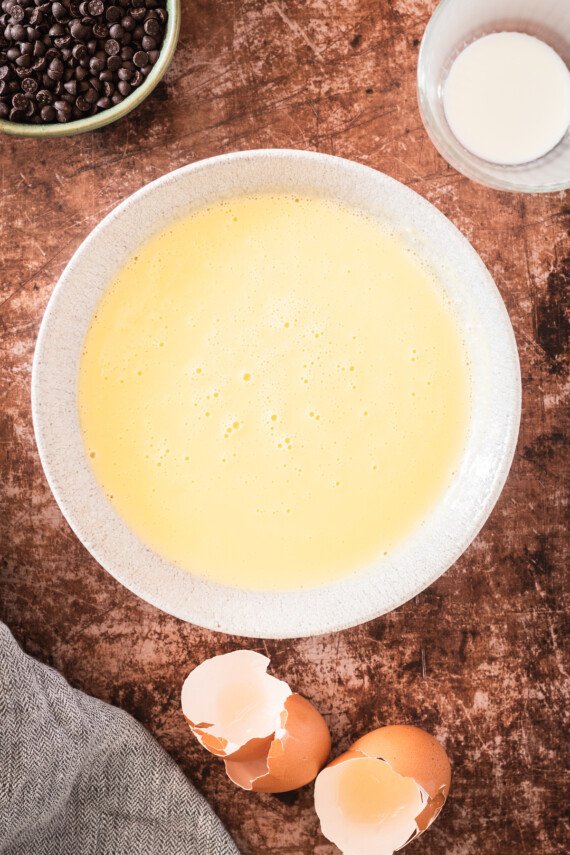
Heat the Whipping Cream: Heat 1 cup of heavy whipping cream in a small saucepan until just hot, not boiling. With the mixer on low, pour the hot cream into the egg mixture slowly until combined.
Heat the Whole Mixture: Next, add the egg/cream mixture back into the saucepan and over low heat, stir for five minutes constantly until thickened. Do not boil.
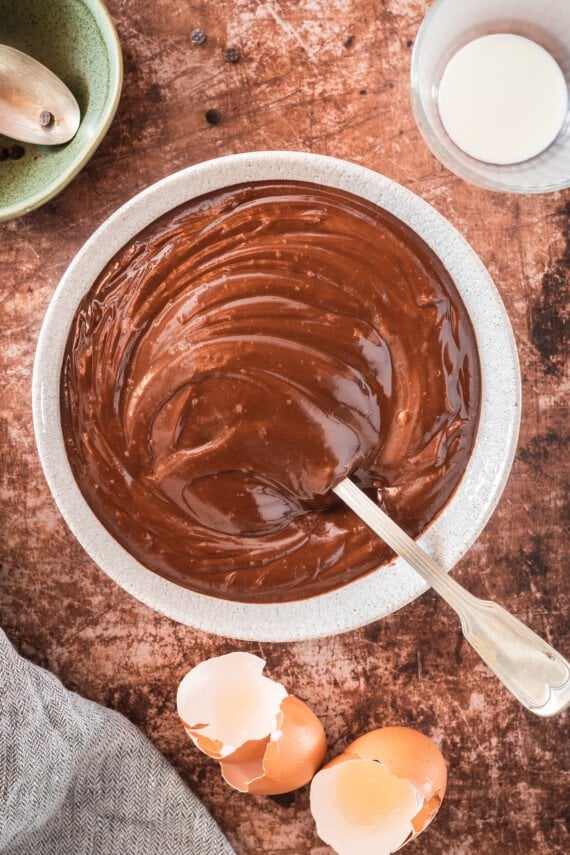
Add Chocolate & Chill: Remove from heat and stir in chocolate until melted. Cover and refrigerate for 2 hours, until chilled, stirring occasionally.
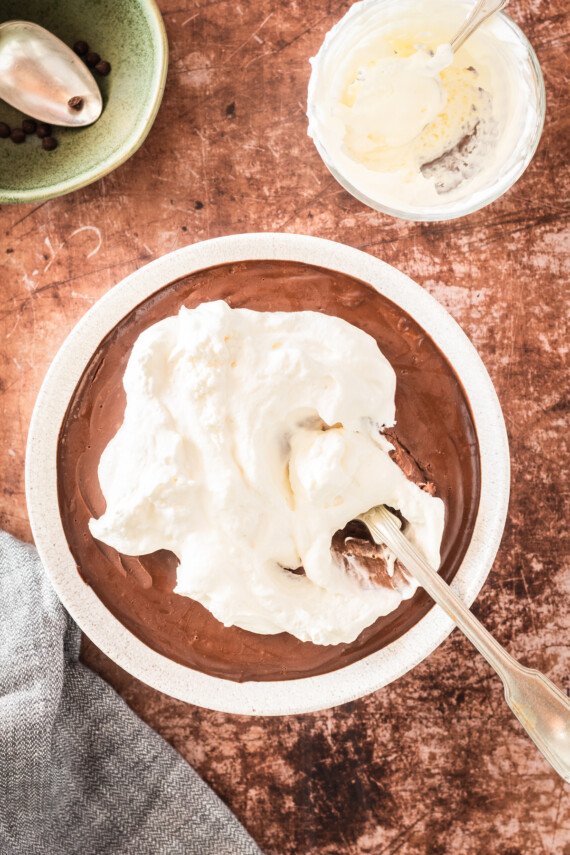
Whisk the Remaining Whipping Cream: When the mixture is completely chilled and firm use your whisk attachment on your stand mixer to whip the remaining heavy cream until stiff peaks form.
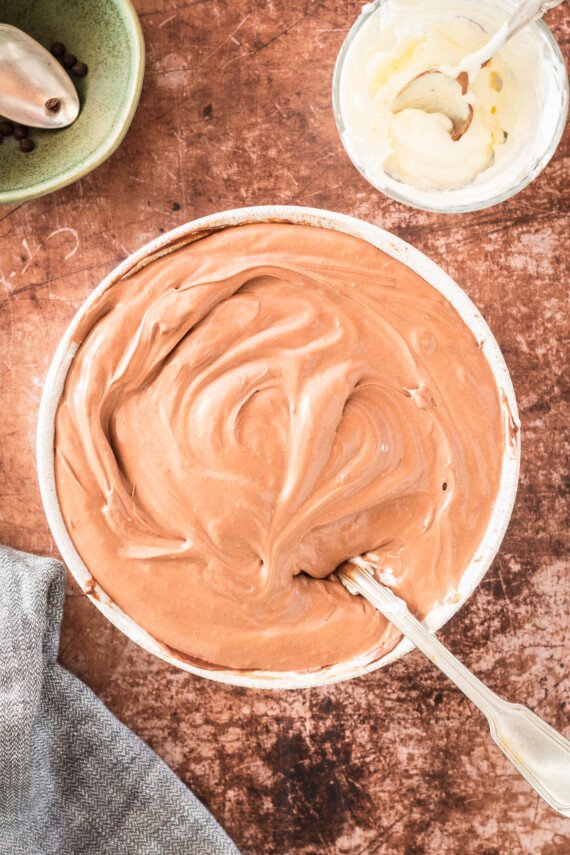
Put Everything Together: Remove the chocolate mixture from fridge and, using the paddle attachment or a spoon, fold/stir the whipped cream into the chocolate until incorporated and smooth. Serve immediately as-is, or refrigerate until ready to use.
Tips for Success
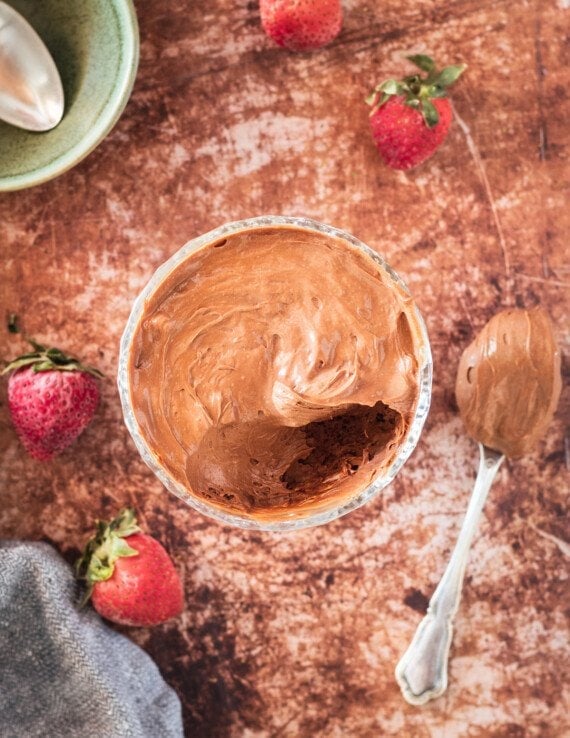
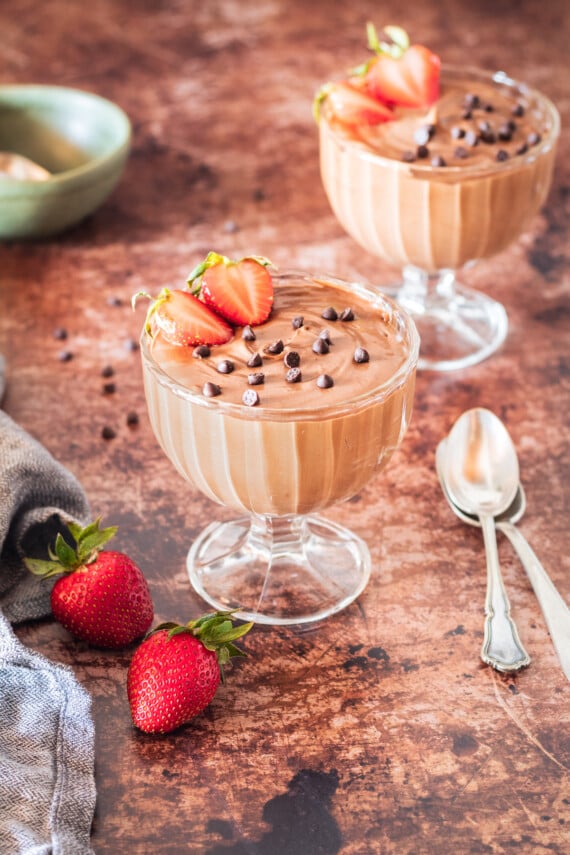
Looks delicious, right? And, like I said at the beginning, this is a great recipe to use for a number of other desserts if you don’t want to eat the mousse by itself. For example, chocolate mousse is stable enough to layer between cakes. (Personally, I’ll never turn down a nice cold bowl of mousse, but no judgement.)
Here are a couple of tips on how to get the best results with your chocolate mousse, for however you decide to use it:
- What Setting Should I Whip the Mousse on if I Use a Stand Mixer? I found using the paddle attachment on a low speed worked best. That way none of the dessert is lost to the walls or the counter!
- Use Real Chocolate: Chocolate substitutions just don’t taste as rich and delicious in this mousse – stick to semi-sweet chocolate chips or grated bars of baking chocolate for the best results.
- Beating the Whipping Cream and Eggs: This occurs during the second step. You’ll want to fold the two mixtures together for the fluffiest results – beating longer results in a dense, thick mouse, and beating a little less results in a more creamy texture.
How to Store Mousse
Store this chocolate mousse in the refrigerator in a tightly-sealed container, or cover it with a couple layers of plastic wrap. Make sure to eat it within 2-3 days. I know, I know – what a difficult time constraint to deal with!
Enjoy!

Easy Chocolate Mousse
- Prep Time: 15 minutes
- Chill Time: 2 hours
- Total Time: 2 hours 15 minutes
- Yield: serves 8
- Category: Dessert
- Method: No Bake
- Cuisine: French
Description
This Easy Chocolate Mousse recipe is so creamy and deliciously rich. You can eat it all by itself, or layer it in a trifle or a cake… whatever you do, just don’t skip this no bake mousse!
Ingredients
- 2 eggs
- 1/4 cups granulated sugar
- 2 1/2 cups cold heavy whipping cream, divided
- 6 oz semi-sweet chocolate (about 1 cup semi-sweet chips)
Instructions
- Beat eggs and granulated sugar with your mixer for about 3 minutes.
- Meanwhile heat 1 cup heavy whipping cream in a small saucepan until just hot, not boiling. With mixer on low pour the hot cream into the egg mixture slowly until combined.
- Next, add the egg/cream mixture back into the saucepan and over low heat, stir for five minutes constantly until thickened. Do not boil.
- Remove from heat and stir in chocolate until melted. Cover and refrigerate for 2 hours, until chilled, stirring occasionally.
- When the mixture is completely chilled and firm use your whisk attachment on your stand mixer to whip the remaining heavy cream until stiff peaks form. Remove chocolate from fridge and using the paddle attachment or a spoon fold/stir the whipped cream into the chocolate until incorporated and smooth. I found using the paddle attachment on low speed worked best.
- Serve immediately as-is, or refrigerate until ready to use.
Notes
This mousse is perfect when served alone, or as a cake filling, a cupcake topping, or a layered dessert filling.
Nutrition
- Serving Size: 1/2 cup
- Calories: 401
- Sugar: 20.6 g
- Sodium: 37.9 mg
- Fat: 34.1 g
- Carbohydrates: 22 g
- Protein: 5.2 g
- Cholesterol: 130.5 mg
Want To Save This Recipe?
Find more recipes like this:
More Chocolate Desserts to Try
Looking for more easy chocolate dessert ideas? You’re in the right place:
- Chocolate Poke Cake
- Chocolate Covered Cherries
- Chocolate Chocolate Chip Cookies
- Chocolate Sugar Cookies
- Chocolate Pound Cake


Is there such a thing as a baked mousse in the 1st place?
Could you give me some assistance for a chocolate mousse frosting recipe that was posted as an infographic on the she knows website? The ingredient list differs from the instructions and credit was given to your website. Here is the link for your review:
http://www.sheknows.com/food-and-recipes/articles/1097979/chocolate-frosting-recipes?utm_source=MINI&utm_medium=SI&utm_campaign=10142
I just took a look at the infographic they provided and am not sure why they would include my site as the recipe source, as their recipe differs completely from this one. That recipe seems more like a mousse-frosting and mine is a traditional mousse. Sorry I couldn’t help more!
can
t thank you enough for this great recipe ... super easy .. its a keeper 🙂Hi Shelly, just wanted to share the rave reviews this mousse received from my potluck group on the weekend! They were thrilled and there was very little left over (I doubled the batch).
I’d made the recipe for the previous month’s potluck, but procrastinated and started too late in the afternoon…not leaving enough time for the cooling process. Then there was the whipping cream disaster. It just never got to that firm peak stage.
I plowed ahead, thinking it could set while we ate the main course. Nope. Silly me. I was a little embarrassed and hardly any was eaten. However, after sitting in the fridge overnight, I had a gorgeous chocolate mousse…and tonnes of it!!!
This time around, I gave myself enough time (*just*…die hard procrastinator here) and it turned out magnificently! I did a little research on whipping cream and discovered that my mistake last month had been whipping the cream on the highest setting on my blender. I learned that blending on a low speed and tilting my hand mixer a bit allowed for more air to be incorporated into the cream, thickening it perfectly. The science geek in me was pumped – I love it when things make sense!
Now, if only I could say the same about the chocolate cups I tried to make, using balloons as molds. Bah ha ha ha! I’ll have to try *those* again next month!
Thank you so much for the inspiration and the recipe!
HAHAHA! Chocolate molds have never been my thing either 🙂
SO glad the mousse worked out well for you and love the whipped cream tips!!
Love this recipe! Easy and yummy. I layered with cake and berries for a trifle.
This undoubtedly a save page for me. The recipes sound delicious as well as very easy to make.
Mine came out great but I was worried at first because as others said – it did not thicken. Figuring I had ruined it I decided to just cook it on a higher heat for longer and added extra chocolate just to see what would happen. In the end it turned out great!
I didn’t read the directions very close. I used 2 cups of cream to begin with. It wasn’t super thick after being in the fridge for a couple hours. I decides to use it anyway with an additional 2 cups of cream that I whipped. I must have gotten lucky because it turned out great! It’s not as thick as your but I love the light chocolate flavor. I will have to make again soon and actually follow the directions!
About how big are the servings for this recipe?
a little over 1/2 cup
I was worried this wouldn’t work after reading some of the feedback. Mine was soupy too at first. After adding chocolate I cooked on medium for another 10 minutes. Chilled for 3 hrs stirring every 15 mins. Came out perfect!! Absolutely delicious!