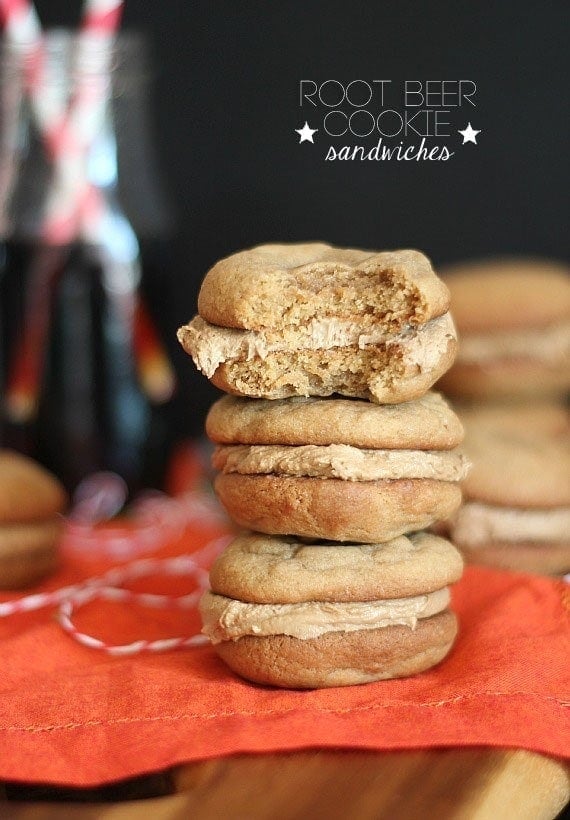
I do love cookies.
I think even more than cake or cupcakes or brownies or blondies or…
ok, maybe not more than blondies. They are my favorite…
But over the course of this blog I have decided that while one cookie is good, two cookies are better.
Especially when they are sandwiched together with a butter based filling.
And I feel like I’ve done you dirty a little bit, not making enough sandwich cookies. Sorry ’bout that.
Let’s rectify that situation today with Root Beer Cookie Sandwiches.
Also, let’s never say rectify again.
Think you don’t like Root Beer? Don’t be a hater… you do, you just don’t know it yet.
Make these, I promise you’ll like them.

And if you want to take them to the next level, forget the filling, and use ice cream. Dude, Root Beer FLOAT Cookie Sandwiches.
Right?
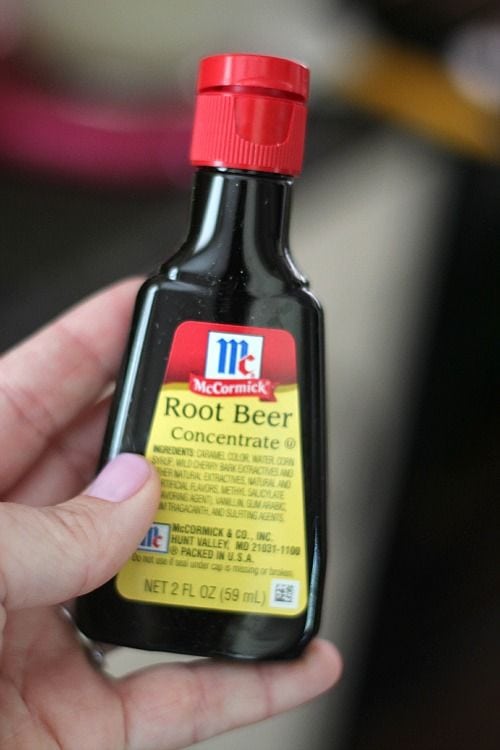
These cookies start with this Root Beer Concentrate…
I found mine at WalMart.
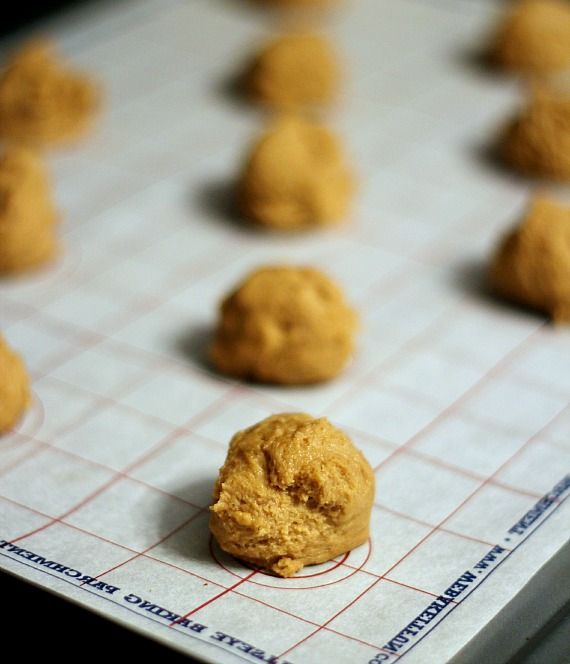
Make a simple batter and form it into ball shapes to bake.
That way they will be more evenly shaped for sandwiching…
There’s nothing worse than unevenly sized tops and bottoms.
Well, actually there are a lot of things worse, I mean, like malaria…
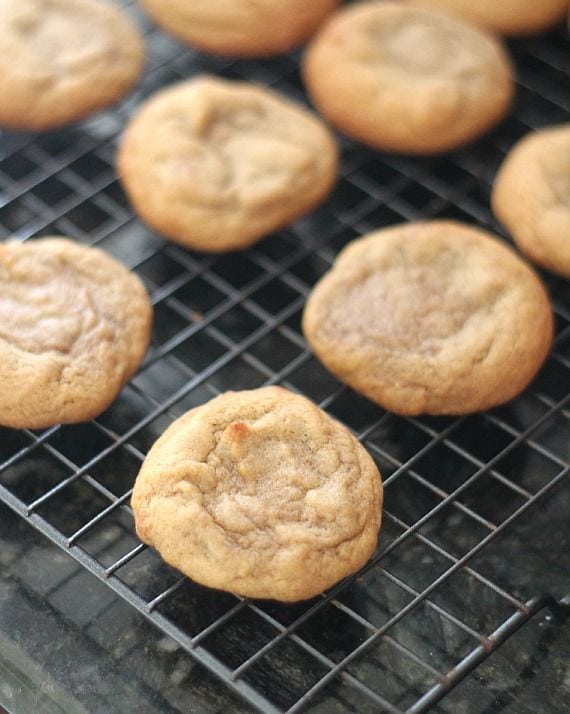
But you get me, right? No one wants a pear shaped cookie sandwich.
While your cookies are cooling, make your filling.
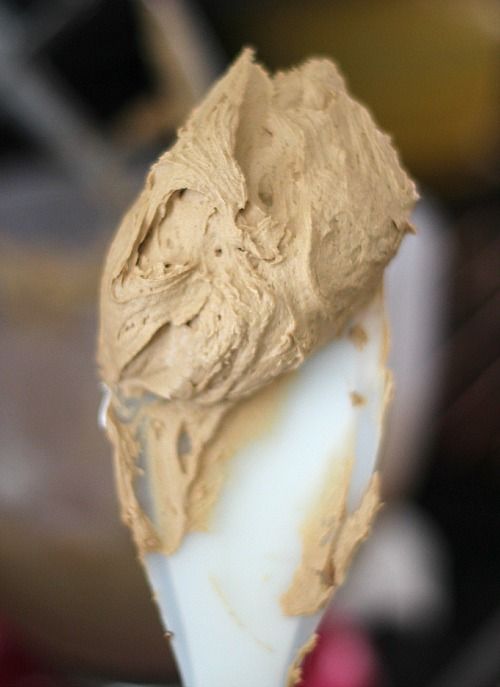

It’s really yummy.
And then make Root Beer Sandwich Cookie magic.

Root Beer Cookie Sandwiches
Description
makes 12 cookie sandwiches
Ingredients
Cookies
- 1/2 cup butter, room temperature
- 1 cup packed brown sugar
- 1 egg
- 1 1/2 tsp Root Beer Concentrate
- 1 3/4 cups flour
- 1/2 tsp salt
- 1/2 tsp baking soda
Filling
- 1/4 cup butter, room temperature
- 2 cups powdered sugar
- 1 tsp milk or cream
- 1 1/2 tsp Root Beer Concentrate
Instructions
Cookies
- Preheat oven to 375°
- Line baking sheet with parchment paper, set aside.
- In bowl of stand mixer cream butter and brown sugar together until fluffy, about 2 minutes.
- Beat in egg and Root Beer Concentrate, mix well.
- Turn mixer to low and add in flour, salt and baking soda, mixing until combined.
- Form 1 tablespoon of dough into balls, approx 1 inch in diameter. Place dough 2 inches apart on lined baking sheet and bake for 6-8 minutes until edges start to golden.
- Transfer cookie to a wire rack to cool completely.
Filling
- Beat all ingredients together in bowl of stand mixer for 2 minutes until smooth and fluffy.
- Spread about 2 tablespoons of filling on the bottom of half the cookies, and then place another cookie on top, forming a sandwich.
Notes
Store at room temperature in an airtight container for up to 2 days.
You could opt to not make the filling and use ice cream to fill the sandwiches, creating Root Beer Float Cookie Sandwiches!







Can I freeze these root beer cookie’s
Sure!!
I just made the Root Beer Cookie Sandwiches are they are DELICIOUS! I love eating just the cookies when they come out of the oven. They are soooooo yummy! My husband loves the completed sandwiches with sweet filling. I made them as Valentines gifts and I love seeing the reaction to root beer flavor. So unexpected and scrumptious. Good job!!!
I am so glad you liked these!!
Totally buying root beer extract next time I’m out! These cookies and I have a date.
I am wondering if you meant to put 1 TBSP of milk for the frosting? I am making these and 1 tsp make really thick dark frosting. I added enough to make 1 TBSP and it was fluffy and light colored.
I need a cookie sandwich…or three…in my life right now. What do you think the cookie to stress ratio is? Probably like one cookie can over write, like, an over due library book and that’s it. I’ll probably need at least two dozen, if that’s the case.
These sound incredible! Maybe just the ticket to soothe my frayed nerves…
I made these last night and they are SO good! I double the recipe and brought half in to work. They were gone by lunch time! Due to my daughter’s milk allergy, I used unsweetened almond milk for the icing and it was still delicious!
Made these tonight with my sister for a potluck tomorrow. Not sure if they are going to make it to the lunch! Seriously, these are AMAZING! We couldn’t stop eating the batter or the frosting. Yum! Thanks for another perfect recipe!