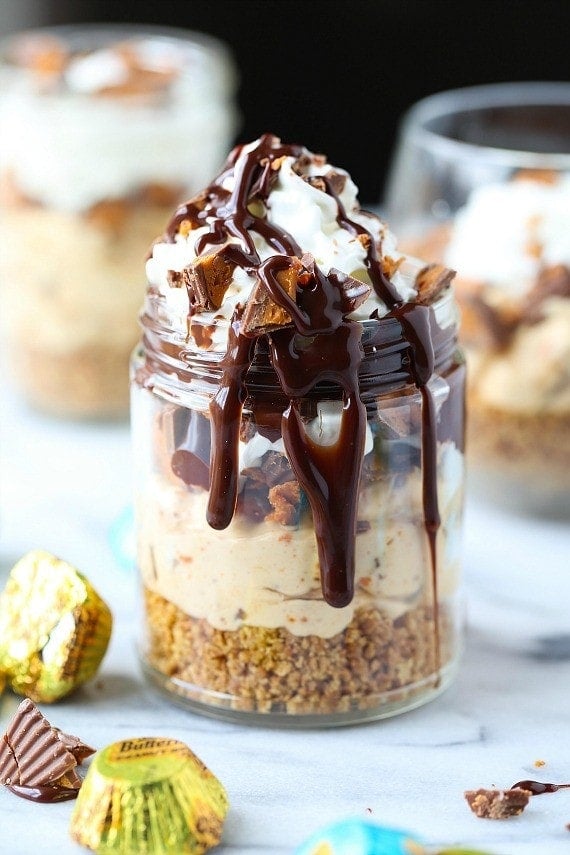
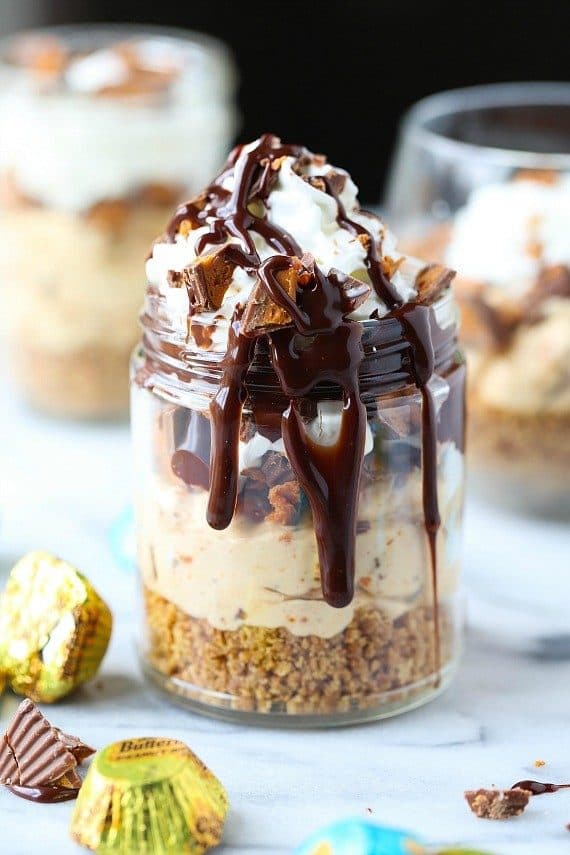
These single-serving No Bake Butterfinger Cheesecake Cups are as delicious as they are easy to make! Made with layers of creamy peanut butter cheesecake, chunks of Butterfinger candies, and a crunchy Graham cracker crust. The ultimate no-bake dessert for peanut butter lovers!
We are having some pretty stunning weather right now in the Northeast. I feel like even by typing that out I am inevitably dooming myself to another snowstorm or three…but right now it is stunning indeed.
Spring doesn’t usually pop in on us until mid-May…but an early March day with temperatures in the 70’s … look I am not complaining. I feel like pulling out all my pastels and getting a pedicure to mark the occasion. Too much?
How about pulling out pastel candies and making a sweet treat?
That sounds like a mighty fine compromise if I ever heard one.
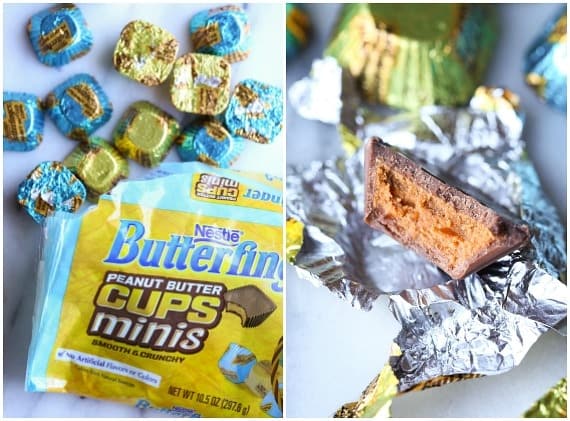
When I saw the new Butterfinger Peanut Butter Cups Minis I knew I had to work them into a recipe. They are the perfect combination of creamy milk chocolate, smooth peanut butter and crunchy Butterfinger bits. My kids are going to love these in their Easter Baskets this year!
And I’m not sure why, but individual desserts scream Spring to me. So I decided to whip up an easy no bake Butterfinger cheesecake filling using the Butterfinger Peanut Butter Cups Minis.
These were really easy to put together and I love them even more because they can be made in advance! Plus they’re individually portioned…everything in moderation, right?
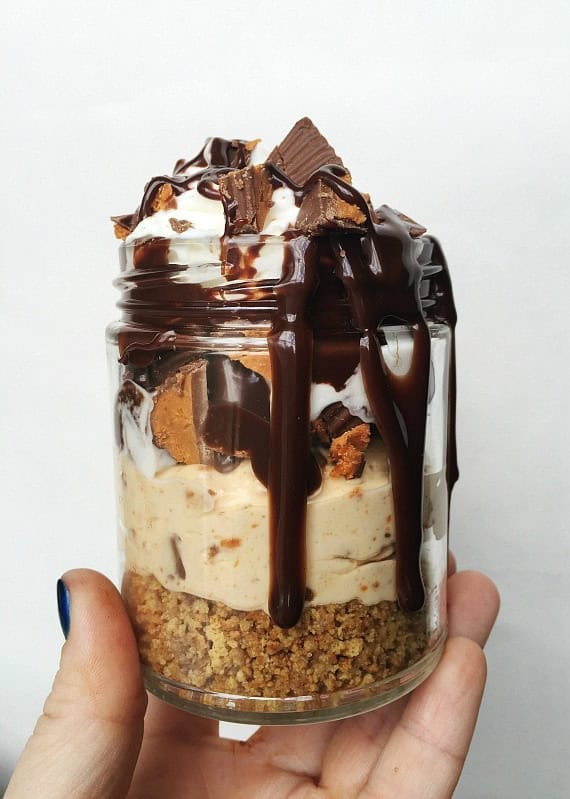
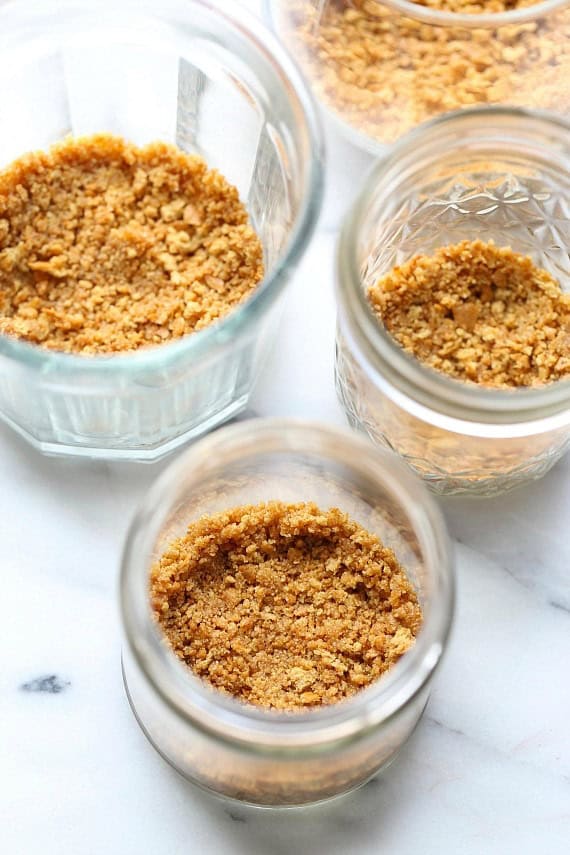
The bottom layer is a no-bake graham cracker crust. Just crush up some graham crackers with a little melted butter, a pinch of salt and a teaspoon of sugar…
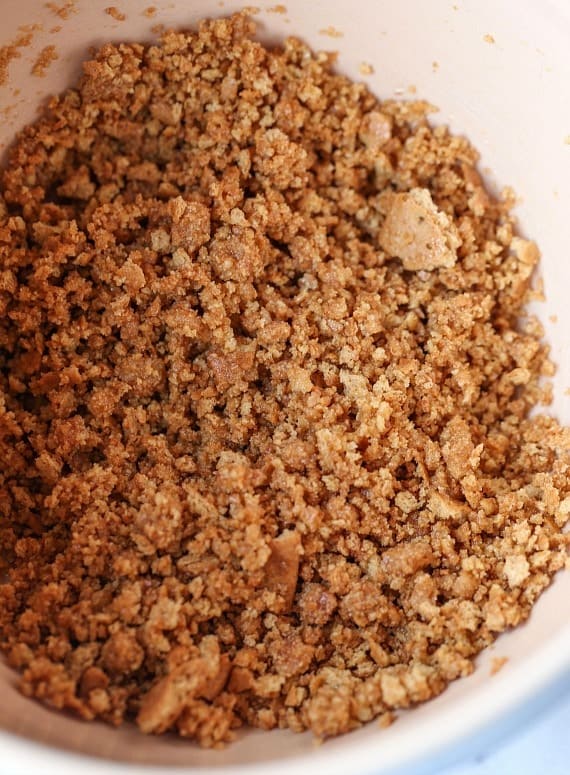
Portion that into your serving cups. Now you can make these as big or little as you would like. I made 6 (4-ounce) cups. You could easily make them bigger or smaller if you prefer.
Divide the graham cracker crumbs evenly among the cups and press into the bottoms using your fingers.
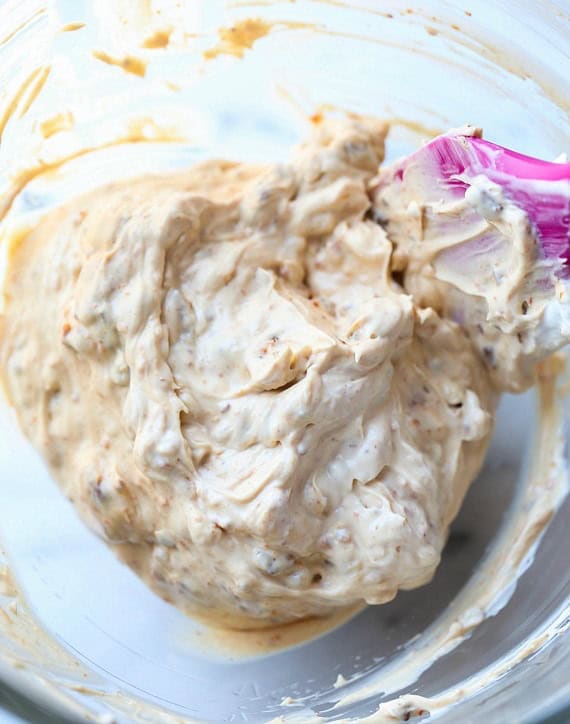
Whip up your simple cheesecake filling using chopped Butterfinger Cups…
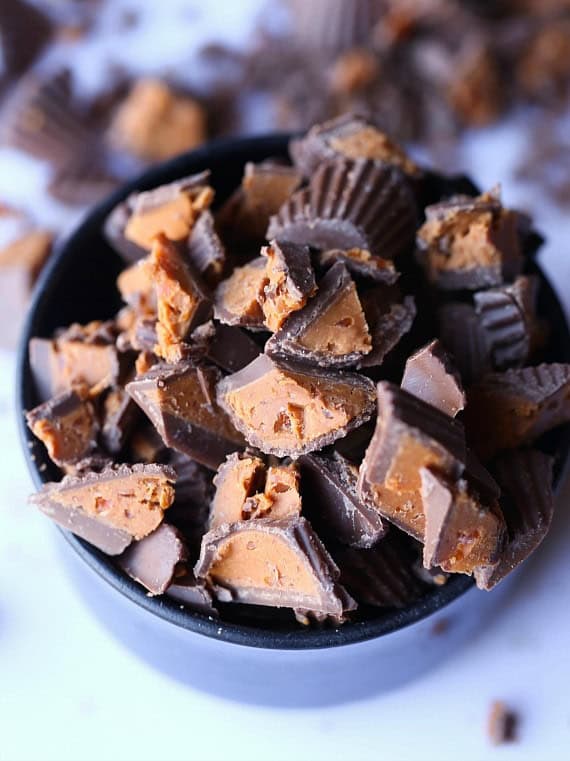
Just fold them into the filling…
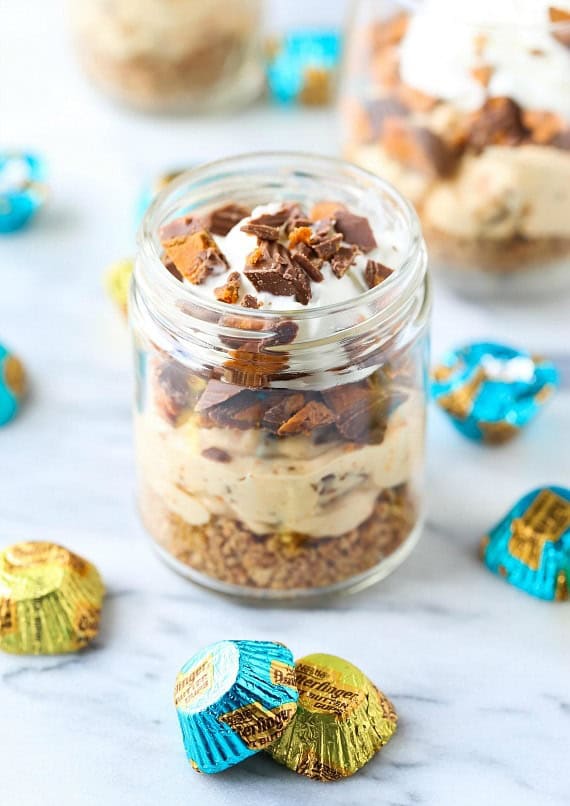
Either spoon or pipe the filling into your cups, and top with more Butterfinger Cups.
And of course a little whipped cream on top makes a pretty finish…
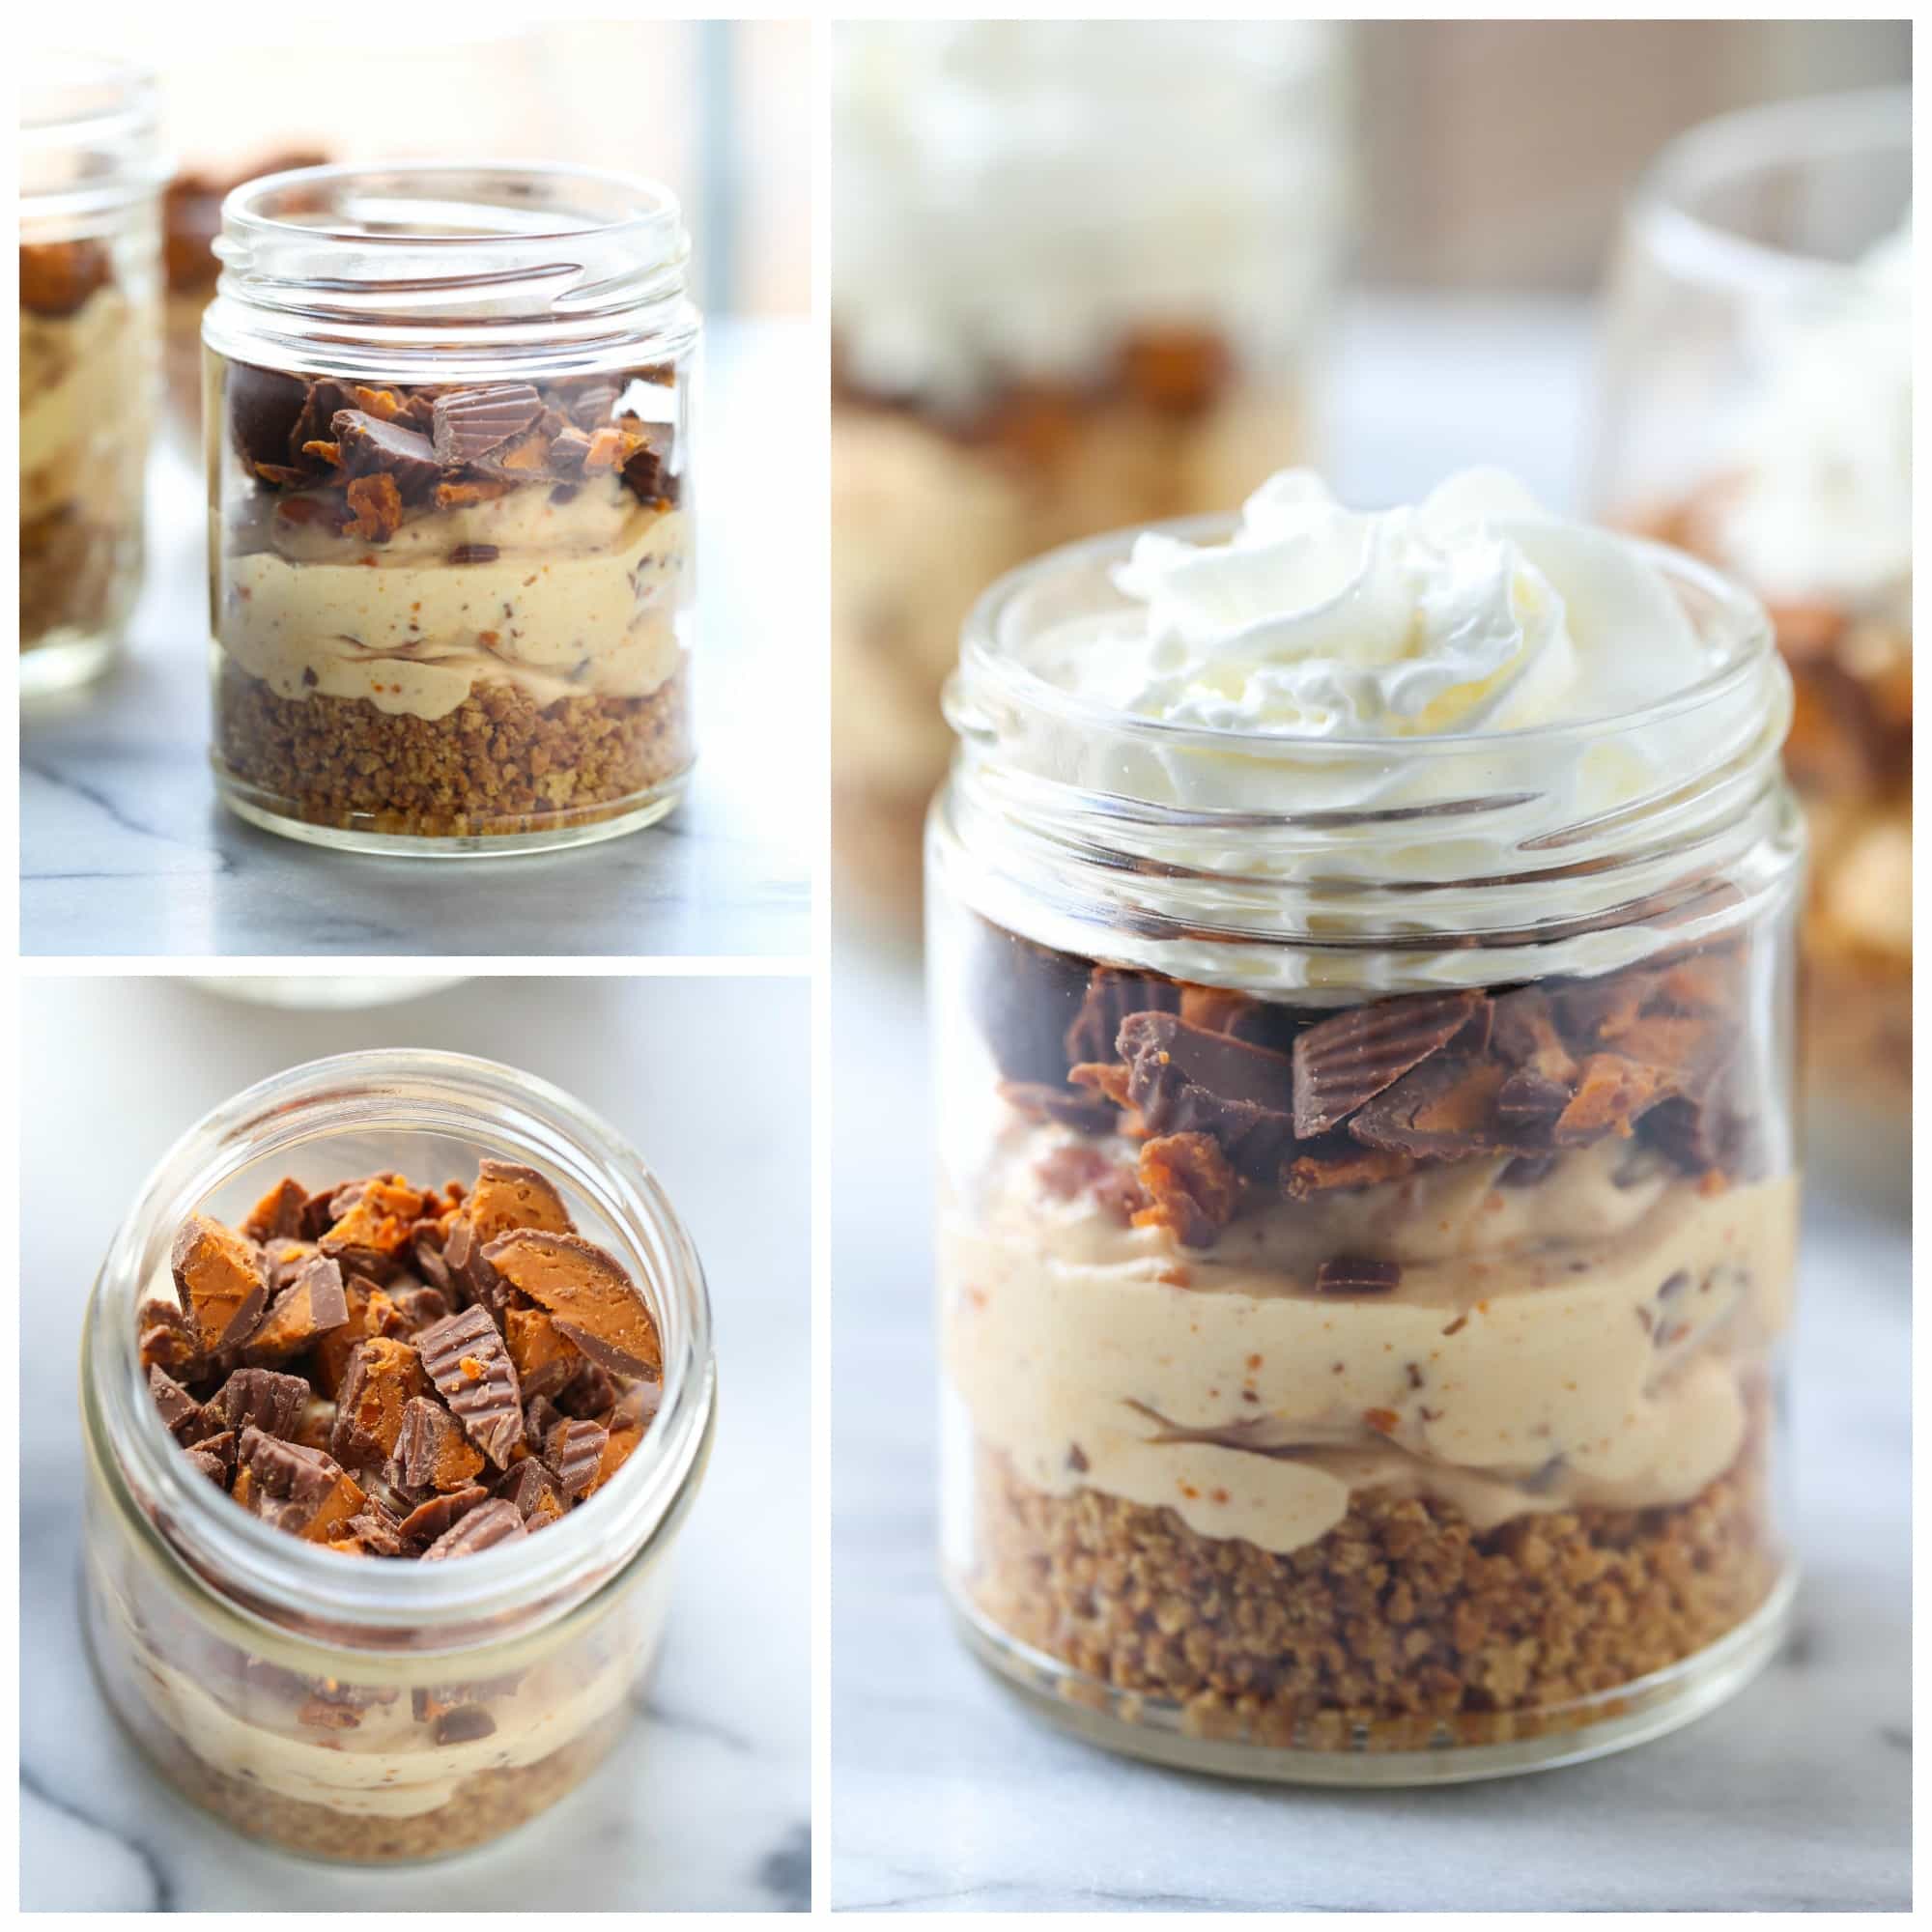
You COULD stop there.
You could.
But if you want to really impress your guests lets add some more Butterfinger Peanut Butter Cups minis…
And chocolate sauce. Why not, right?
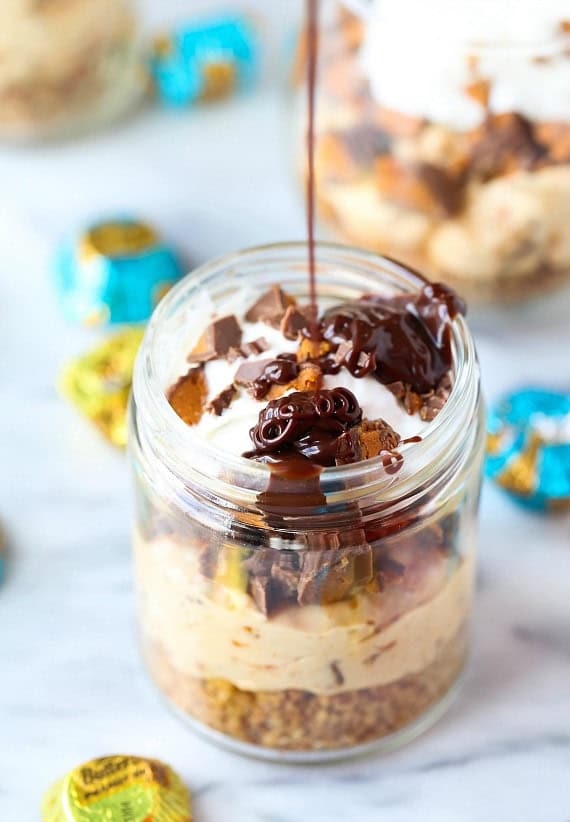
People will ooh and ahh over this one.
You have a crunchy graham cracker crust, a creamy peanut butter filling, Butterfinger Peanut Butter Cup Minis, whipped cream and chocolate sauce. This little splurge is worth every bite, but just in case you start feeling guilty the Butterfinger Peanut Butter Cup Minis now contain no artificial flavors or colors. Win!
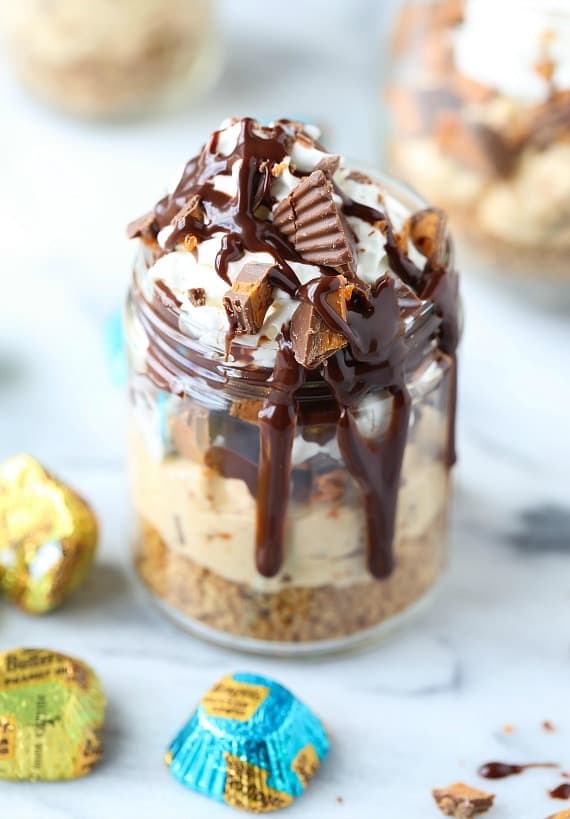
No Bake Butterfinger Cheesecake Cups
- Prep Time: 10 minutes
- Chilling Time: 1 hour
- Total Time: 1 hour 10 minutes
- Yield: 6 (4 ounce) cups 1x
- Category: Dessert
- Method: No-bake
- Cuisine: American
Description
These single-serving No Bake Butterfinger Cheesecake Cups are as delicious as they are easy to make! Made with layers of creamy peanut butter cheesecake, chunks of Butterfinger candies, and a crunchy Graham cracker crust. The ultimate no-bake dessert for peanut butter lovers!
Ingredients
Crust
- 3/4 cups finely crushed graham crackers
- 1/8 teaspoon kosher salt
- 2 teaspoons granulated sugar
- 2 tablespoons butter, melted
Cheesecake Filling
- 8 ounces cream cheese
- 2 tablespoons creamy peanut butter
- 1/3 cup powdered sugar
- 1 teaspoon vanilla
- 1 (10.5- ounce) bag Butterfingers Peanut Butter Cups Minis, chopped and divided
- 1 cup heavy cream
Optional Topping
- Whipped cream
- Butterfinger Peanut Butter Cups Minis, chopped
Instructions
Crust
- In a medium bowl, mix together crumbs, salt, sugar and melted butter until combined and crumbs are moistened. Divide evenly between individual serving dishes (about 2 tablespoons per serving dish). Press the mixture with your fingers to form a crust layer. Set aside.
Filling
- In the bowl of your stand mixer fitted with the paddle attachment combine the cream cheese and peanut butter and mix until smooth. Add in the sugar and vanilla and continue mixing until combined and smooth. Mix in the chopped Butterfinger cups until evenly incorporated.
- In a separate bowl whip the heavy cream using the whisk attachment for 1-2 minutes until stiff peaks form. Gently fold the whipped cream into the cream cheese mixture.
- Evenly spoon (or pipe using a piping bag) about ½ cup of filling into each serving cup.
- Sprinkle the remaining chopped Butterfinger Cups onto the cream cheese in the cups.
- Chill the cups for at least one hour (or up to 3 days) before serving.
Optional
- When you’re ready to serve top each cup with more whipped cream and more chopped Butterfinger Cups. Drizzle with chocolate sauce if desired.
Want To Save This Recipe?
Find more recipes like this:
For more fun follow Nestlé Butterfinger on Pinterest.
AND follow my Easter/Spring Pinterest Board!
This is a sponsored conversation written by me on behalf of Nestlé Butterfinger. The opinions and text are all mine.





Love your recipes easy and yummy