Red Velvet Snowball Cookies are a major stunner! The cookie is dense, yet tender, and the powdered sugar balances out the red velvet perfectly!

Oh red velvet…I do love you. This time of year I feel like I want to red velvet ALL the things! It’s so festive and lovely. So why not red velvet a snowball cookie? I have found myself, over the years of blogging, trying to put fun spins on classic desserts. Some are hits…others I should just leave well enough alone. And while Snowball cookies are a favorite amongst many, I do think I might have nailed this one. Get into it.
Oh, and btw, this is DAY 8 in our 12 Days of Christmas Cookie party! We’re getting close! If you joined in a little late, scroll to the bottom of this post to catch up. I get it, life happens.
OR if you’ve been riding the cookie train with me, let’s get this show on the road.

These are ridiculously easy, and totally taste like red velvet, imo. The most common complaint I have heard from you guys is that red velvet sometimes just tastes like chocolate. I think I have cracked the cookie code on this one.
The cookie dough will be crumbly, so don’t worry. And it might not look red enough to you, but when they’re baked and rolled in powdered sugar they will be perfect. Promise. If ou don’t believe me, you can always add more red food coloring, but you don’t really need it.
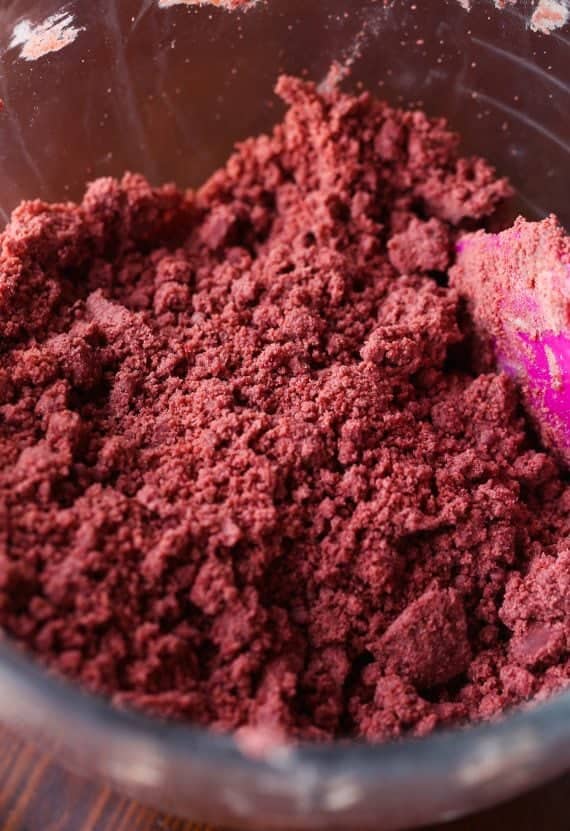
What you do here, is grab a scoop of the dough and press it into a ball.So while it looks dry, it should hold together.
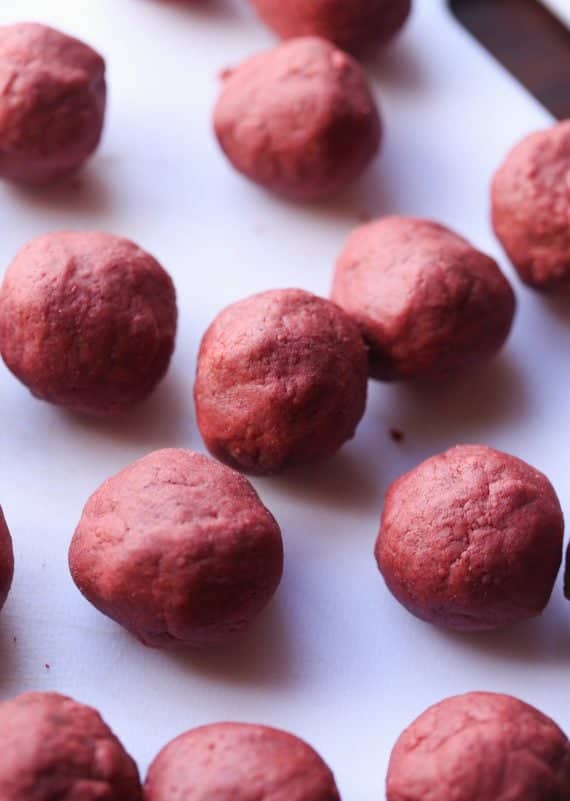
You need to freeze the balls for about 10 minutes. This step is important because you want the cookies to stand tall. Mine are a little flatter than a traditional snowball cookie, but after experimenting, I found to get the flavor perfect (imo) I had to give up a little height.
Once they’re baked, roll them in some powdered sugar while they’re still warm. This helps the powdered sugar adhere to the cookie better.
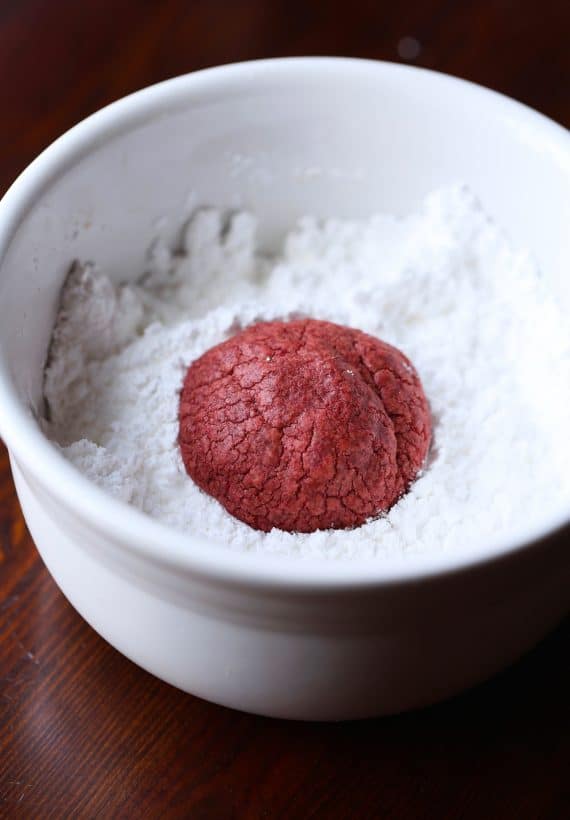
Then enjoy! These are so gorgeous…

And they will stay fresh for quite a few days, which is fantastic for this time of year when it’s nice to make cookies in advance!
Print
Red Velvet Snowball Cookies
- Prep Time: 25 minutes
- Cook Time: 12 minutes
- Total Time: 37 minutes
- Yield: 24 cookies 1x
Ingredients
- 14 tablespoons butter, room temperature
- 3 cups powdered sugar, divided
- egg
- 1/4 cup cocoa powder
- 2 teaspoons baking powder
- 1/2 teaspoon Kosher salt
- 2 1/2 cups flour
- 1 tablespoon red food coloring
- 1 teaspoon vanilla extract
- 1 teaspoon white vinegar
Instructions
- Line baking sheet with parchment paper and set aside.
- In the bowl of your stand mixer fitted with the paddle attachment, mix the butter and 1 ½ cups of powdered sugar on medium speed for 2 minutes, scraping the sides to combine.
- Turn mixer to low and add the egg, cocoa powder, baking powder, salt, and flour, mixing until just combined. Add in the food coloring, vanilla, and vinegar, mixing until the dough is crumbly, and color is incorporated. Dough will look crumbly, but will hold together when squeezed into a ball.
- Using a medium (2 tablespoon) cookie scoop, measure out the dough. Form it into a ball and place on the prepared baking sheet, about 1 inch apart. Freeze the dough for 15 minutes.
- Preheat the oven to 350°F.
- Bake the cookies for 12-15 minutes, or until tops are set, and they appear dry. Allow the cookies to cool for 5 minutes on the baking sheet.
- Place the remaining 1 1/2 cups powdered sugar into a medium bowl. Gently roll each cookie in the sugar to coat. Place cookies on a wire rack to cool completely.
Notes
store in an airtight container for up to 7 days.
Freeze option – freeze baked cookies for up to 1 month in an airtight container. Or freeze the cookie dough rolled into balls in an airtight container for up to a month. When ready to bake, bake cookies frozen for 15-17 minutes.
Want To Save This Recipe?
Find more recipes like this:

In case you missed days 1-7 of my 12 Days of Christmas Cookies, catch up below!
Day 1: 3 Ingredient Shortbread
Day 2: Double Chocolate Mocha Cookies
Day 3: Salted Caramel Pinwheel Cookies
Day 4: Perfect Spritz Cookies
Day 5: Lemon Thumbprint Cookies
Day 6: Milk Chocolate Lace Sandwich Cookies
Day 7: Coconut Snowman Cookies













These did not stay in balls, they flattened out on me and looked more like crinkle cookies. My freezer cannot hold a cookie sheet. I am going to put the remainder in the refrigerator like I do with my crinkle cookies and roll them in powdered sugar and call them red velvet crinkles.
Do you use self rising flour or all purpose flour?
All Purpose 🙂
Since the butther is in tbsp, would you know its grams? I think its better measuring than the tbsp, right?
I too found this dough extremely dry and chalky. However, I found adding one large egg did the trick. Also: I rolled in powdered sugar prior to baking and they turned out much better 🙂
Just made these and they are outstanding! So yummy!
Between you and Sally, my cookie trays will be overflowing!