I did a post about marshmallow fondant a while back.
But sometimes you don’t get things quite right the first time around.
While that recipe DOES work, there is room for error…
SO, I am going back to basics today.
Here is the tweaked recipe and step by step process.
Don’t be scared..get your fondant on!
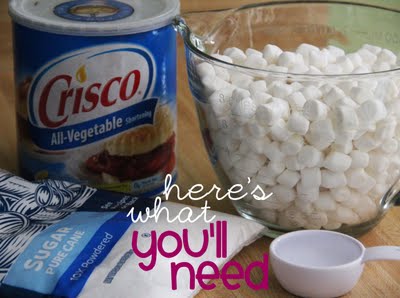
Here’s what you’ll need:
8 cups mini marshmallows
Vegetable shortening
1/4 cup water
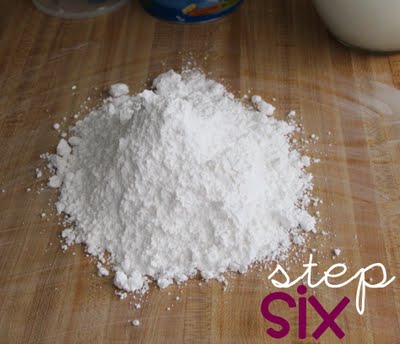
2 lbs powdered sugar
First you put your marshmallows into a microwave safe bowl.
Add the water.
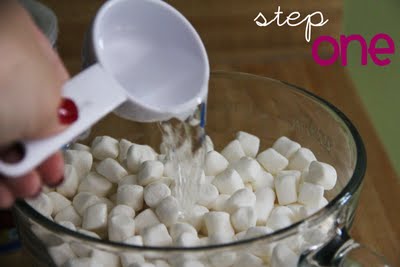
Now microwave on high for one minute and stir.
Continue microwaving for 30 more seconds until the marshmallows are almost completely melted.
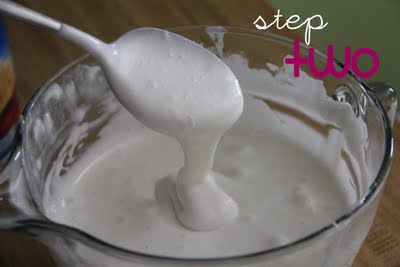
Add half the bag of powdered sugar
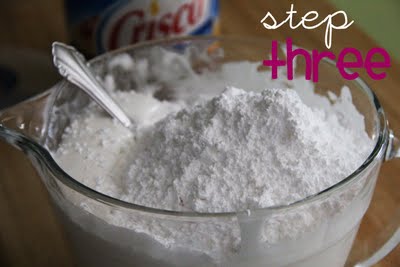
Stir it in
Now…get your hands dirty.
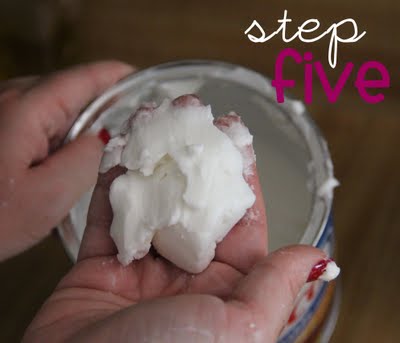
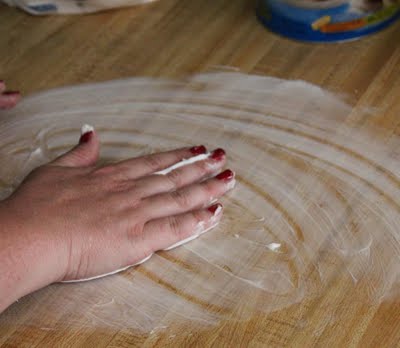
Get a big ol’ glob of shortening
and smear it all over your *clean* counter
Now pour the REST of the powdered sugar on your counter
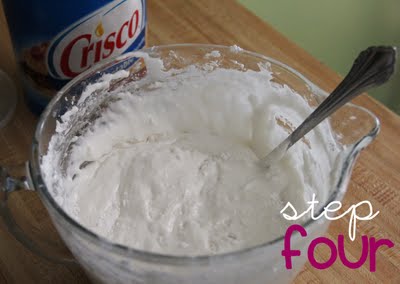
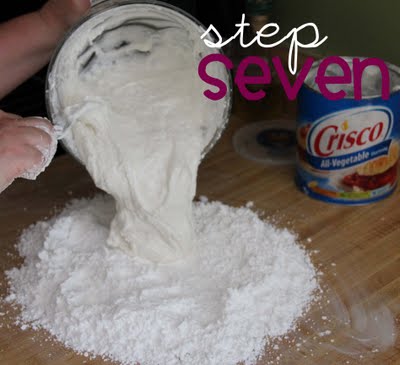
Pour the marshmallow/sugar on top of the sugar on your counter
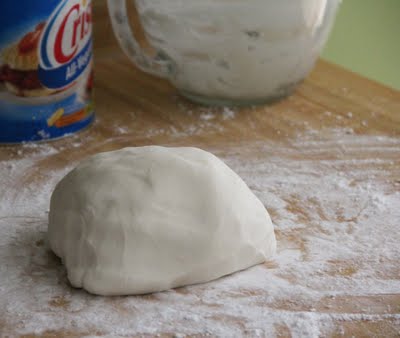
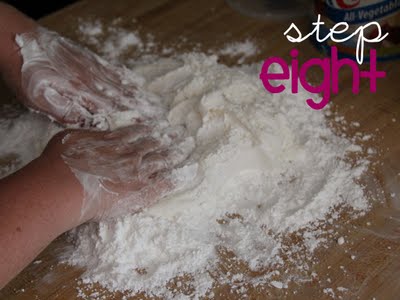
Now coat your hand THOROUGHLY with the shortening and knead the sugar into the marshmallow until it is no longer sticky and forms a ball.
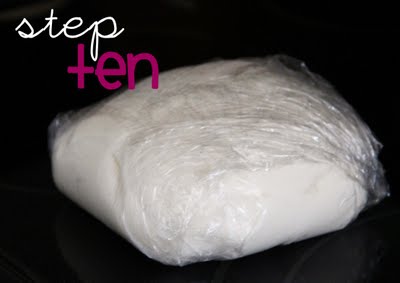
Now, LIGHTLY coat the fondant with a thin layer of shortening

and wrap in cling wrap (completely airtight) to let it rest for 30 minutes or so before you use it.
You want the fondant to be completely cooled before you use it.
If you aren’t going to be using it the same day, put the wrapped fondant in an airtight bag (squeezing out all the extra air) until you are ready to use it.
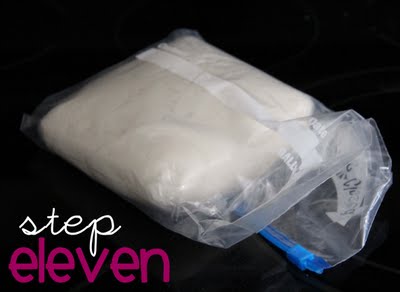
Best if used within 2 weeks of making.
Print
The good thing about this fondant is that is tastes really yummy. I mean, marshmallow and sugar..couldn’t be bad!
And it’s cheap to make…the pre-made fondant is expensive!!
AND you’ll feel super smart and all that you made your own fondant…trust me.
ANDDD you can make cute cupcake toppers like these Beagles, or legos, or bowling pins…
So anyway, fondant is fun.
I promise 🙂

Homemade Marshmallow Fondant Recipe
- Prep Time: 10 minutes
- Resting Time: 30 minutes
- Total Time: 40 minutes
- Category: Dessert
- Method: No-bake
- Cuisine: American
Description
A tried and tested Marshmallow Fondant recipe that’s easy to make at home! Use this sugary fondant to decorate all your favorite baking!
Ingredients
Scale
- 8 cups mini marshmallows
- Vegetable shortening
- 1/4 cup water
- 2 lbs powdered sugar
Instructions
- Place your marshmallows into a microwave safe bowl. Add the water.
-
Microwave on high for one minute and stir. Continue microwaving for 30 more seconds until the marshmallows are almost completely melted.
-
Add half the bag of powdered sugar and stir until combined.
-
Lightly grease your counter or work surface with shortening. Pour the remaining powdered sugar onto the greased area.
-
Pour the marshmallow and sugar mixture over the pile of powdered sugar on the counter top.
-
Coat your hand thoroughly with the shortening to prevent sticking. Knead the powdered sugar into the marshmallow mixture until it the texture is no longer sticky and you can form it into a ball.
-
Lightly coat the fondant with a thin layer of shortening. Wrap the fondant in cling wrap (completely airtight) and let it rest for 30 minutes. Allow the fondant to cool completely before you use it.
Notes
If you aren’t going to be using it the same day, seal the wrapped marshmallow fondant in an airtight bag (squeezing out all the extra air) until you are ready to use it. Fondant is best used within 3 weeks of making.


Hi! I’m writing from Italy and I’d really like to try it because here it’s really expensive to buy it! Could you please give me the quantity of marshmallows and of each ingredient? It could be great if you’d give me the quantity in grams ????!!!! Thanks in advance!
454g mini marshmallows or large marshmallows cut small = 16oz or 8 cups
1/4 cup water = 125ml water
2lbs icing sugar (powdered sugar) = 900g icing sugar
Love your tutorial, i used it last year on my sons superhero cake. My cake did start to cave a little from the weight though. I learned later that my cake needed to be denser. Im making Anna and Elsa doll cakes (the skirt is cake and fondant over skirt and doll) and i was thinking of adding Tylose powder because it recommended to keep fondant stiff. Yay or nay in your opinion? Also don’t refrigerate the cake at all?
Stumbled on this by accident. Started on a new batch and just before I flipped it out onto the board to add the rest of the sugar, I got called away and came back after it had cooled. Turns out less messy and easier to work with.
I just made this for the first time. It was so easy and I feel like a champ! Thank you for your clear pictures. I rubbed Crisco in the bowl, on the spoon, as well as the counter and my hands as you suggested. It seriously made cleanup so easy!
This sounds like stupid question but when wanting to make different colors what do you do? Just add a few drops to some of the fondant and start working it in? Thanks and hope someone can reply.
Yep! That’s exactly how you do it!!
My daughter Viviann is a cake queen in the making and she is trying this. My question is what is the shelf life on this? Do you know if freezing it or refrigerating is a viable option? Thanks so much!
Shelf life is fairly long as ong as it’s stored airtight so it won’t dry out!!
My last question, how to you decorate the fondant after you formed the shapes? I’m just making basketballs and footballs so just simple stuff
I use food coloring pens to decorate after they are molded…is that what you mean?
I was wondering if you could knead in the food coloring after its a ball? I’m making some cupcakes and I would need a few different colors and wanted to split the batch into the colors I needed
Sure, you could absolutely do that!
My friend and I did a practice run for making a tie dye cake and covering it with colored fondant! It went PERFECTLY. She is so excited to make this cake for her Oscar Nite party. Thanks so much for sharing this recipe. My friend is not a baker and she is terribly excited to present this beautiful cake to her party crowd! It is going to be gorgeous and knock their socks off!
I’ll try this sometime..
Thanks for this tutorial Shelly!