I did a post about marshmallow fondant a while back.
But sometimes you don’t get things quite right the first time around.
While that recipe DOES work, there is room for error…
SO, I am going back to basics today.
Here is the tweaked recipe and step by step process.
Don’t be scared..get your fondant on!
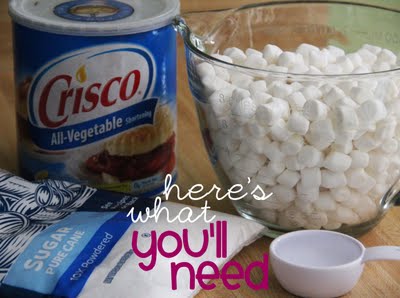
Here’s what you’ll need:
8 cups mini marshmallows
Vegetable shortening
1/4 cup water
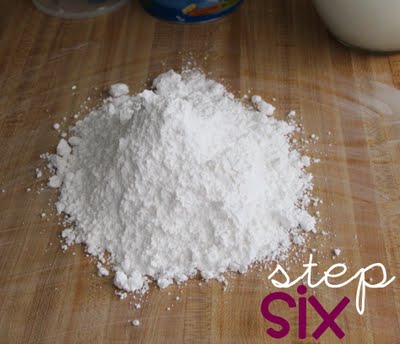
2 lbs powdered sugar
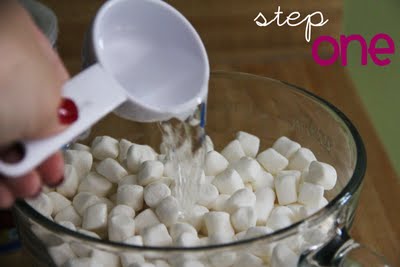
First you put your marshmallows into a microwave safe bowl.
Add the water.
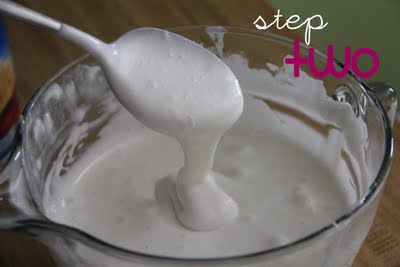
Now microwave on high for one minute and stir.
Continue microwaving for 30 more seconds until the marshmallows are almost completely melted.
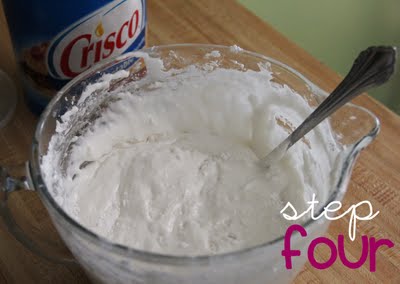
Add half the bag of powdered sugar
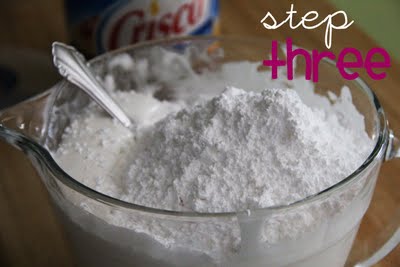
Stir it in
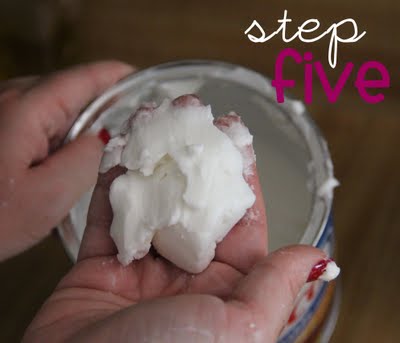
Now…get your hands dirty.
Get a big ol’ glob of shortening
and smear it all over your *clean* counter
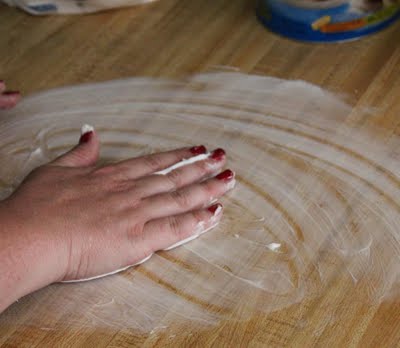
Now pour the REST of the powdered sugar on your counter
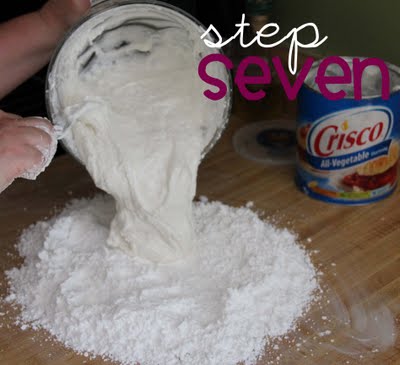
Pour the marshmallow/sugar on top of the sugar on your counter
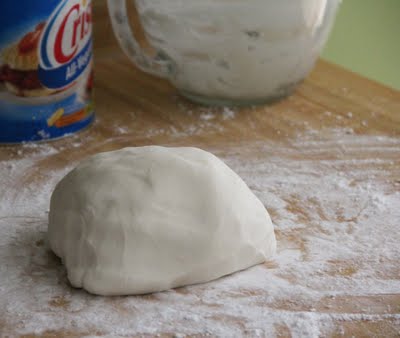
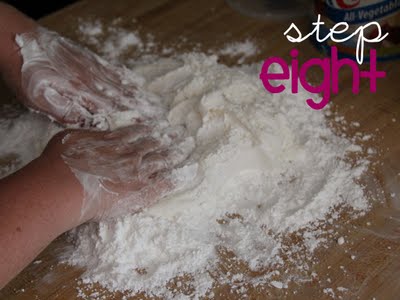
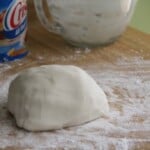
Now coat your hand THOROUGHLY with the shortening and knead the sugar into the marshmallow until it is no longer sticky and forms a ball.
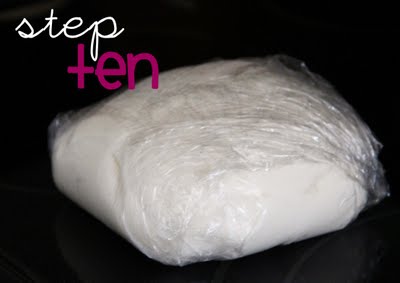
Now, LIGHTLY coat the fondant with a thin layer of shortening

and wrap in cling wrap (completely airtight) to let it rest for 30 minutes or so before you use it.
You want the fondant to be completely cooled before you use it.
If you aren’t going to be using it the same day, put the wrapped fondant in an airtight bag (squeezing out all the extra air) until you are ready to use it.
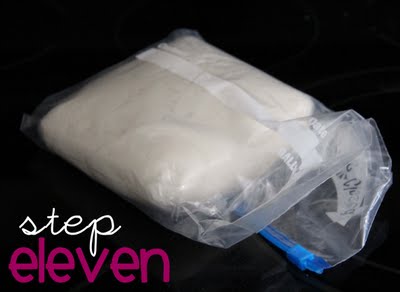
Best if used within 2 weeks of making.
Print
The good thing about this fondant is that is tastes really yummy. I mean, marshmallow and sugar..couldn’t be bad!
And it’s cheap to make…the pre-made fondant is expensive!!
AND you’ll feel super smart and all that you made your own fondant…trust me.
ANDDD you can make cute cupcake toppers like these Beagles, or legos, or bowling pins…
So anyway, fondant is fun.
I promise 🙂
Homemade Marshmallow Fondant Recipe
- Prep Time: 10 minutes
- Resting Time: 30 minutes
- Total Time: 40 minutes
- Category: Dessert
- Method: No-bake
- Cuisine: American
Description
A tried and tested Marshmallow Fondant recipe that’s easy to make at home! Use this sugary fondant to decorate all your favorite baking!
Ingredients
Scale
- 8 cups mini marshmallows
- Vegetable shortening
- 1/4 cup water
- 2 lbs powdered sugar
Instructions
- Place your marshmallows into a microwave safe bowl. Add the water.
-
Microwave on high for one minute and stir. Continue microwaving for 30 more seconds until the marshmallows are almost completely melted.
-
Add half the bag of powdered sugar and stir until combined.
-
Lightly grease your counter or work surface with shortening. Pour the remaining powdered sugar onto the greased area.
-
Pour the marshmallow and sugar mixture over the pile of powdered sugar on the counter top.
-
Coat your hand thoroughly with the shortening to prevent sticking. Knead the powdered sugar into the marshmallow mixture until it the texture is no longer sticky and you can form it into a ball.
-
Lightly coat the fondant with a thin layer of shortening. Wrap the fondant in cling wrap (completely airtight) and let it rest for 30 minutes. Allow the fondant to cool completely before you use it.
Notes
If you aren’t going to be using it the same day, seal the wrapped marshmallow fondant in an airtight bag (squeezing out all the extra air) until you are ready to use it. Fondant is best used within 3 weeks of making.


This was a great tutorial. We used it to make multi colored fondant squares for my son’s birthday cake.
Hi, what would be the best way to color this fondant black? Do you add cocoa? If so, how much would i add? Thanks!
When I color it black, I use Americolor or Chef Master gel food coloring! Cocoa powder would definitely help, but it wouldn’t get it a dark black!
im so exited to try this im making my wedding cake and i was just gonna do simple frosting but im gonna use this on my trial run and see how it turns out. i bought pre made fondant and if the consistensy ( pardon my spelling) is better ill use it to make mushrooms and trees were having a gnome wedding cake
I’m really looking forward to giving this a go for my twins 1st birthday cake. I’m going to make fondant teddy bears to sit on this cake – but just wanted to check first that marshmellow fondant would work for this – do you know? Thanks!
FOR USING FONDANT AS A TOPPER OF CUPCAKES, DO U USE CANDY MOLDS OR WHAT TO MAKE THEM?
I usually just form them like play-dough. I am sure you could press it into a mold, but I always so it by hand!
Thank you so much for this tutorial! Does this fondant color easily? I would like to use it for a birthday cake and was wondering if you have added color to it, and if so how did you do it? BTW…. what do you think is the best food coloring for this. Thanks! Love all your stuff!
yes, it works perfect for coloring. I use gel coloring, my favorite brands are Ateco and Americolor, bu Wilton also is good, as long as it’s gel 🙂
So a lot of blogs say that when using fondant to decorate cookies, spread butter cream frosting over cookie before u put the fondant layer down so that the fondant sticks to the cookie better. I was wondering if u are going to layer fondant over fondant (for example, a star fondant shape over a circle fondant shape,) do u need to put frosting between the fondant so the fondant will stick to the fondant, or does the fondant naturally just stick to itself?
You can simply wet the fondant with a drop of water and it will stick to itself, that is the easiest way!
Di-Licious ~ I don't store fondant covered cakes in the fridge…they do sweat and get sticky. I have used Satin Ice as well and it is a great product, but the cost is great too 🙂 SO to answer your question, it wouldn't be my recommendation to store a covered cake in the fridge.
I love to make my own fondant. This is a great recipe as well: http://cakecentral.com/recipes/5213/addendum-to-rhondas-ultimate-mmf
I'm curious whether you've covered a cake in the MMF and then stored it in the fridge without the problems of it sweating?
I love the finish of fondant covered cakes but hate being limited to buttercream-type fillings that don't need to be refrigerated. I know Satin Ice can be refrigerated but the price is astronomical here in Australia.
Really well written tutorial – definitely filing it for a trial in the future.
Regards, Di-licious
http://www.di-liciouscupcakes.com