
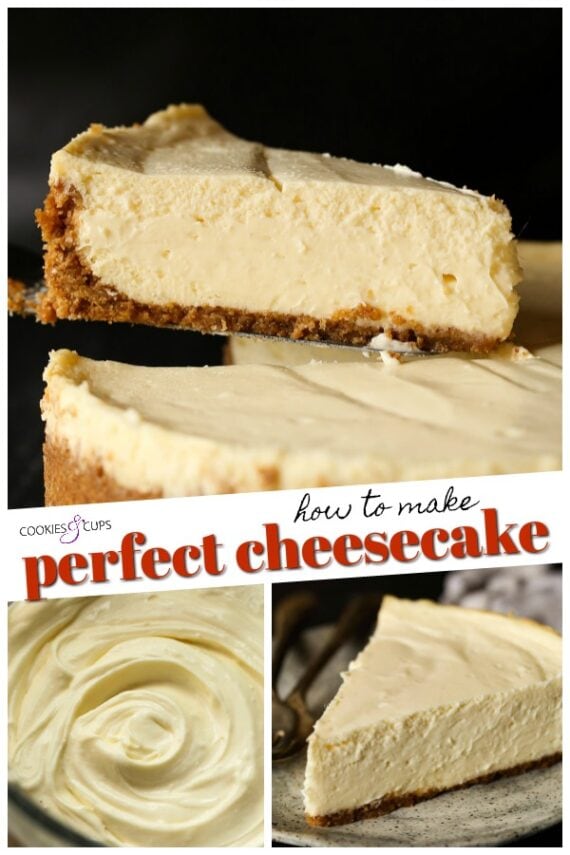
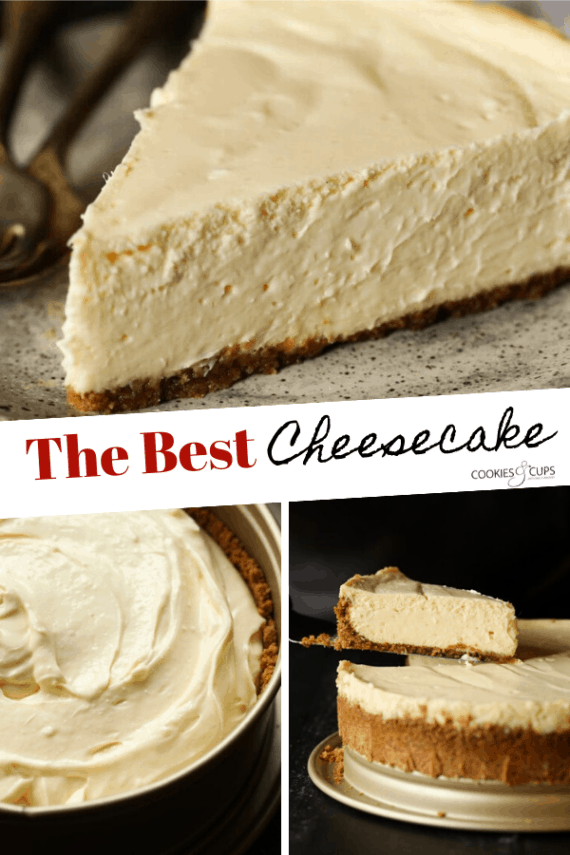
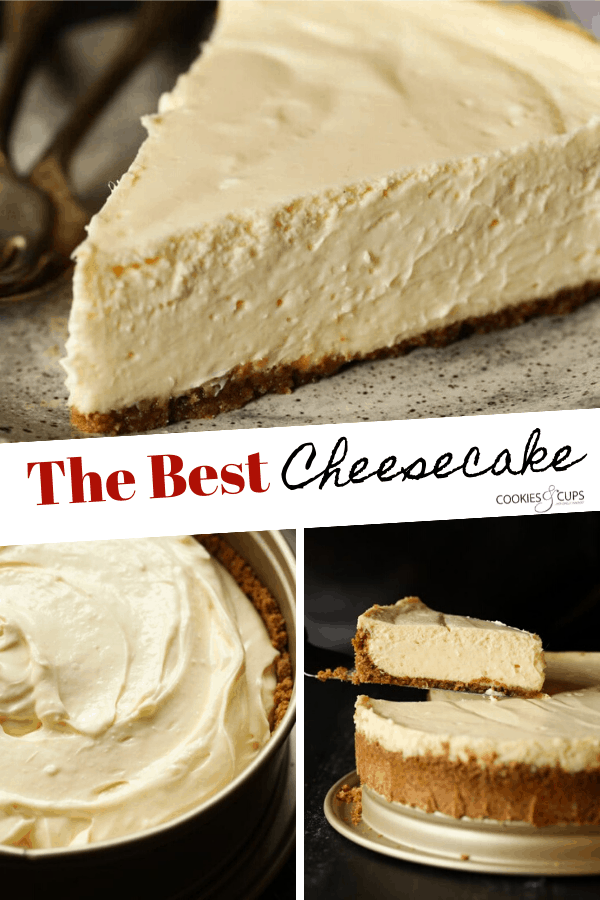
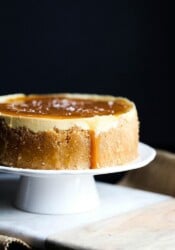
This cheesecake recipe comes out perfect every time, with a luscious, creamy filling in a graham cracker crust! Plus my tips for how to make the BEST cheesecake, even if it’s your first time.
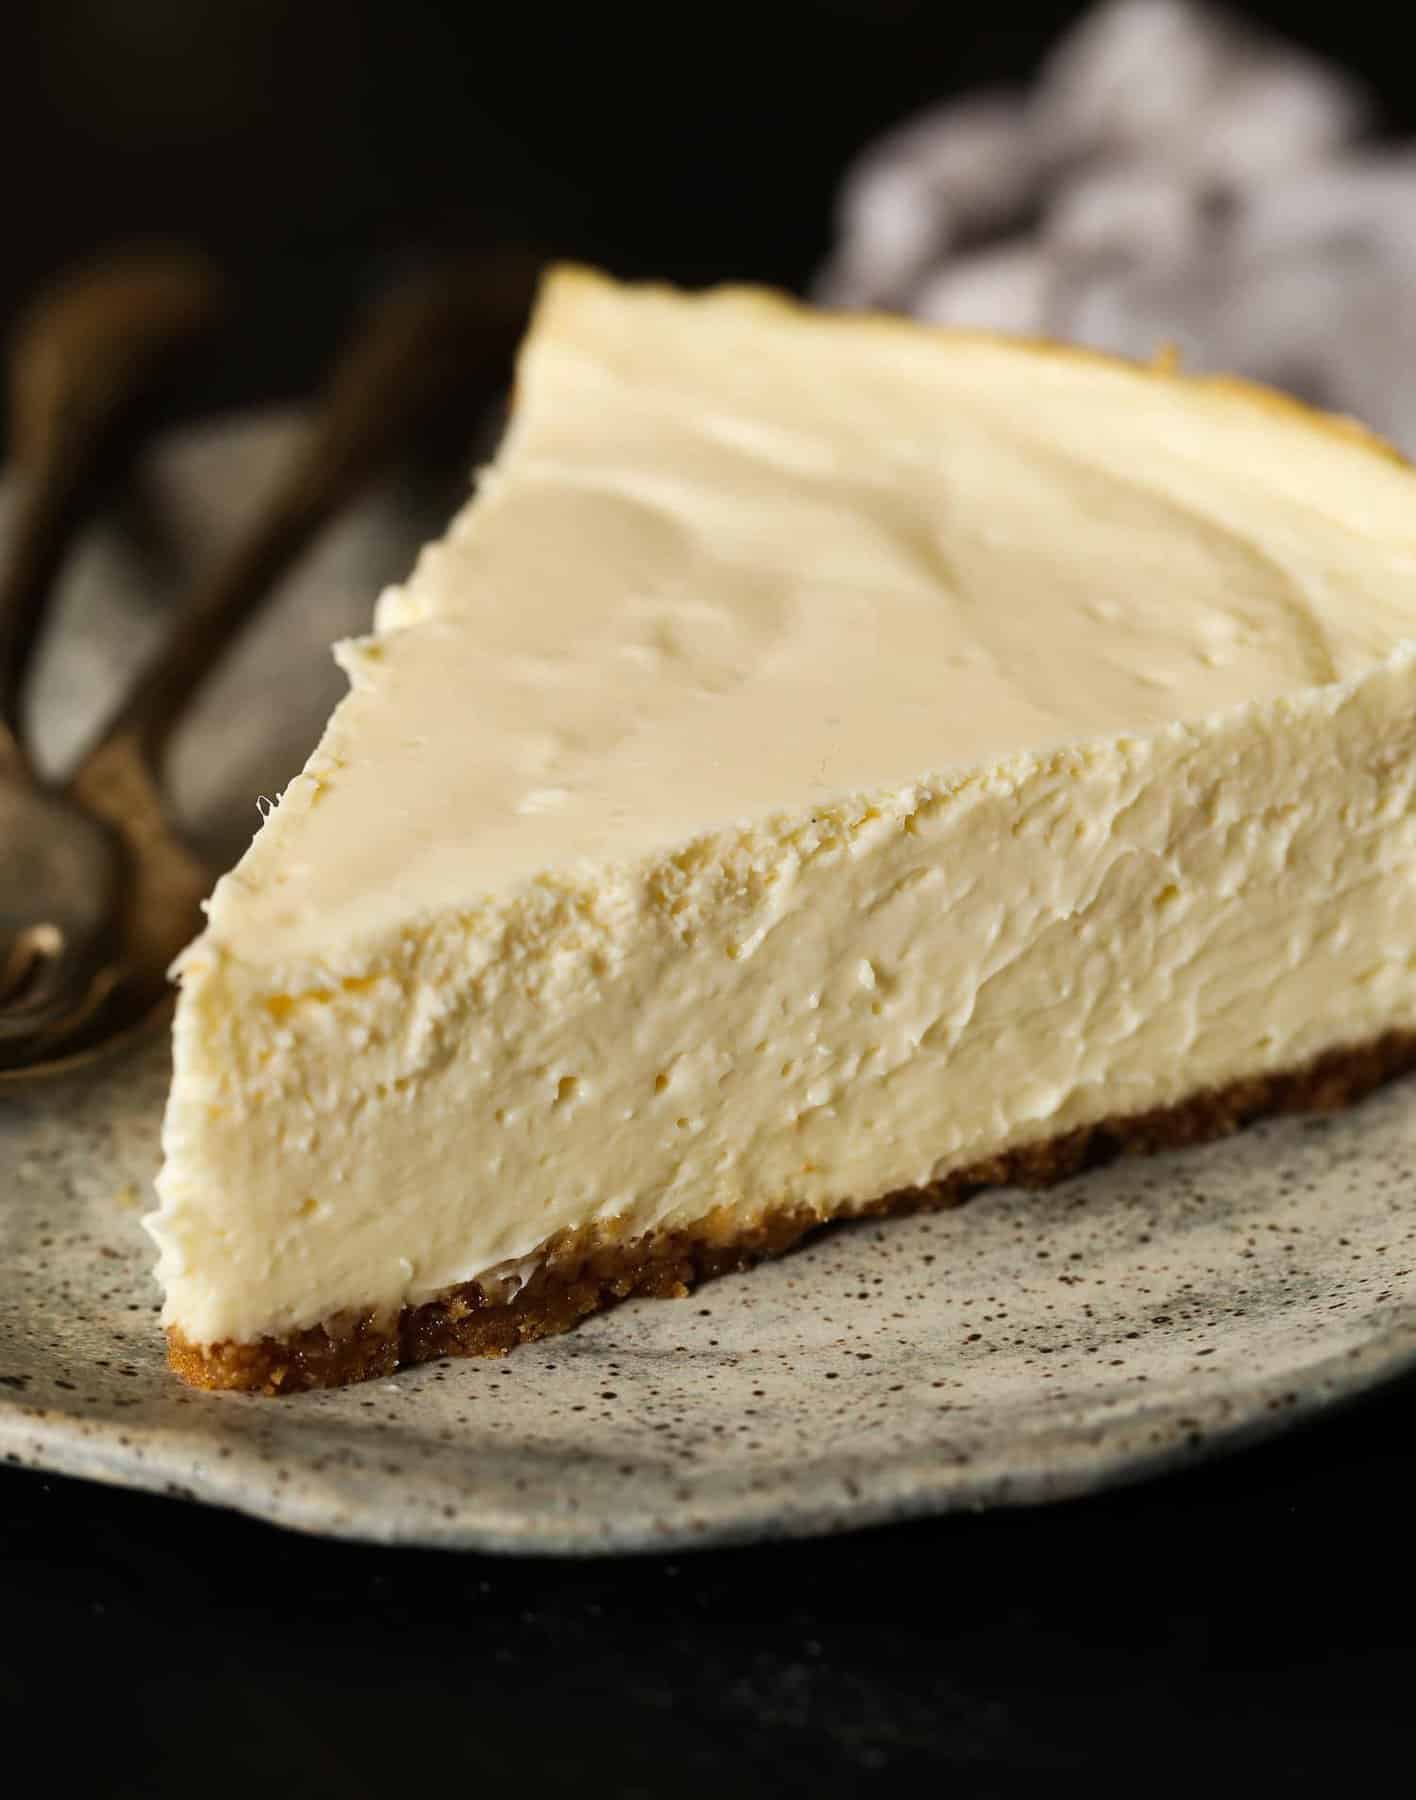
Cheesecake is one of those recipes that can be intimidating but it doesn’t have to be. Making cheesecake at home can be super simple with the right technique and attention to detail. In this post, I’m going to show you how to make the best cheesecake ever with step-by-step instructions.
The end result is a creamy cheesecake in a buttery graham cracker crust. And once you’ve mastered this basic recipe, you’ll be excited to make variations like pumpkin cheesecake or brownie cheesecake.
Why You’ll Love This Cheesecake Recipe
Here are a few reasons I truly believe this is the best cheesecake recipe out there.
- Perfect for beginners. There’s nothing complicated about this recipe, so even if you’ve never made a cheesecake before you’ll be able to follow along just fine. Plus I have lots of tips below as well.
- Only a few ingredients. There’s just a handful of ingredients in both the crust and the filling. Most of them are pantry staples too!
- Easy to customize. Once you have this base recipe down, you can experiment with different variations. You can also add fun toppings, like chocolate sauce or cherry pie filling.
Craving more cheesecake? Check out my mini cheesecakes, sour cream cheesecake, and no bake cheesecake too!
What You’ll Need
Let’s start with a quick look at the ingredients for this cheesecake recipe. (See the recipe card at the bottom of this post for amounts.) There is nothing complicated here! Simple ingredients often make the most amazing desserts. Here’s what you’ll need:
- Graham crackers – Crushed into crumbs for the graham cracker crust.
- Butter – Helps to hold the crust together.
- Sugar – Used in both the crust and the cheesecake filling.
- Salt – Balances the sweetness in the crust.
- Cream cheese – Be sure to use full-fat cream cheese. Reduced fat does not have the same consistency and can make the filling runny.
- Sour cream – Adds the classic cheesecake tanginess to the filling.
- Vanilla extract – For flavor.
- Eggs – Help to hold the cheesecake filling together.
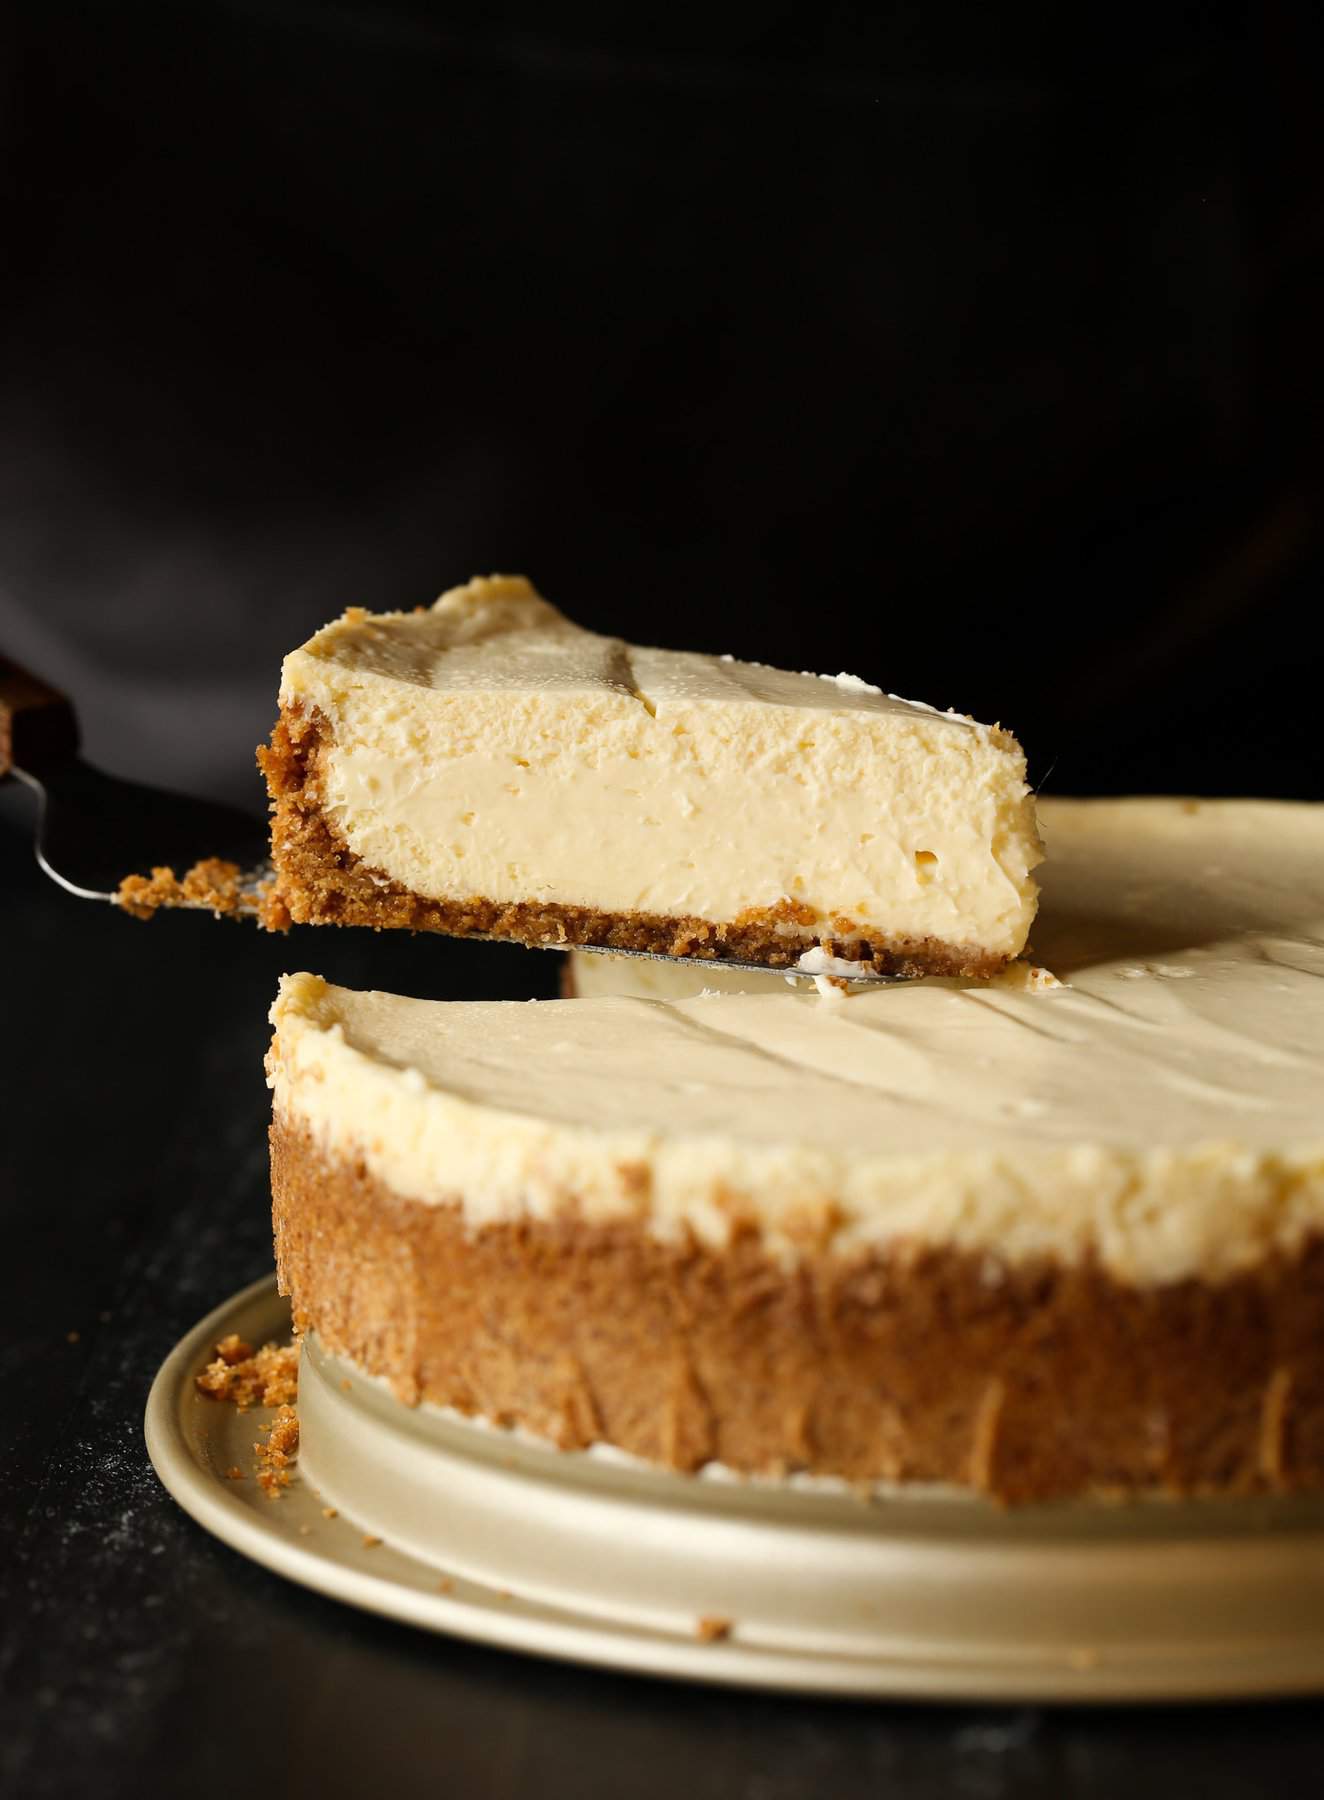
How to Make a Cheesecake
So are you ready to make cheesecake? I’m breaking down all the easy steps for you…Let’s do this!
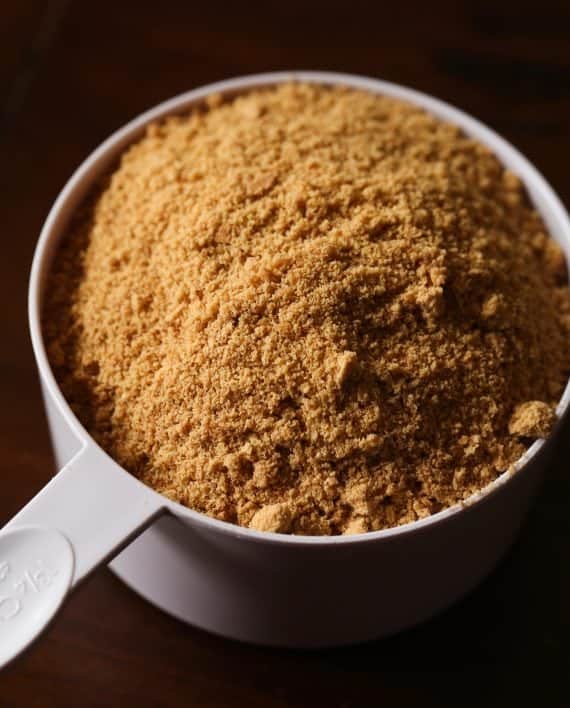
- Prepare the pan. Double wrap the bottom of your 9- inch springform pan with foil, ensuring the layers are overlapped to prevent water from getting into the pan. Preheat the oven to 350F.
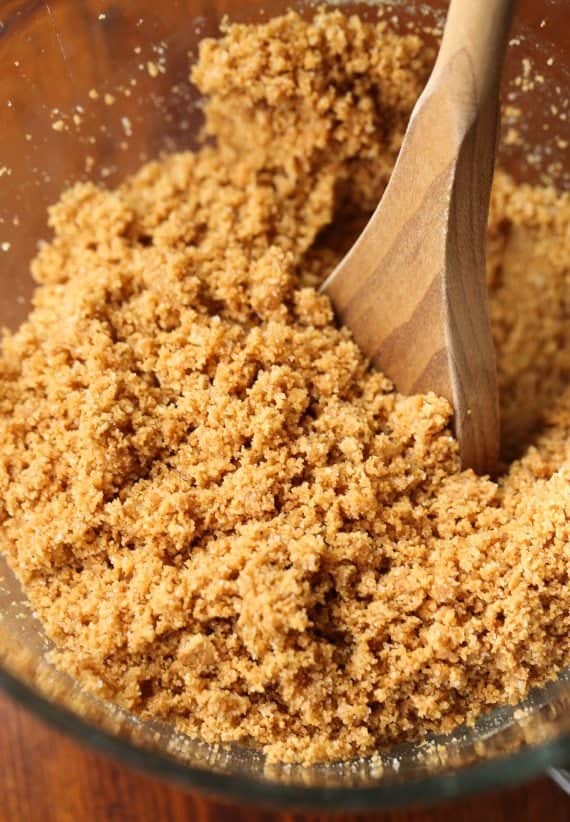
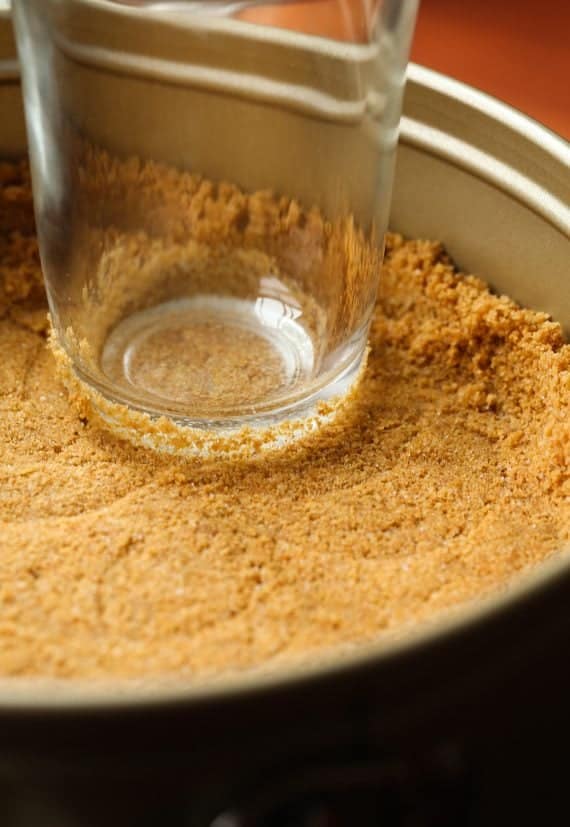
- Make the crust. Combine the graham cracker crumbs, butter, sugar, and salt. Press into the bottom and up the sides of the pan.
- Bake the crust. Bake for 8-10 minutes, until lightly golden. Set aside.
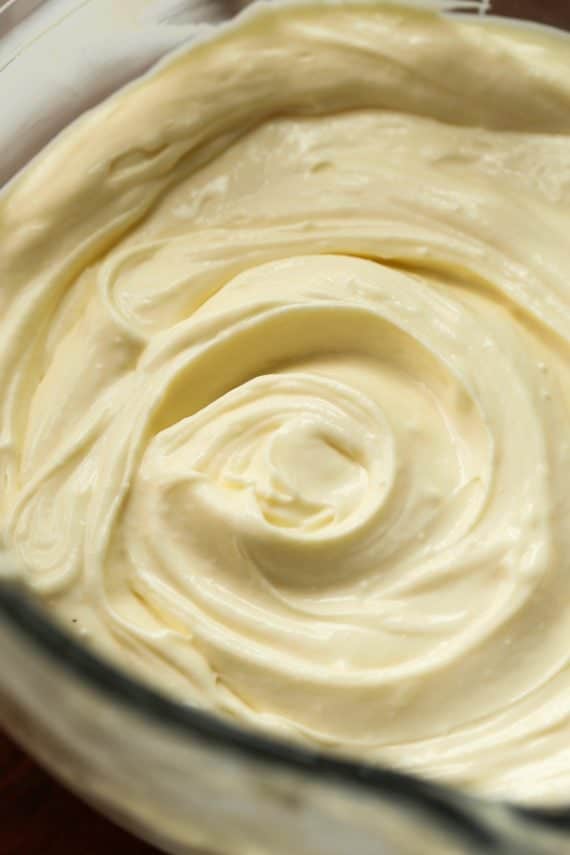
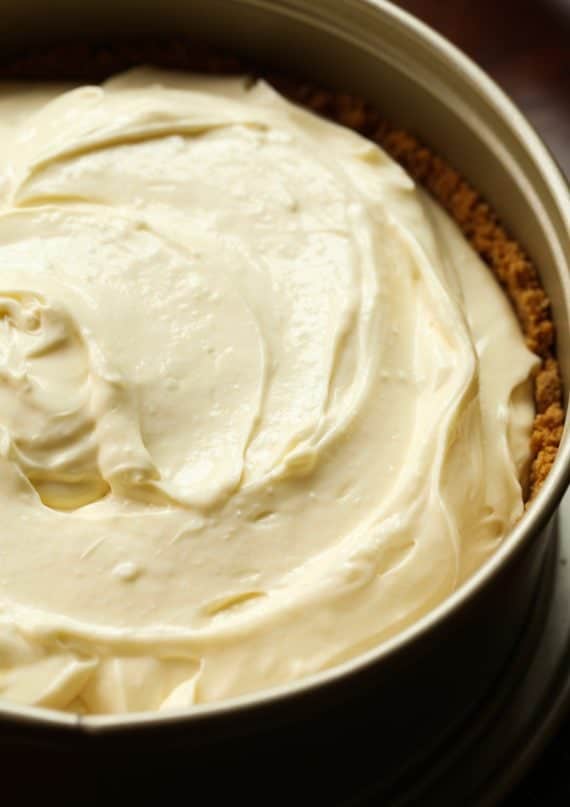
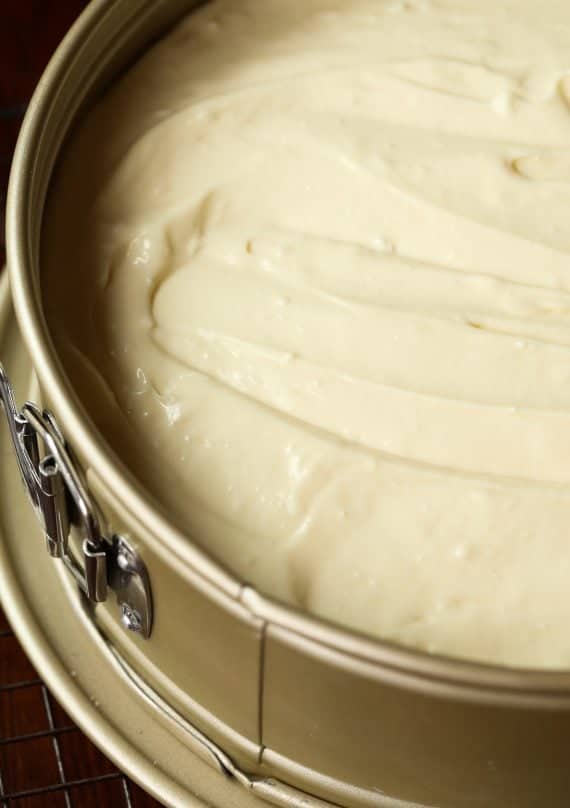
- Make the cheesecake filling. Mix the cream cheese and sugar on medium until smooth. Turn the speed to low and add the sour cream and vanilla. Scrape the sides of the bowl as necessary. Add the eggs one at a time, until just mixed. Pour the filling into the crust and spread evenly.
- Add the water bath. Place the springform pan in another large pan. Fill 3/4″ inch deep with very hot water.
- Bake. Bake the cheesecake for 60-70 minutes, until the center is almost set. Run a knife around the rim to gently loosen the cake.
- Cool. Cool the homemade cheesecake at room temperature for an hour, then cover and refrigerate for 6 hours or overnight.
- Enjoy. Release the sides of the springform pan before slicing.
How to Use a Water Bath (Easy Method)
Intimidated by the water bath portion of this easy cheesecake recipe? Don’t be! It’s actually super simple!
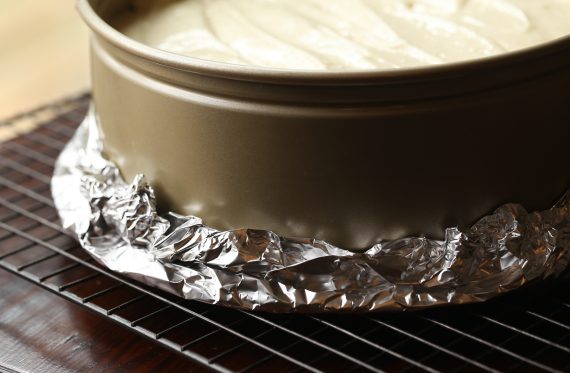
- Wrap the pan tightly with foil. First, DOUBLE wrap the bottom of your pan in foil. You bake a cheesecake in a water bath, and the foil is just a preventative measure so water doesn’t leak in and cause your crust to get soggy!
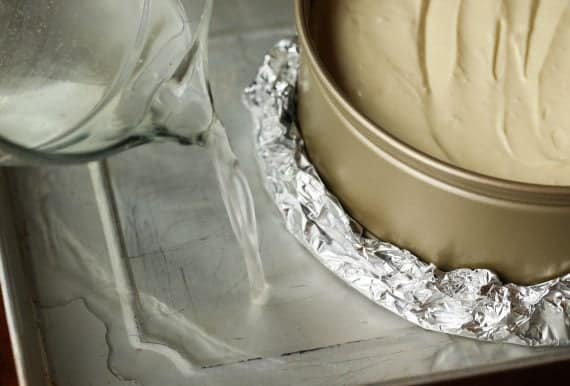
- Set the springform pan in a larger pan. Once you’ve added the cheesecake filling to the pan, you’ll want to place it in a larger pan. I use my half sheet pan but you can use any shape, as long as the spring form fits inside.
- Add water. Pour very hot water into the larger pan. Just make sure to not pour it higher than the foil! 3/4 inch is the sweet spot for me.
How do I know when my cheesecake is done?
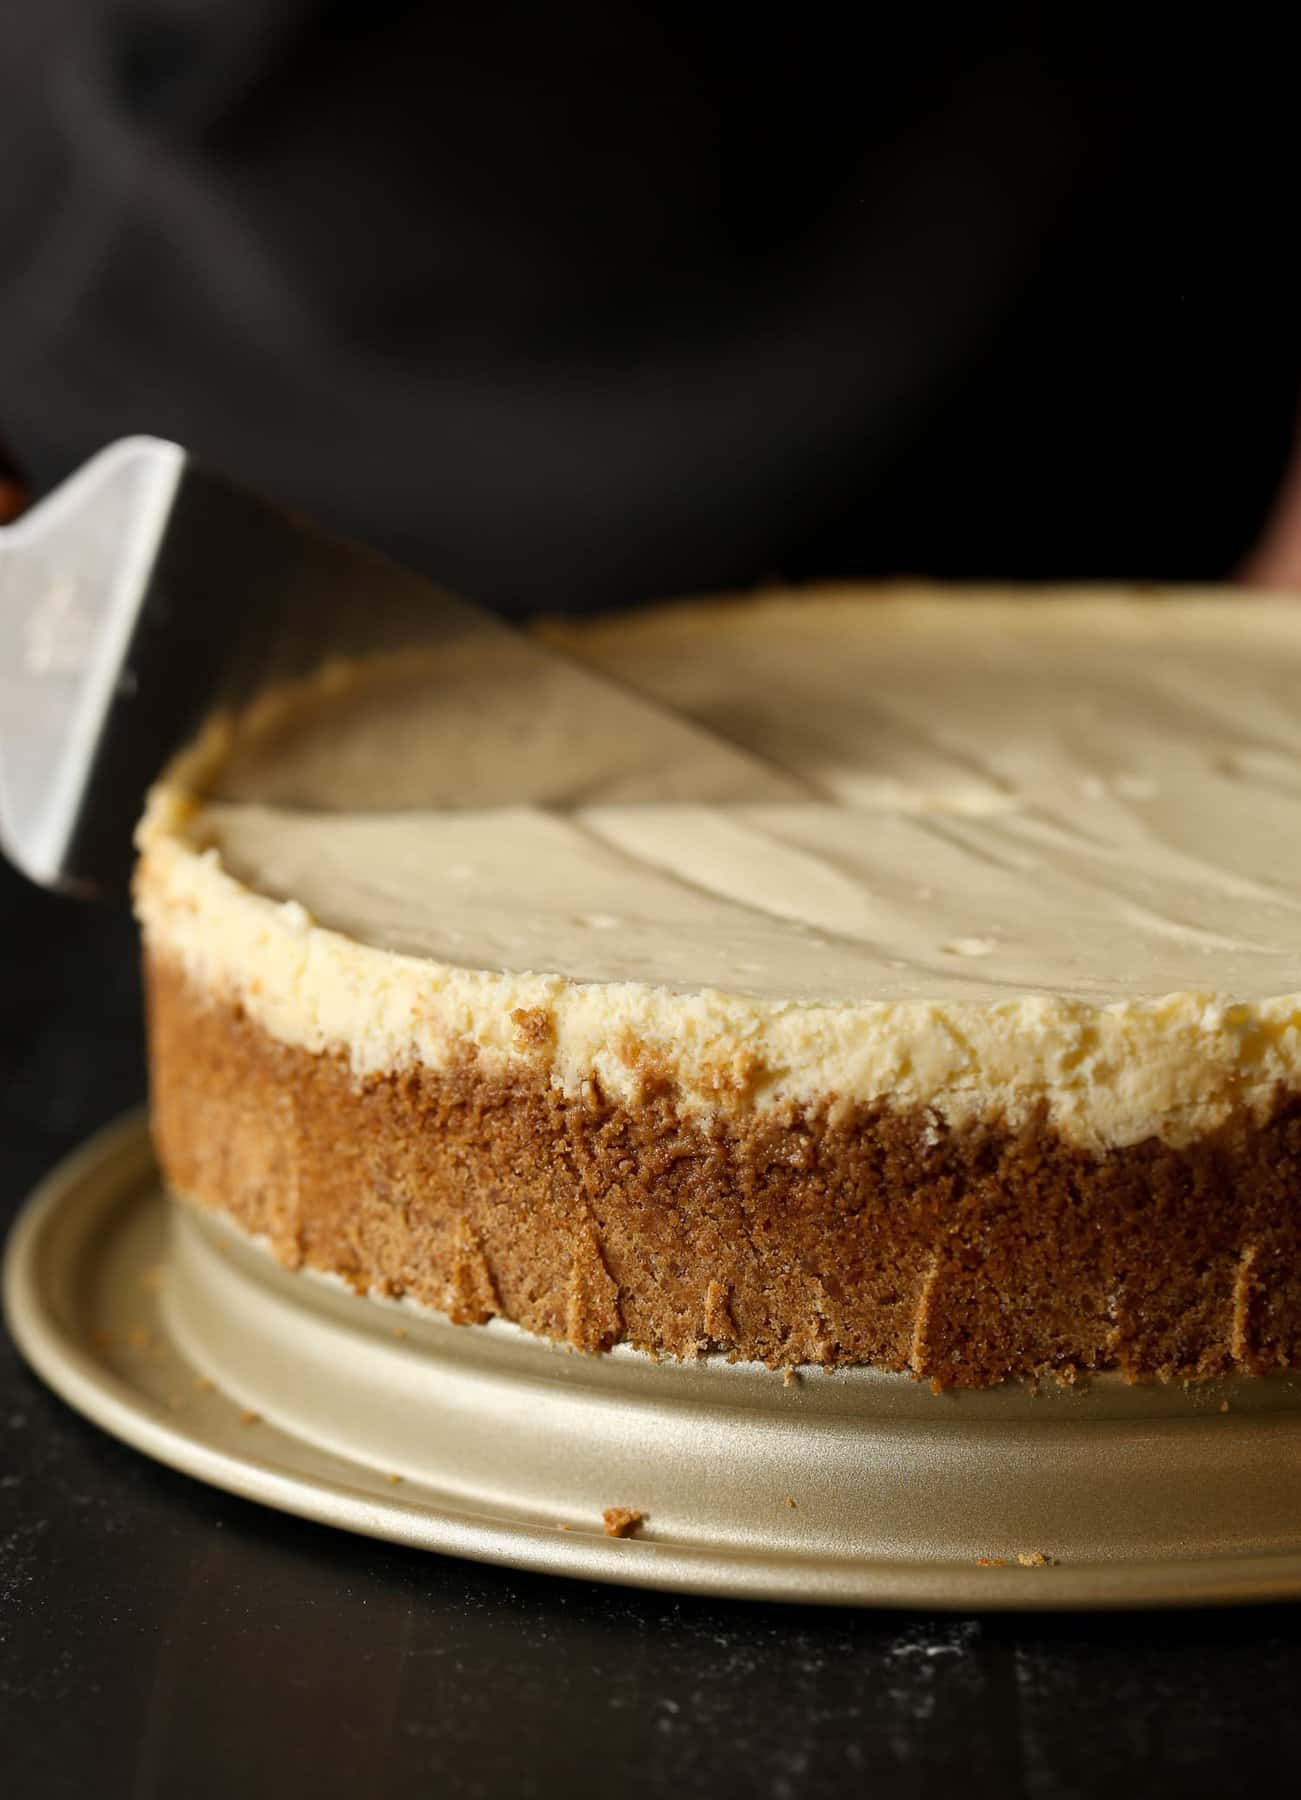
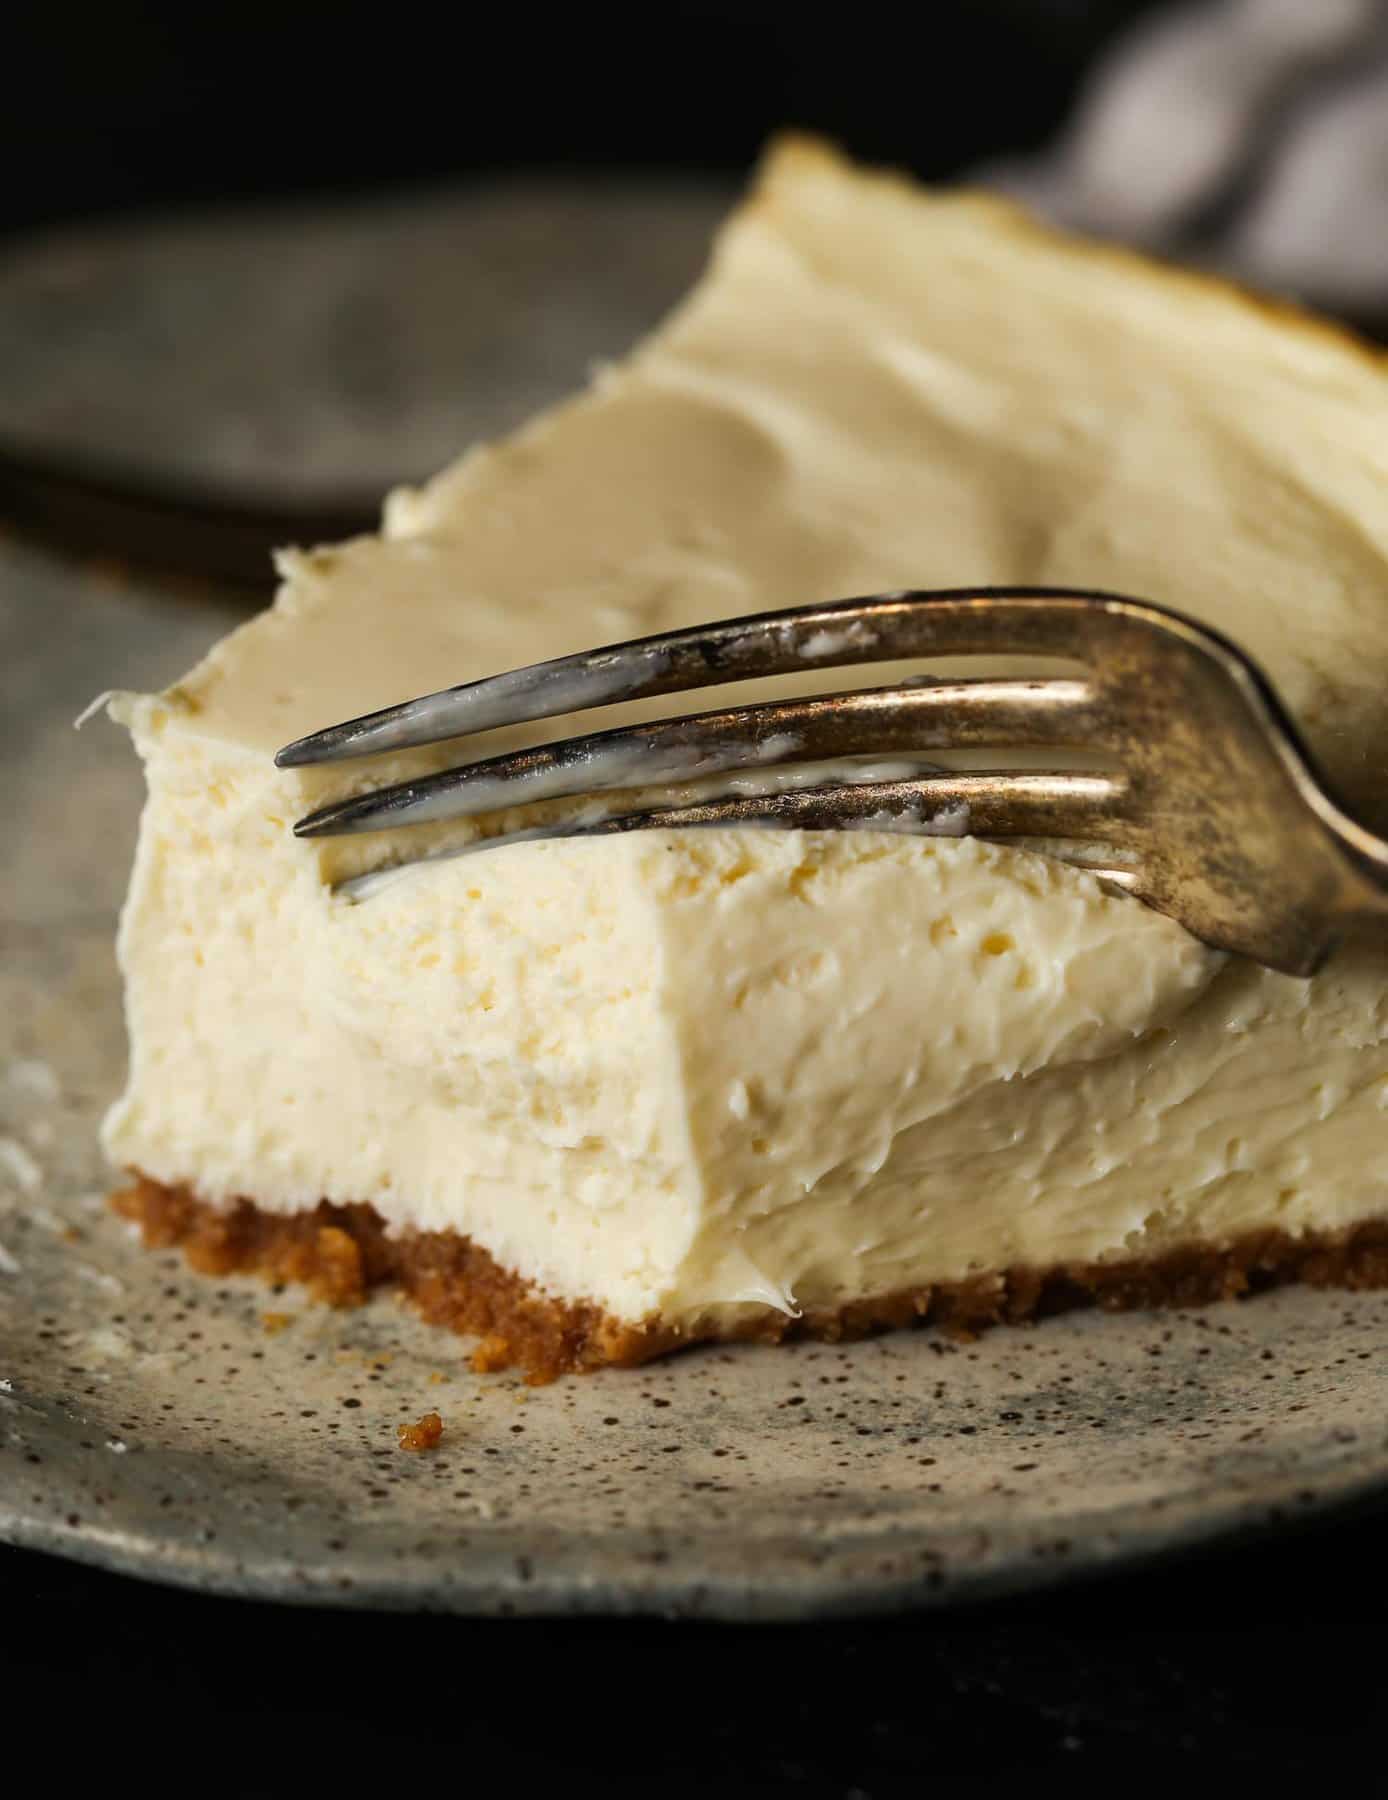
The outside should be set, while the inside should jiggle ever so slightly. This means it’s done. If you bake the cheesecake long enough that the center is set, it is over baked. Over baking ALSO causes cracking, which is what you’re trying to avoid.
Tips for Success
- Pre-bake your crust! It only takes a few extra minutes and ensures you have a sturdy crust that won’t get soggy.
- Make sure all your ingredients are at room temperature. This includes the eggs, cream cheese, and sour cream. Room-temperature ingredients will combine much easier, which will result in a cheesecake flipping without lumps.
- Don’t over mix your cheesecake. This is one of the most important tips for making a homemade cheesecake. Over mixing will incorporate too much air into the filling and cause it to crack as it’s baking.
- Don’t open the oven. Resist all temptation to open the oven before the 60 minute mark, as you want all the hot air inside to cook the cheesecake.
- Avoid overbaking. The cheesecake should still be a bit jiggly in the center. Overbaking can cause the cheesecake to crack.
- Don’t skimp on chill time. And don’t go straight to the fridge either. You need to let your cheesecake chill for at least an hour at room temperature before covering and refrigerating.
What do I do if my cheesecake cracks?
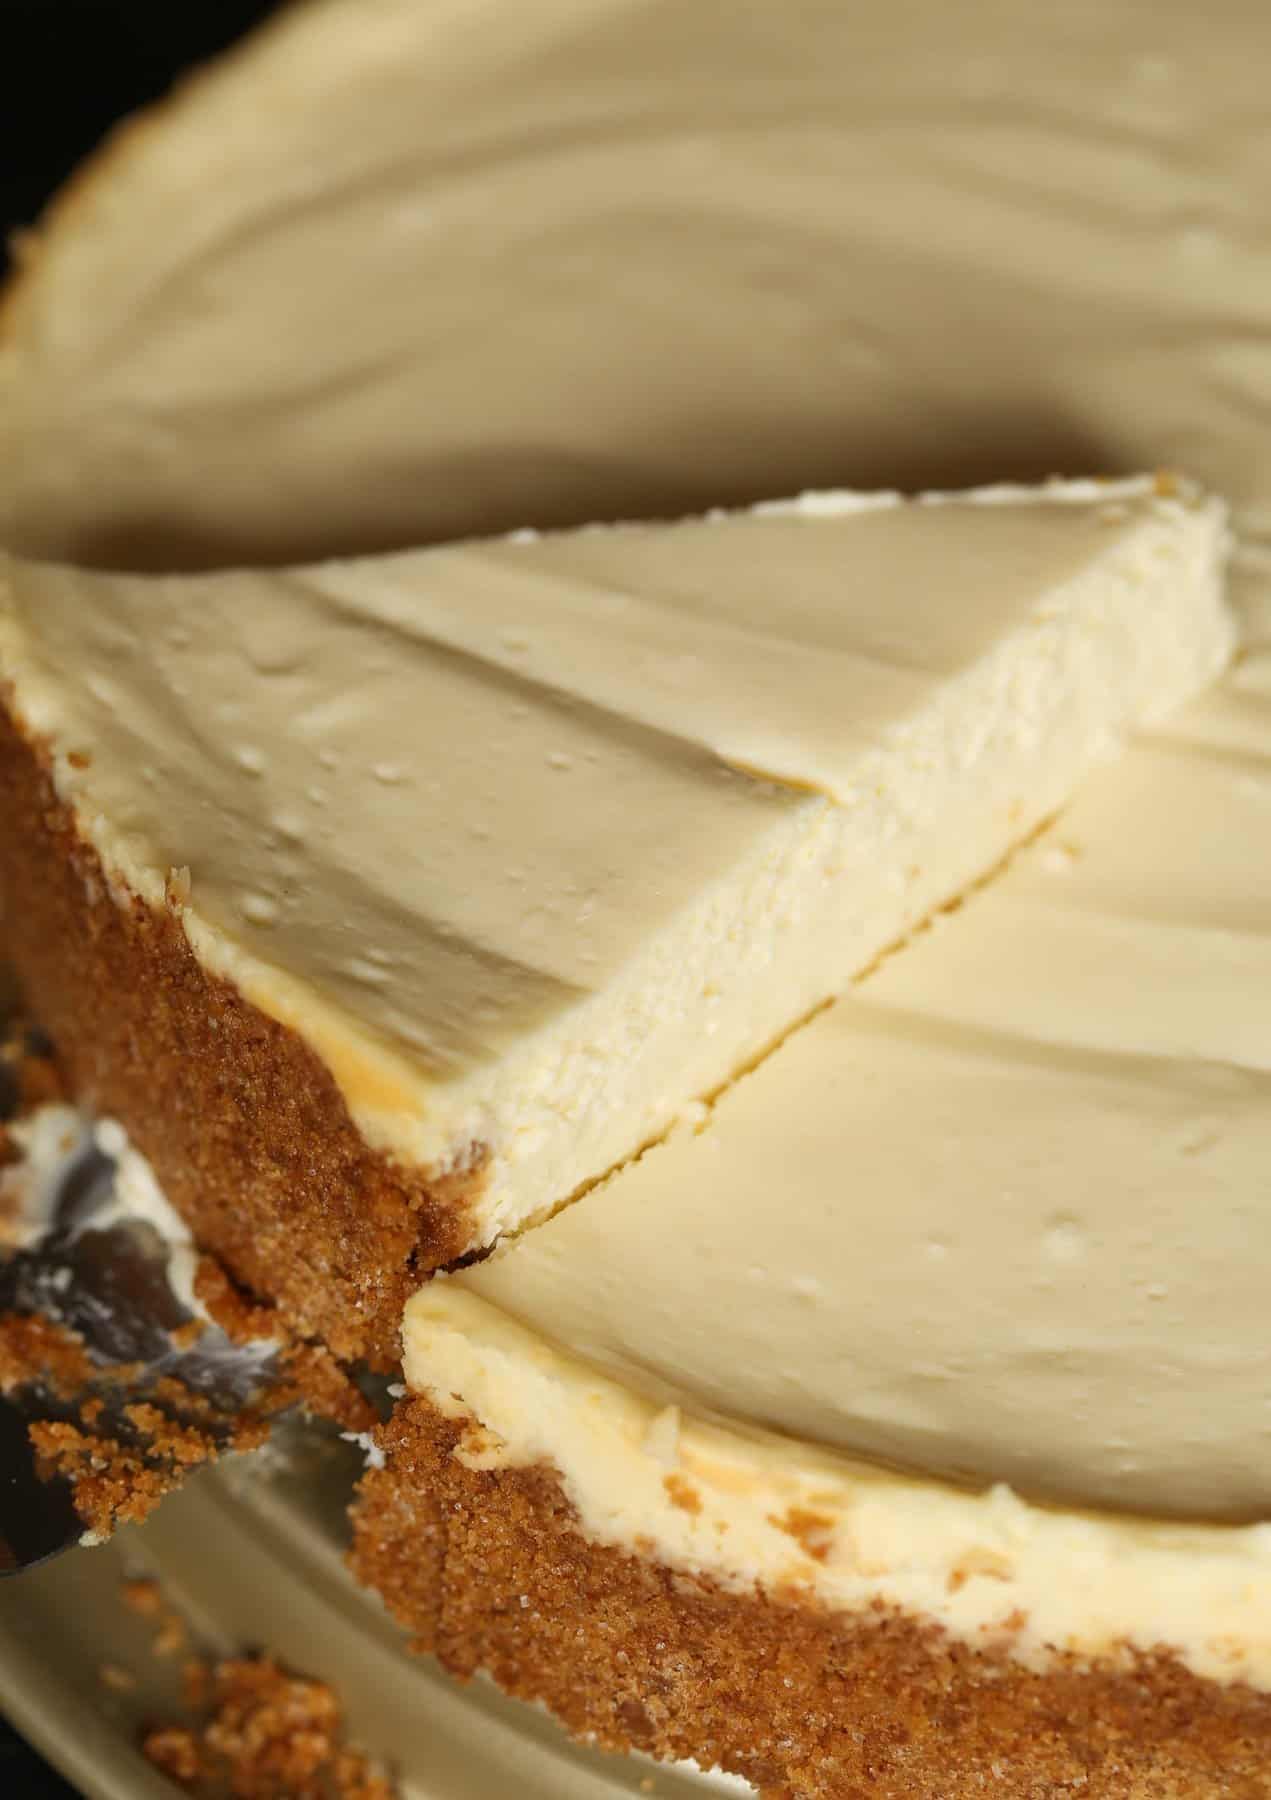
All is not lost if you see a crack in your cheesecake! Usually, this is just a cosmetic thing. To fix it you can top your cheesecake with whipped cream, or with cherry pie filling. The crack will be hidden and your cheesecake will still taste amazing!
Cheesecake Topping Ideas
Now, don’t get me wrong – you can enjoy this cheesecake exactly as it is. And it will be absolutely delicious! But if you want a little something extra, here are a few ideas:
- Chocolate syrup
- Caramel sauce
- Fresh berries
- Cherry pie filling
- Fruit compote
- Chocolate shavings
- Peanut butter sauce
How to Store
- Store in the fridge: Cheesecake can be stored in the fridge for up to 5 days. Keep it in the springform mold to hold its shape and cover it with saran wrap until you plan to serve it. Wait to add your toppings, if any, until you serve it.
- Can I freeze it? Yes! To freeze your cheesecake allow it to cool completely on the stovetop and set in the fridge. Then you can freeze it by wrapping it in a couple of layers of plastic wrap, plus a couple of layers of tin foil. Cheesecake will keep in the freezer for a few months. When you are ready to eat your cheesecake, transfer it to the fridge to thaw overnight.
More Cheesecake Recipes to Try
Easy Cheesecake Recipe
- Prep Time: 20 minutes
- Cook Time: 70 minutes
- Total Time: 90 minutes + chill time
- Yield: 12 1x
- Category: Dessert
- Method: Oven
- Cuisine: American
Description
This easy cheesecake recipe comes out perfect every time, with a luscious, creamy filling in a graham cracker crust! Plus my tips for how to make the BEST cheesecake, even if it’s your first time.
Ingredients
Crust
- 1 3/4 cups Graham Cracker Crumbs (about 15 full crackers)
- 1/3 cup butter, melted
- 1/4 cup granulated sugar
- 1/2 teaspoon kosher salt
Cheesecake
- 4 (8 ounce) packages Cream Cheese, room temperature (32- ounces in total)
- 1 cup granulated sugar
- 1/2 cup sour cream, room temperature
- 2 teaspoons vanilla
- 3 eggs, room temperature
Instructions
Make the Crust
- Double wrap the bottom of a 9- inch springform pan with foil, sealing it tightly to prevent water from getting into the pan.
- Preheat oven to 350°F.
- In a large bowl mix the graham cracker crumbs, butter, granulated sugar, and salt together evenly.
- Press the mixture into the bottom and up the sides of 9-inch springform pan.
- Bake the crust for 8-10 minutes, or until lightly golden. Set aside while you make the cheesecake filling.
Make the Cheesecake
- In the bowl of your stand mixer fitted with the paddle attachment, mix the cream cheese and sugar on medium speed, until smooth, scraping the sides of the bowl as necessary.
- Turn the mixer to low and add the sour cream and vanilla; mix well, scraping sides of the bowl as necessary.
- Add the eggs, 1 at a time, mixing on low speed after each addition just until mixed. Don’t over mix.
- Pour the filling over crust and spread evenly.
- Place the springform pan into a larger pan and pour very hot water into the pan, until it’s 3/4- inch deep, careful to make sure the water level doesn’t come up higher than the foil.
- Bake for 60-70 minutes or until the center is almost set. The center will still jiggle while the edges will be set.
- Carefully run a knife around the rim of pan to loosen cake.
- Allow the cheesecake to cool at room temperature for at least an hour, then cover and transfer into the refrigerator for 6 hours or overnight.
- Release the sides of the springform pan before slicing.
Notes
Store airtight, refrigerated for up to 5 days.
Nutrition
- Serving Size: 1 Slice
- Calories: 372
- Sugar: 23.2 g
- Sodium: 244.8 mg
- Fat: 27.9 g
- Carbohydrates: 27.2 g
- Protein: 4.4 g
- Cholesterol: 119.1 mg
Want To Save This Recipe?
Find more recipes like this:
PIN for later:











Recently, I stupidly claimed to my boyfriend that I could probably make a really good cheesecake, despite never having made one before. He, who has taken baking classes, tried to warn me it would be hard to do and said that if I didn’t know what I was doing, it would end up cracked. So for his arrival back from a work trip tomorrow, I decided to attempt one.
Holy moly. This recipe is thorough and easy enough for me!! My cheesecake came out perfectly, no cracks. And after sneaking a taste, I can also say it’s super creamy and delicious. I hope I can save some for my boyfriend tomorrow…
If I, an inexperienced baker who had never even attempted cheesecake before today, can make this, I believe anyone can. Thanks for the fantastic recipe!! This one is for the books.
This is SO great! Glad you made it and thank you so much for the review 🙂
Yumm this looks heavenly. Thanks for the cheesecake recipe. Can’t wait to try it out.
I hadn’t made a cheesecake in 35 years because they were always cracked, over-cooked and dry or undercooked and soggy. I followed your tips exactly, including staying up an hour later than expected to let ingredients warm up (I should have read more carefully and earlier ????). I took it into work wondering if it was any good. “Awesome,” “amazing,” “best I ever had,” and “I want
several pieces if I’m dying.” Thank you. (It was REALLY tough to type this with a video popping up over it each time I typed, however. I only continued because I’m grateful!). Thank you.
So glad you made it!! Sorry about he ads, they should be easy to close out. They’re a necessary evil. BUT yay for cheesecake!!
My biggest fear is getting the cheesecake out of the pan in one piece. Do I line or not line the bottom?…i made cheesecakes before where iv lined the bottom only to be so annoyed at trying to remove it :p
So yes I avoid making cheesecakes at all cost too. Thanks for sharing this recipe Shelly, I will certainly give it another try.
No need to line the bottom, especially if you are using a springform pan 🙂 Just use a thin metal spatula to get under the crust to serve the slices! I hope you try this recipe!
I just bought everything to try out this recipe and realized all I have at home is a 8×8 glass pan. will that be ok? How do I change the cooking time?
Hey!
So this is the first time making cheesecake and was wondering if there is a substitute for sour cream.
Greek Yogurt 🙂
Best cheesecake EVER! Every time I make it I get that comment! Thanks for the perfect recipe and method! One question though, do you cool it in the water bath or take it out of the bath once it’s out of the oven?
Will the cheesecake melt over time if place outside for too long?
It won’t melt, but it’s made up of dairy, so it won’t be safe to eat for prolonged periods unrefrigerated.
Is it okay to use these cheesecake recipe for making 3 layered red velvet cheesecake? Will it withstand the weight? Or should i add flour or cornstarch to make it more denser?
It will be dense enough!
Can i divide this recipe into two 6inch pan? Can you help me with the cooking time
hi, ive used this recipe a few times before and i love it! i was wondering though, is it possible to make it in muffin tins? and if yes, how would i adjust the baking time?
Made this yesterday. First time making cheesecake.
Followed instructions to the letter and it was really really good.
Thanks for the tutorial!!
So glad you liked it!!
Could Oreo cookies be added to this somehow? If so how would you recommend?
Sure! Use an Oreo crust instead of a graham cracker crust, and then you can even add some crushed or chopped Oreo into the batter, as a last step!
Awesome, thank you! Was worried adding Oreo into batter would affect the way it sets. Thanks again!