
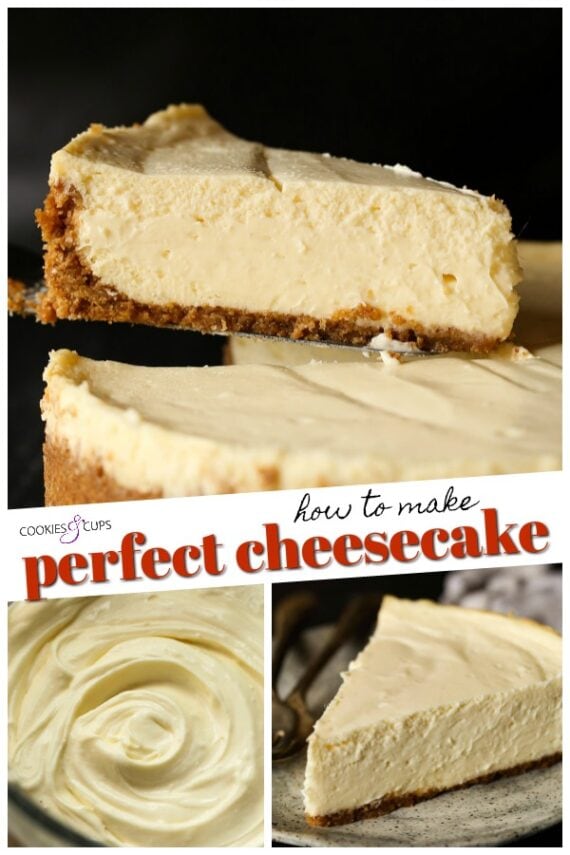
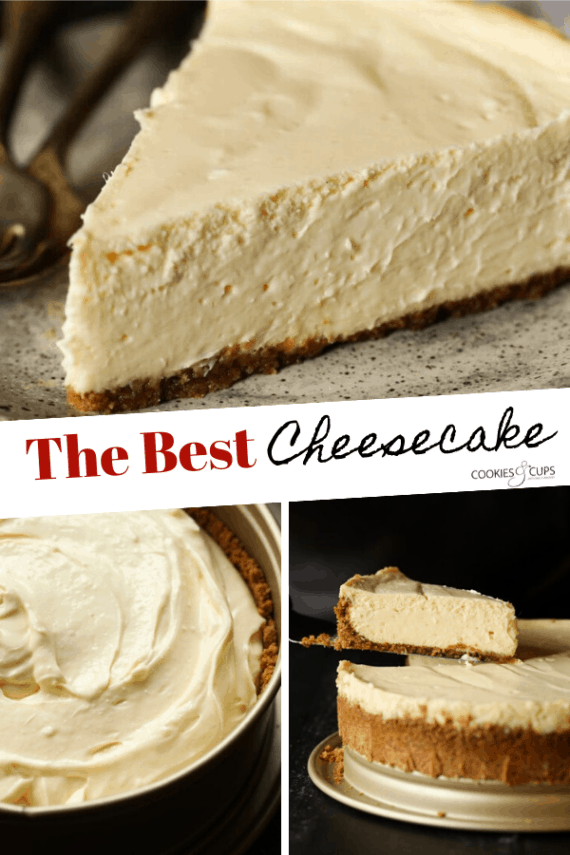
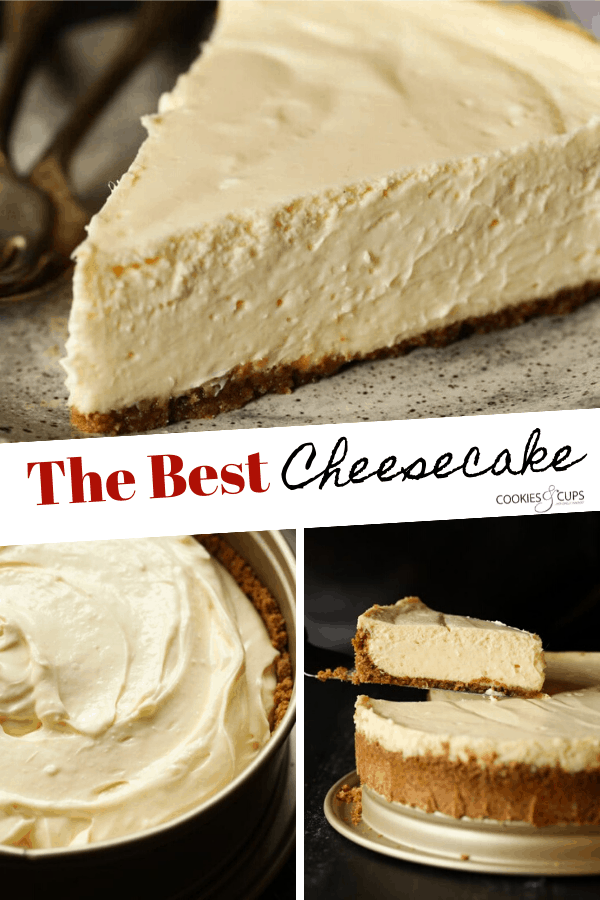
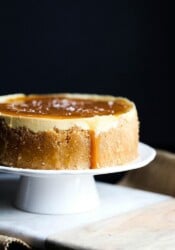
This cheesecake recipe comes out perfect every time, with a luscious, creamy filling in a graham cracker crust! Plus my tips for how to make the BEST cheesecake, even if it’s your first time.
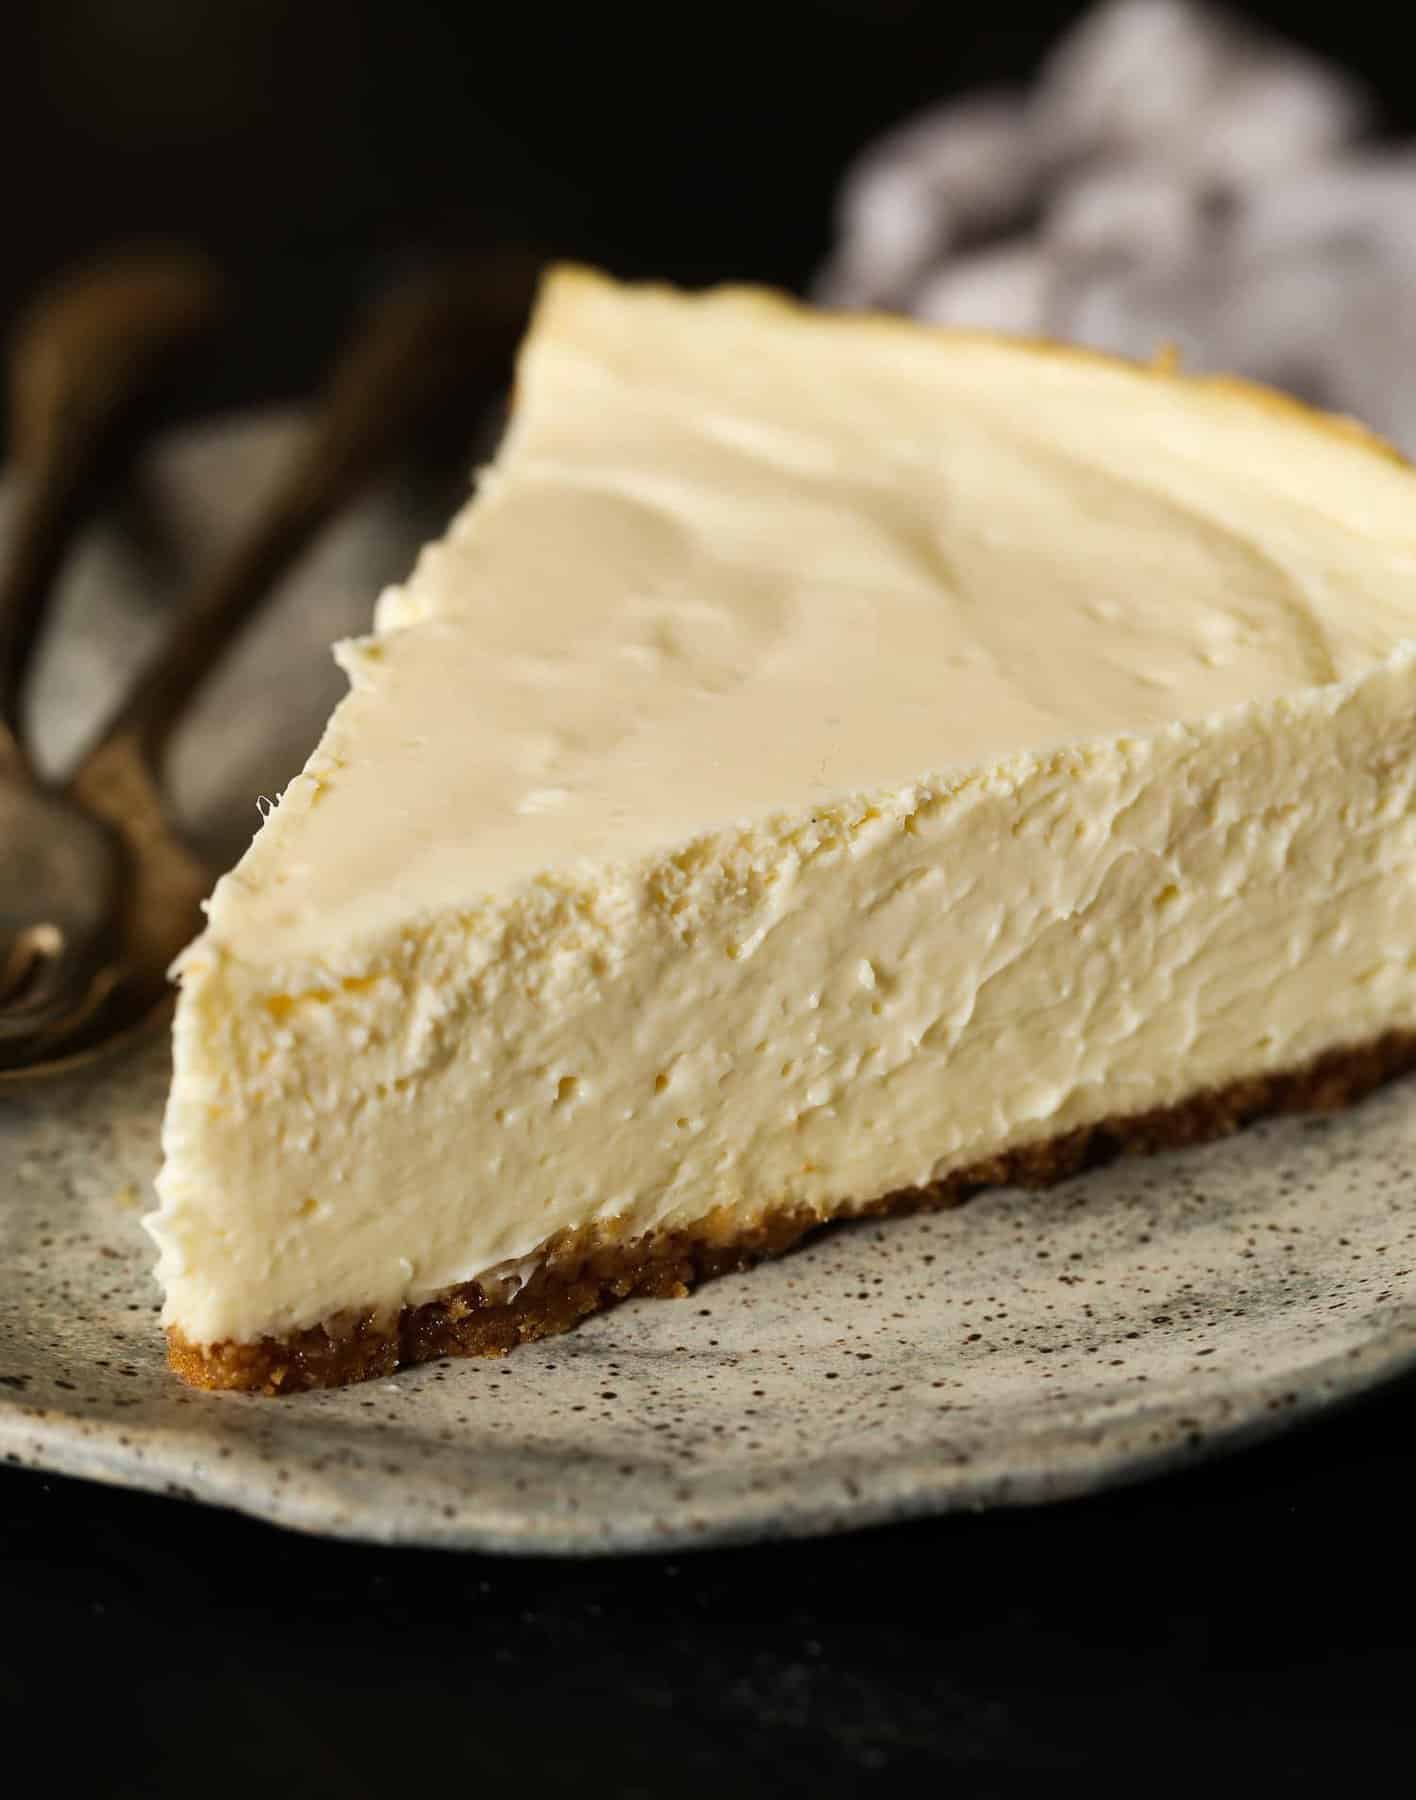
Cheesecake is one of those recipes that can be intimidating but it doesn’t have to be. Making cheesecake at home can be super simple with the right technique and attention to detail. In this post, I’m going to show you how to make the best cheesecake ever with step-by-step instructions.
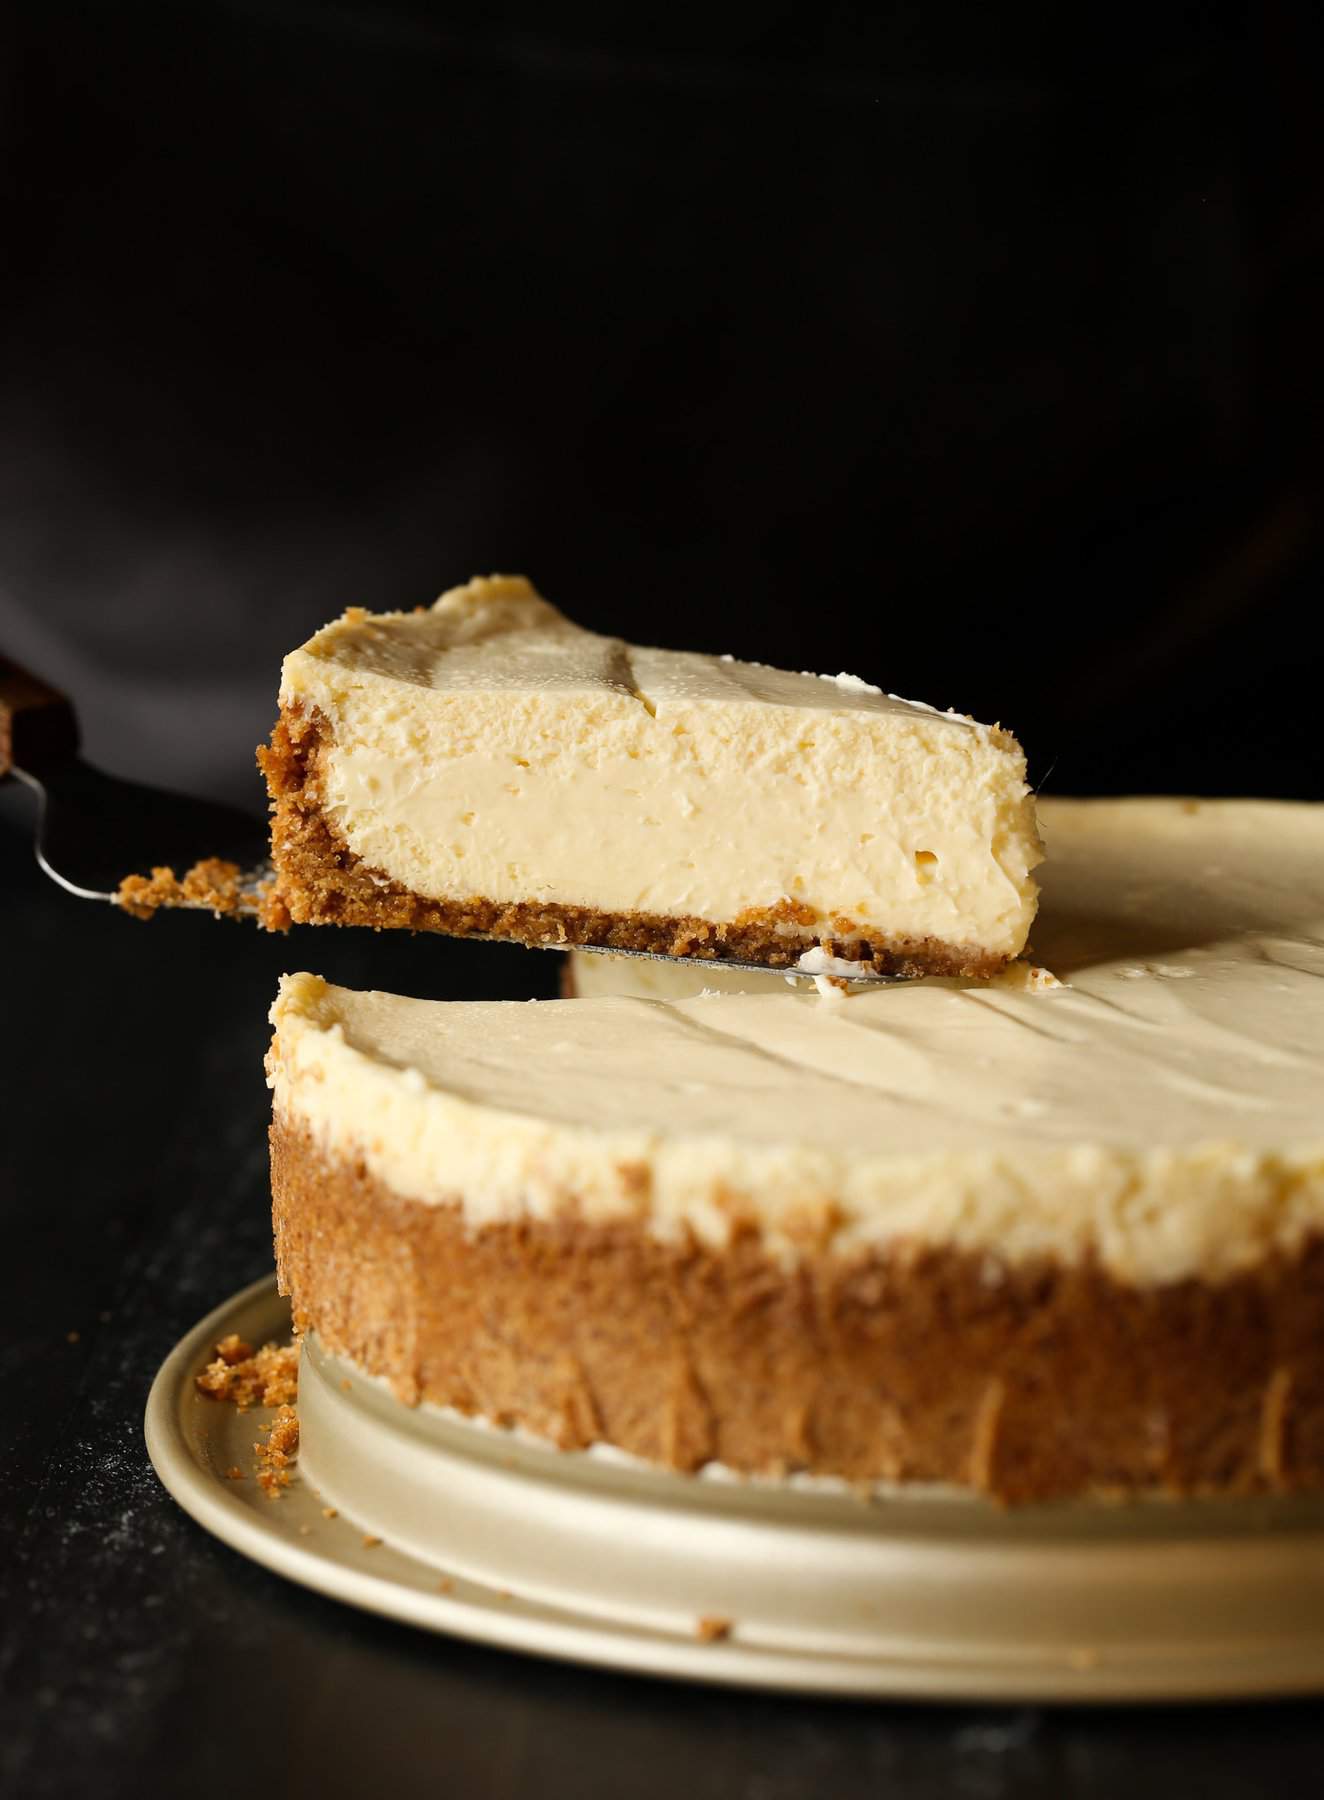
The end result is a creamy cheesecake in a buttery graham cracker crust. And once you’ve mastered this basic recipe, you’ll be excited to make variations like pumpkin cheesecake or brownie cheesecake.
Why You’ll Love This Cheesecake Recipe
Here are a few reasons I truly believe this is the best cheesecake recipe out there.
- Perfect for beginners. There’s nothing complicated about this recipe, so even if you’ve never made a cheesecake before you’ll be able to follow along just fine. Plus I have lots of tips below as well.
- Only a few ingredients. There’s just a handful of ingredients in both the crust and the filling. Most of them are pantry staples too!
- Easy to customize. Once you have this base recipe down, you can experiment with different variations. You can also add fun toppings, like chocolate sauce or cherry pie filling.
Craving more cheesecake? Check out my mini cheesecakes, sour cream cheesecake, and no bake cheesecake too!
What You’ll Need
Let’s start with a quick look at the ingredients for this cheesecake recipe. (See the recipe card at the bottom of this post for amounts.) There is nothing complicated here! Simple ingredients often make the most amazing desserts. Here’s what you’ll need:
- Graham crackers – Crushed into crumbs for the graham cracker crust.
- Butter – Helps to hold the crust together.
- Sugar – Used in both the crust and the cheesecake filling.
- Salt – Balances the sweetness in the crust.
- Cream cheese – Be sure to use full-fat cream cheese. Reduced fat does not have the same consistency and can make the filling runny.
- Sour cream – Adds the classic cheesecake tanginess to the filling.
- Vanilla extract – For flavor.
- Eggs – Help to hold the cheesecake filling together.
How to Make a Cheesecake
So are you ready to make cheesecake? I’m breaking down all the easy steps for you…Let’s do this!
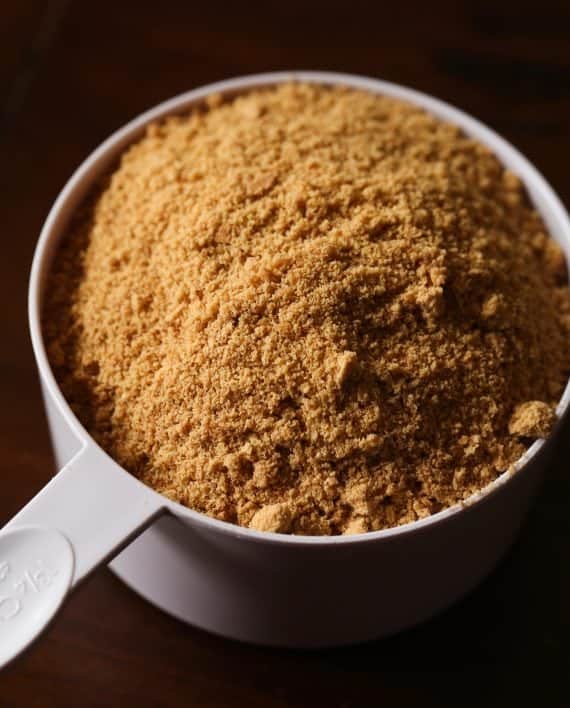
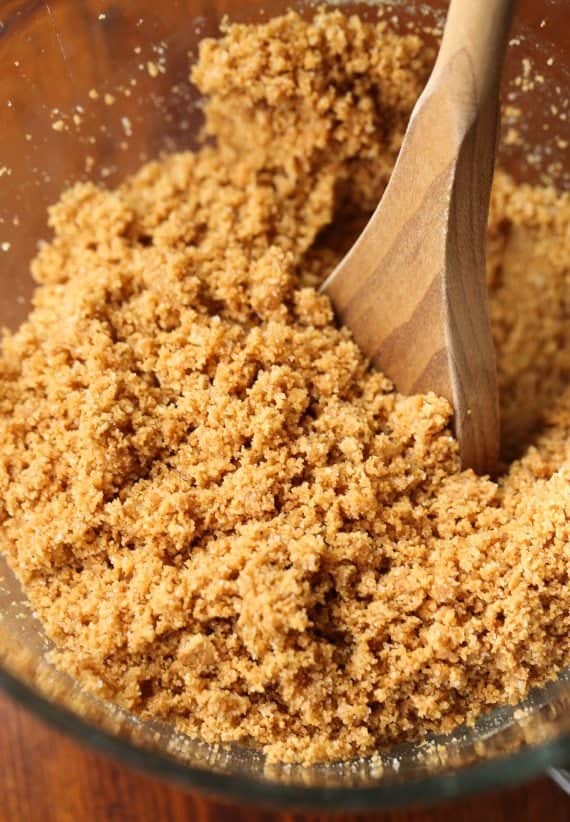
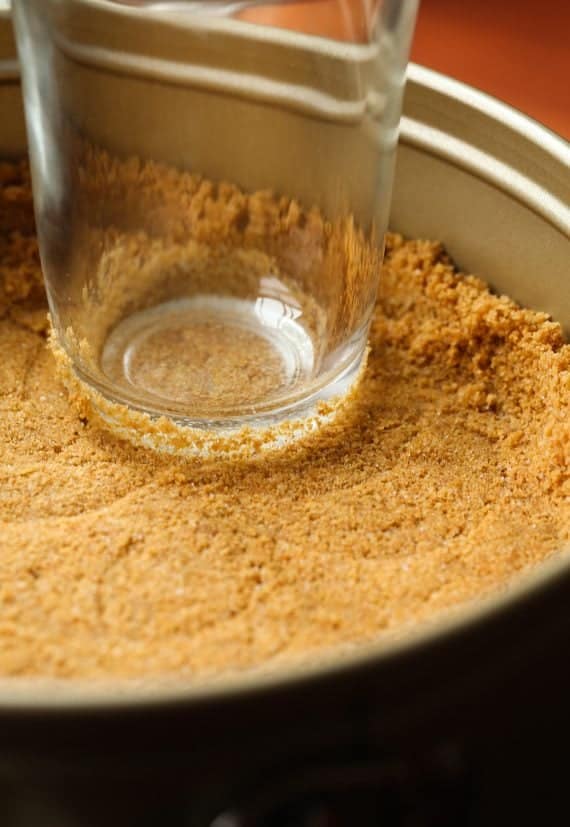
- Prepare the pan. Double wrap the bottom of your 9- inch springform pan with foil, ensuring the layers are overlapped to prevent water from getting into the pan. Preheat the oven to 350F.
- Make the crust. Combine the graham cracker crumbs, butter, sugar, and salt. Press into the bottom and up the sides of the pan.
- Bake the crust. Bake for 8-10 minutes, until lightly golden. Set aside.
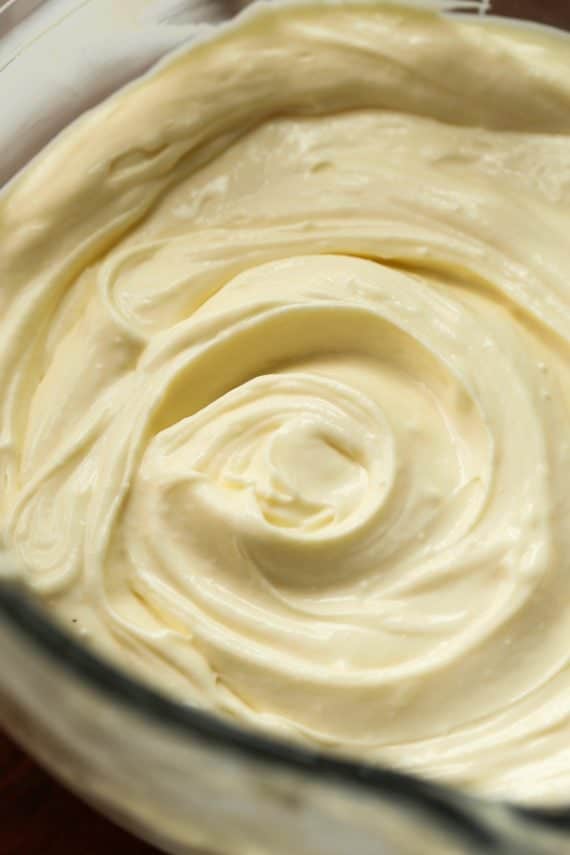
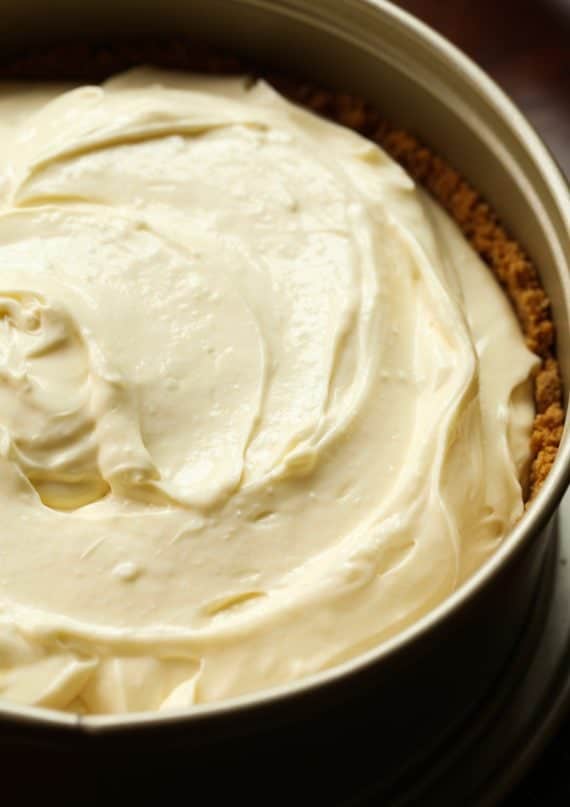
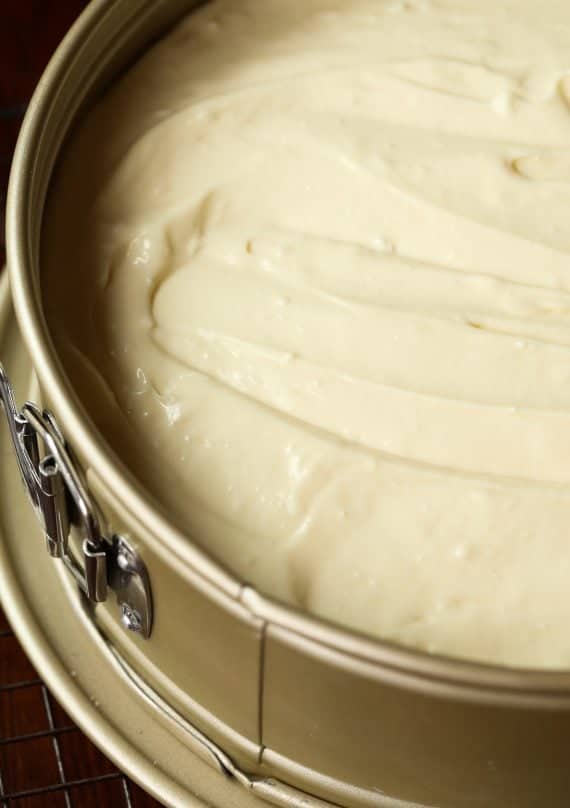
- Make the cheesecake filling. Mix the cream cheese and sugar on medium until smooth. Turn the speed to low and add the sour cream and vanilla. Scrape the sides of the bowl as necessary. Add the eggs one at a time, until just mixed. Pour the filling into the crust and spread evenly.
- Add the water bath. Place the springform pan in another large pan. Fill 3/4″ inch deep with very hot water.
- Bake. Bake the cheesecake for 60-70 minutes, until the center is almost set. Run a knife around the rim to gently loosen the cake.
- Cool. Cool the homemade cheesecake at room temperature for an hour, then cover and refrigerate for 6 hours or overnight.
- Enjoy. Release the sides of the springform pan before slicing.
How to Use a Water Bath (Easy Method)
Intimidated by the water bath portion of this easy cheesecake recipe? Don’t be! It’s actually super simple!
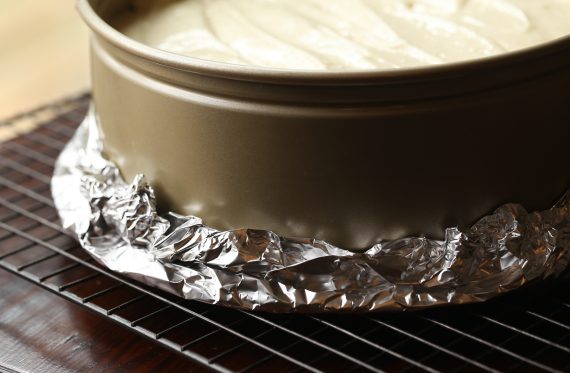
- Wrap the pan tightly with foil. First, DOUBLE wrap the bottom of your pan in foil. You bake a cheesecake in a water bath, and the foil is just a preventative measure so water doesn’t leak in and cause your crust to get soggy!
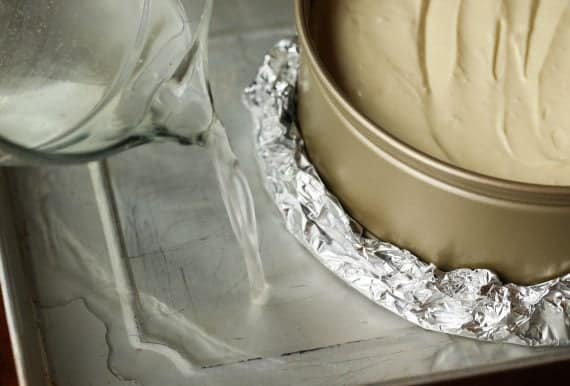
- Set the springform pan in a larger pan. Once you’ve added the cheesecake filling to the pan, you’ll want to place it in a larger pan. I use my half sheet pan but you can use any shape, as long as the spring form fits inside.
- Add water. Pour very hot water into the larger pan. Just make sure to not pour it higher than the foil! 3/4 inch is the sweet spot for me.
How do I know when my cheesecake is done?
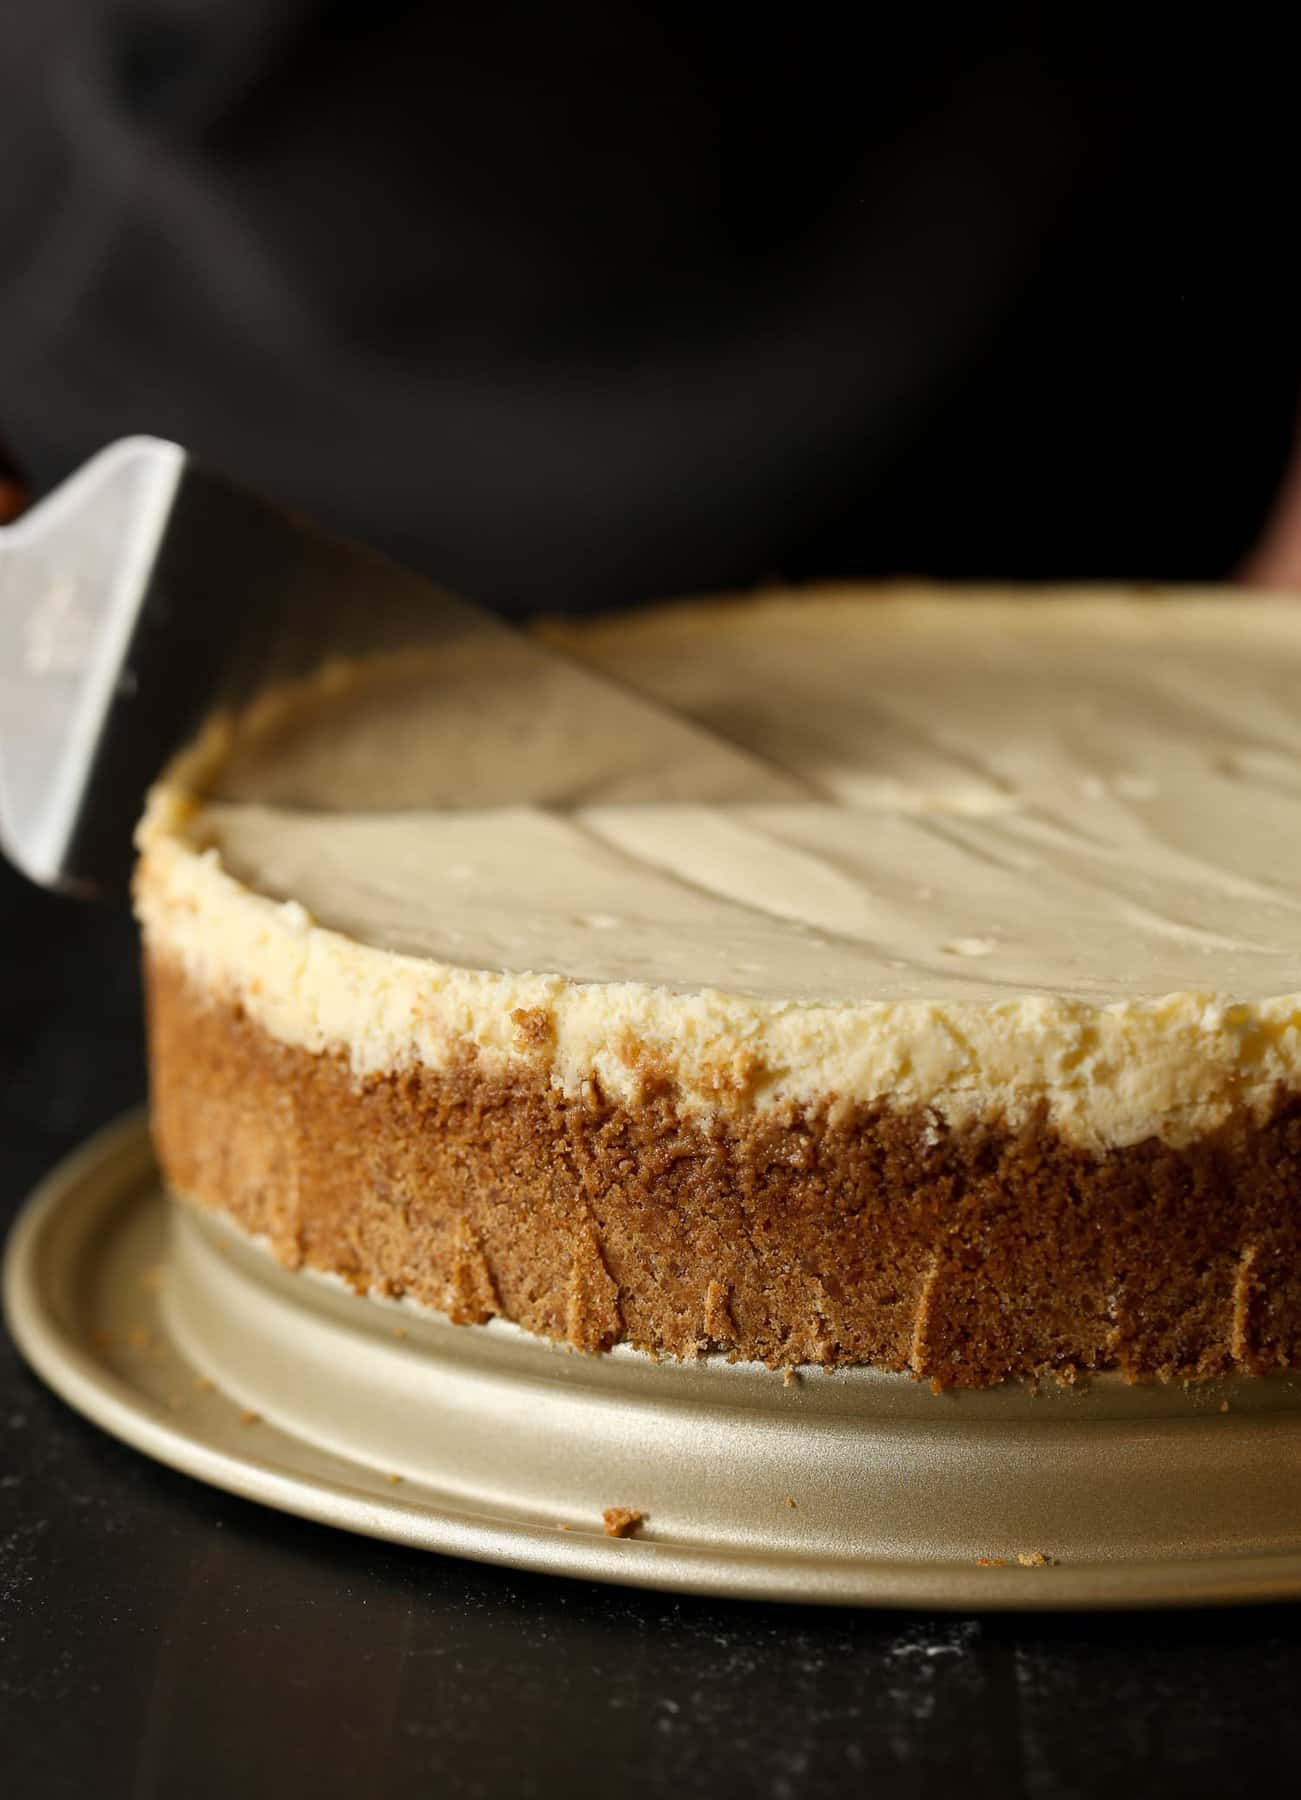
The outside should be set, while the inside should jiggle ever so slightly. This means it’s done. If you bake the cheesecake long enough that the center is set, it is over baked. Over baking ALSO causes cracking, which is what you’re trying to avoid.
Tips for Success
- Pre-bake your crust! It only takes a few extra minutes and ensures you have a sturdy crust that won’t get soggy.
- Make sure all your ingredients are at room temperature. This includes the eggs, cream cheese, and sour cream. Room-temperature ingredients will combine much easier, which will result in a cheesecake flipping without lumps.
- Don’t over mix your cheesecake. This is one of the most important tips for making a homemade cheesecake. Over mixing will incorporate too much air into the filling and cause it to crack as it’s baking.
- Don’t open the oven. Resist all temptation to open the oven before the 60 minute mark, as you want all the hot air inside to cook the cheesecake.
- Avoid overbaking. The cheesecake should still be a bit jiggly in the center. Overbaking can cause the cheesecake to crack.
- Don’t skimp on chill time. And don’t go straight to the fridge either. You need to let your cheesecake chill for at least an hour at room temperature before covering and refrigerating.
What do I do if my cheesecake cracks?
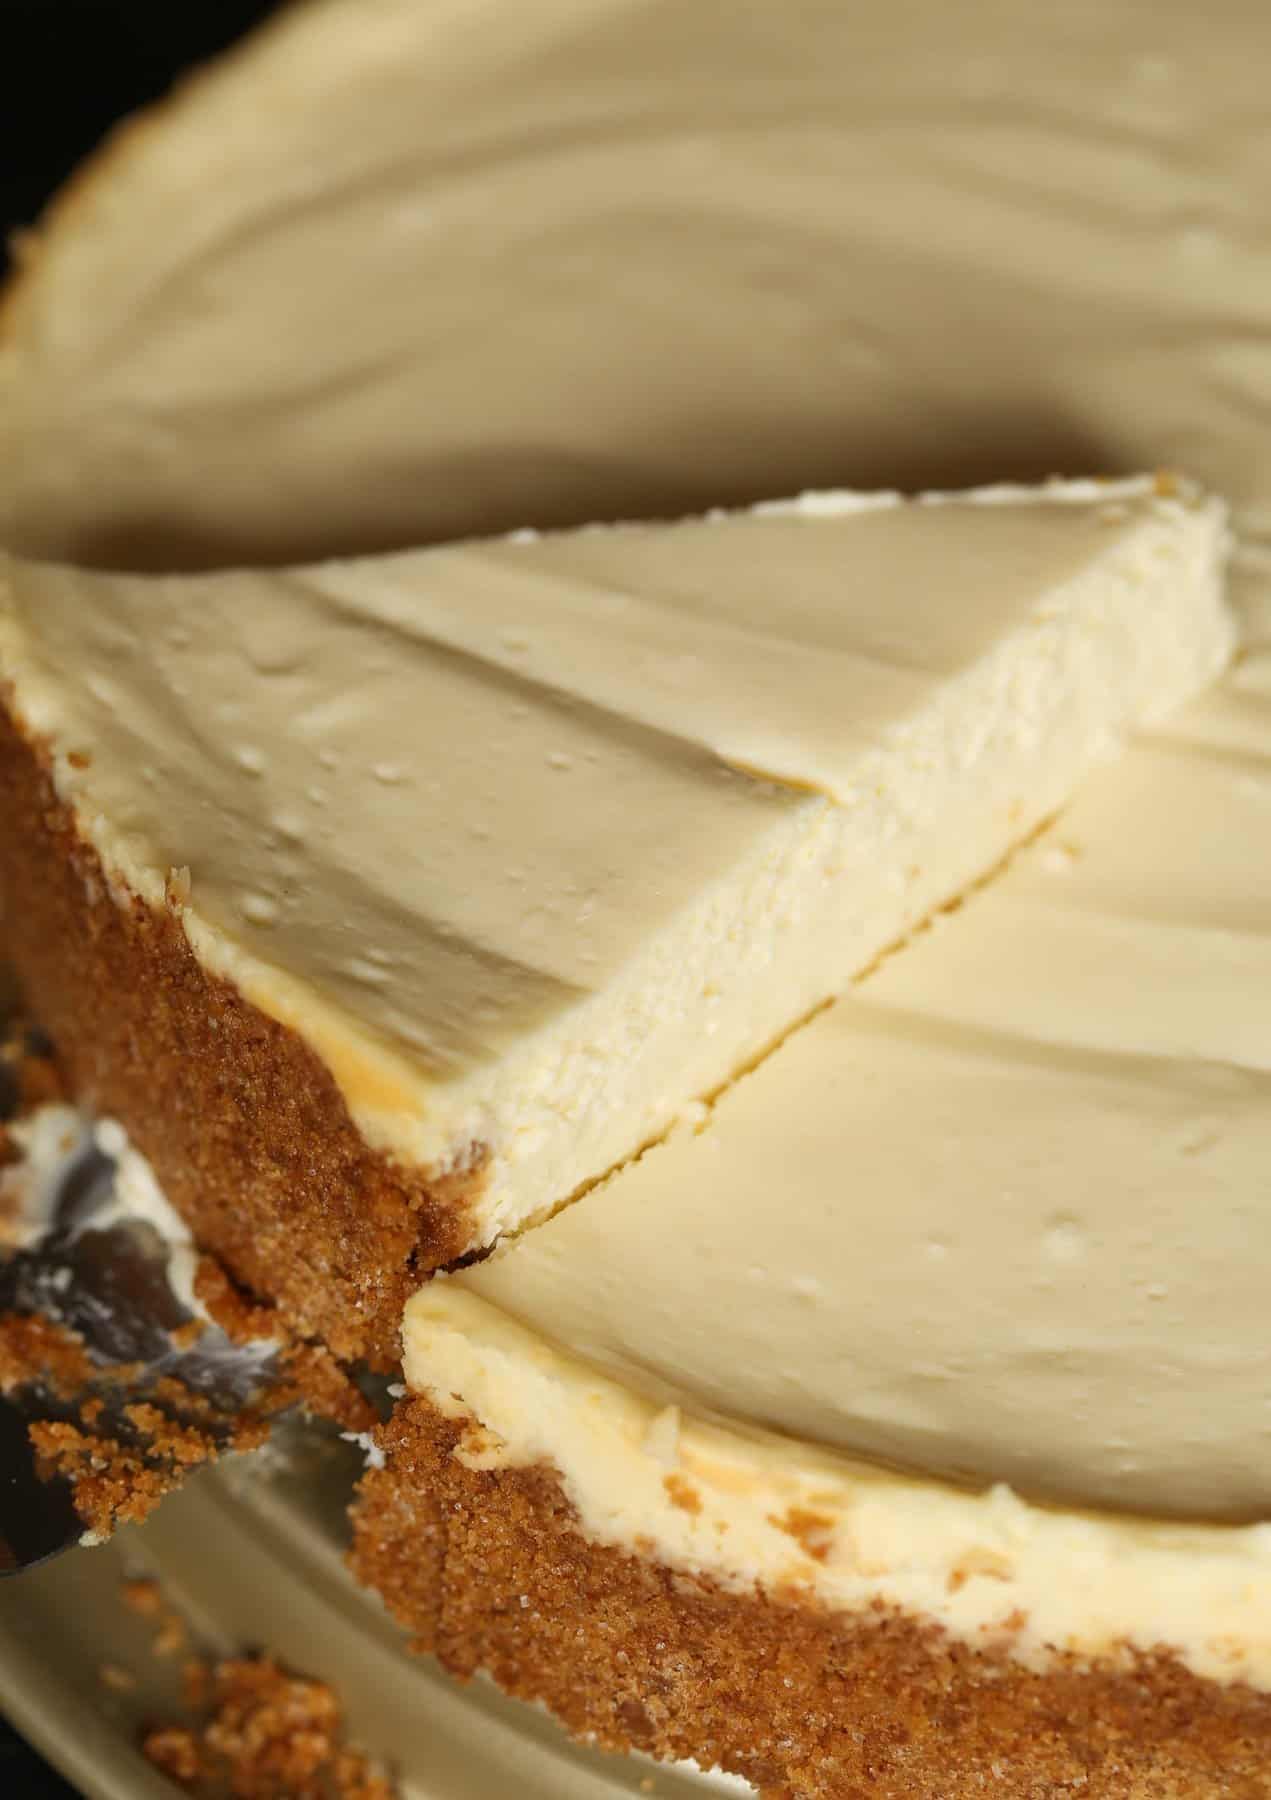
All is not lost if you see a crack in your cheesecake! Usually, this is just a cosmetic thing. To fix it you can top your cheesecake with whipped cream, or with cherry pie filling. The crack will be hidden and your cheesecake will still taste amazing!
Cheesecake Topping Ideas
Now, don’t get me wrong – you can enjoy this cheesecake exactly as it is. And it will be absolutely delicious! But if you want a little something extra, here are a few ideas:
- Chocolate syrup
- Caramel sauce
- Fresh berries
- Cherry pie filling
- Fruit compote
- Chocolate shavings
- Peanut butter sauce
How to Store
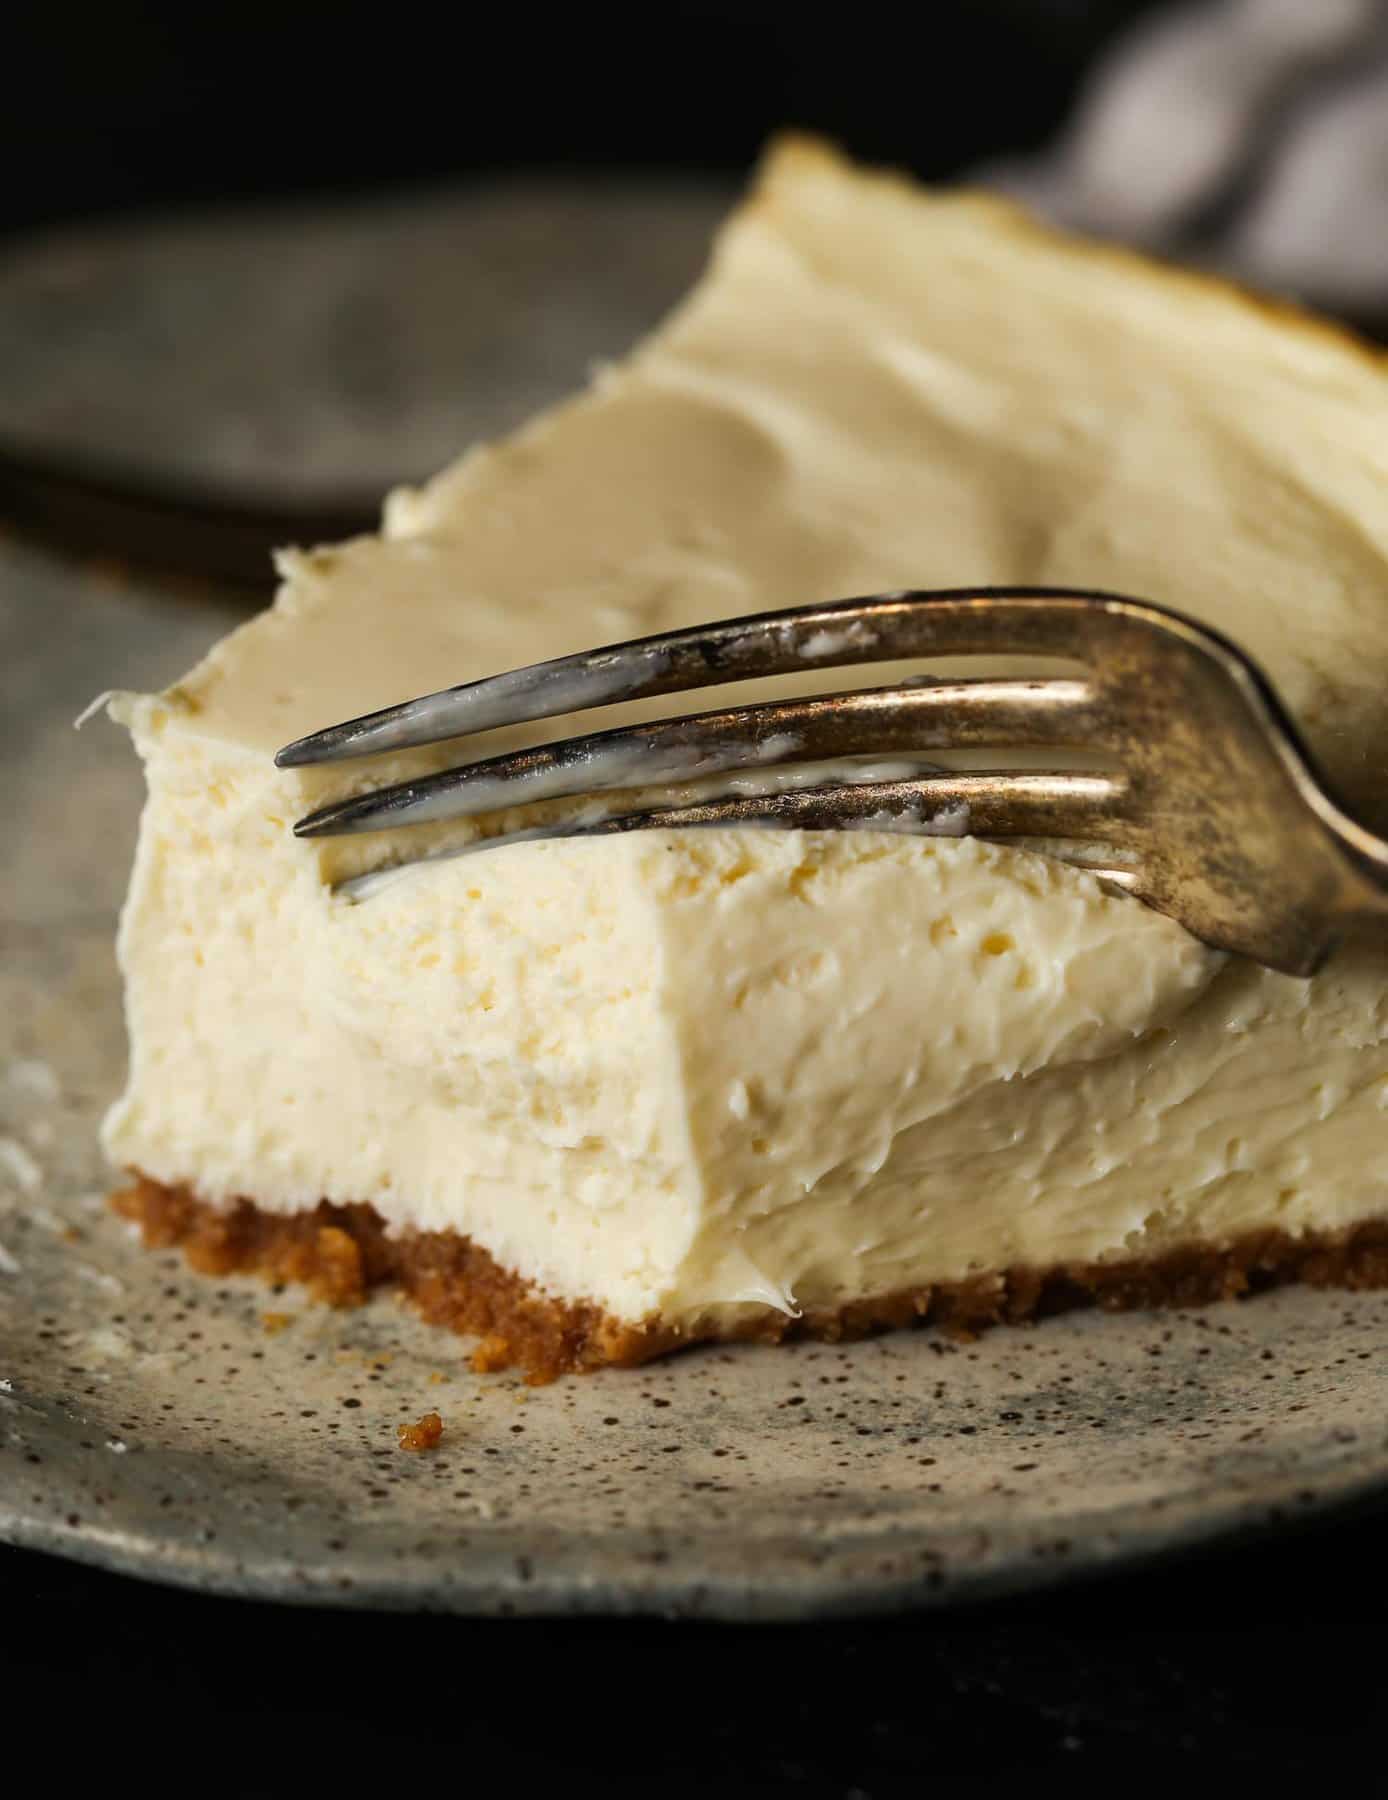
- Store in the fridge: Cheesecake can be stored in the fridge for up to 5 days. Keep it in the springform mold to hold its shape and cover it with saran wrap until you plan to serve it. Wait to add your toppings, if any, until you serve it.
- Can I freeze it? Yes! To freeze your cheesecake allow it to cool completely on the stovetop and set in the fridge. Then you can freeze it by wrapping it in a couple of layers of plastic wrap, plus a couple of layers of tin foil. Cheesecake will keep in the freezer for a few months. When you are ready to eat your cheesecake, transfer it to the fridge to thaw overnight.
More Cheesecake Recipes to Try
Easy Cheesecake Recipe
- Prep Time: 20 minutes
- Cook Time: 70 minutes
- Total Time: 90 minutes + chill time
- Yield: 12 1x
- Category: Dessert
- Method: Oven
- Cuisine: American
Description
This easy cheesecake recipe comes out perfect every time, with a luscious, creamy filling in a graham cracker crust! Plus my tips for how to make the BEST cheesecake, even if it’s your first time.
Ingredients
Crust
- 1 3/4 cups Graham Cracker Crumbs (about 15 full crackers)
- 1/3 cup butter, melted
- 1/4 cup granulated sugar
- 1/2 teaspoon kosher salt
Cheesecake
- 4 (8 ounce) packages Cream Cheese, room temperature (32- ounces in total)
- 1 cup granulated sugar
- 1/2 cup sour cream, room temperature
- 2 teaspoons vanilla
- 3 eggs, room temperature
Instructions
Make the Crust
- Double wrap the bottom of a 9- inch springform pan with foil, sealing it tightly to prevent water from getting into the pan.
- Preheat oven to 350°F.
- In a large bowl mix the graham cracker crumbs, butter, granulated sugar, and salt together evenly.
- Press the mixture into the bottom and up the sides of 9-inch springform pan.
- Bake the crust for 8-10 minutes, or until lightly golden. Set aside while you make the cheesecake filling.
Make the Cheesecake
- In the bowl of your stand mixer fitted with the paddle attachment, mix the cream cheese and sugar on medium speed, until smooth, scraping the sides of the bowl as necessary.
- Turn the mixer to low and add the sour cream and vanilla; mix well, scraping sides of the bowl as necessary.
- Add the eggs, 1 at a time, mixing on low speed after each addition just until mixed. Don’t over mix.
- Pour the filling over crust and spread evenly.
- Place the springform pan into a larger pan and pour very hot water into the pan, until it’s 3/4- inch deep, careful to make sure the water level doesn’t come up higher than the foil.
- Bake for 60-70 minutes or until the center is almost set. The center will still jiggle while the edges will be set.
- Carefully run a knife around the rim of pan to loosen cake.
- Allow the cheesecake to cool at room temperature for at least an hour, then cover and transfer into the refrigerator for 6 hours or overnight.
- Release the sides of the springform pan before slicing.
Notes
Store airtight, refrigerated for up to 5 days.
Nutrition
- Serving Size: 1 Slice
- Calories: 372
- Sugar: 23.2 g
- Sodium: 244.8 mg
- Fat: 27.9 g
- Carbohydrates: 27.2 g
- Protein: 4.4 g
- Cholesterol: 119.1 mg
Want To Save This Recipe?
Find more recipes like this:
PIN for later:









Hi! I just made this cake, and it is cooling. The recipe says to put the knife arounds it when it comes out of the oven/before you let it sit there an hour to cool. However, I did that and now it doesn’t look very nice! The edges don’t look very neat now?! I’m sure it will taste great; I just didn’t know if I should run the knife around it after it cools?!!
I never run the knife around it when I bake it and I’ve done this recipe multiple times and it turns out perfect.
I burnt the sides a bit but I think that’s ok. I reduced the sugar to 3/4 cup rather than 1 cup and I think it ok still and turned out great. I used low fat cream cheese to at least lower the calories. Overall it’s great.
Hi Shelley
Sorry to ask but what temperature should my fan oven be for the water bath ,? Pls
Thank y
Also, Will a 9 inch springform pan work?
Yes, you will just need to adjust the bake time!
Is this recipe made for water bath? For my science fair I am doing which baking method produces a cheesecake with the greatest rise and the least amount of cracks. I will be testing a traditional cheesecake with a traditional method, water bath with a water bath method and New York with a New York method. I need to make sure that the recipe is made exactly for water bath not a New York just baked in a water bath like I’ve seen in several recipes. Thanks so much
Hi! The entire post talks about a water bath, and the need for the water bath in this recipe. You can make this with out without a crust if that’s what’s you’re asking?
I just took my cheesecake out of the oven. Should it be this color?
Not sure what color you mean?
Thank You for Sharing that Lovely, Easy Food Recipes. So Yummy !!! I Love it. I’ll Definitely Try it. Thank You.
I have made this recipe several times and it always taste great. It taste great the way it is but sometimes I tweak it depending on what my family is craving at the time. I always thought Cheesecake was difficult but this one is very simple to make. I use this as my main Cheesecake recipe but sometimes I add white chocolate chips to the batter and swirl seedless raspberry jam throughout on a chocolate graham crust. I have also used this recipe and added crushed up Snicker bars to the batter and drizzled caramel on after it cools with whip cream. It also keeps well, I cool it and slice it then I place individual slices in tupperware containers and store them in the freezer. Thank you for this recipe, very appreciated!
Thank you so much for the feedback and your results with add-ins! Super helpful!
Which type of butter is needed. Salted or unsalted?
I use salted but it’s a personal preference 🙂
Can I make this recipe (measurements) in a premade Graham cracker crust? Also, how would I go about the water bath?
Hi, you should be able to get at least two cheesecakes by using the premade Graham cracker crusts with this recipe. You can do the bath by getting a large turkey pan, either the aluminum or if you’ve got the real deal pan (or just a deep oven pan that can fit the cracker crust pan), and place the cheesecake in it then fill with boiled water. Then place in the oven. I do suggest putting the pan in the oven with the cheesecake first then add the water to the pan. I usually try to fill the water to almost just before the top of the cheesecake leaving maybe an inch or inch and half. Definitely be careful with the water.