
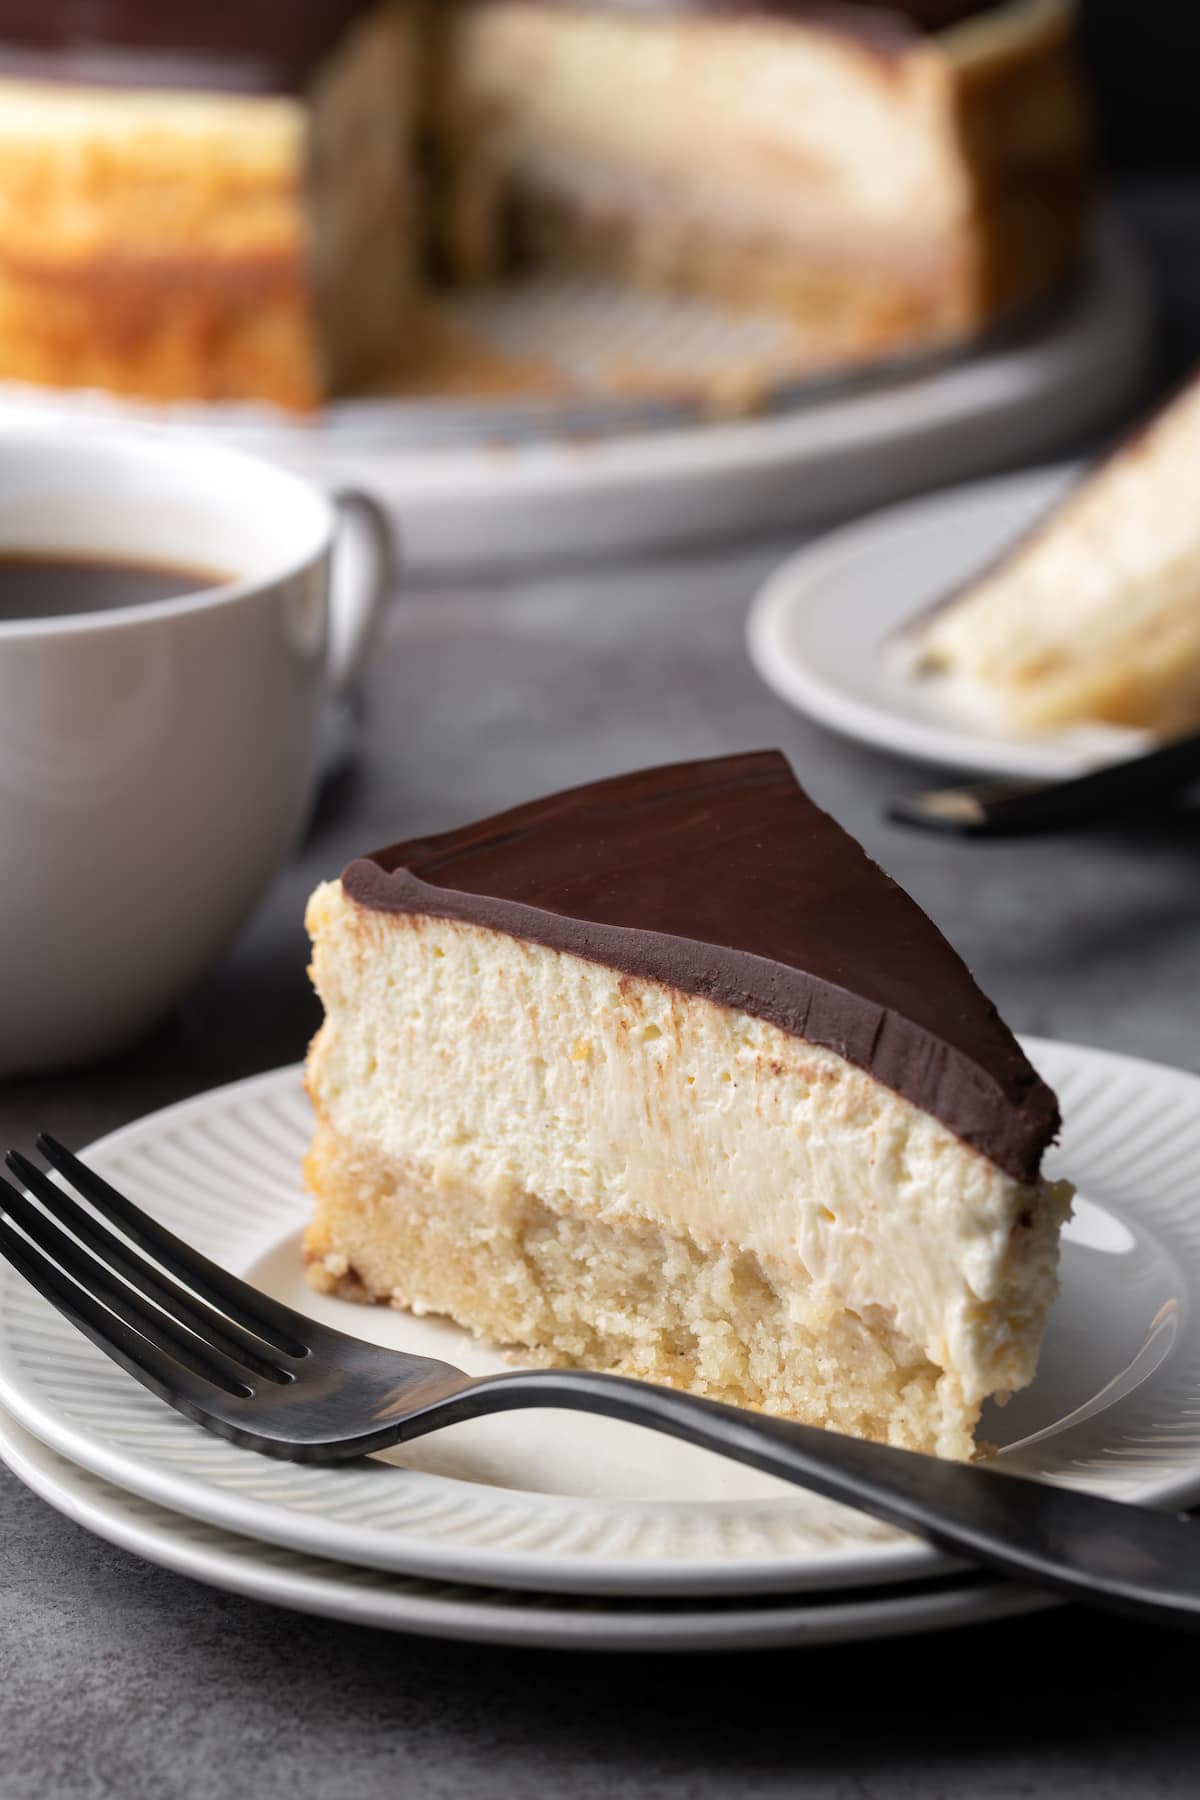
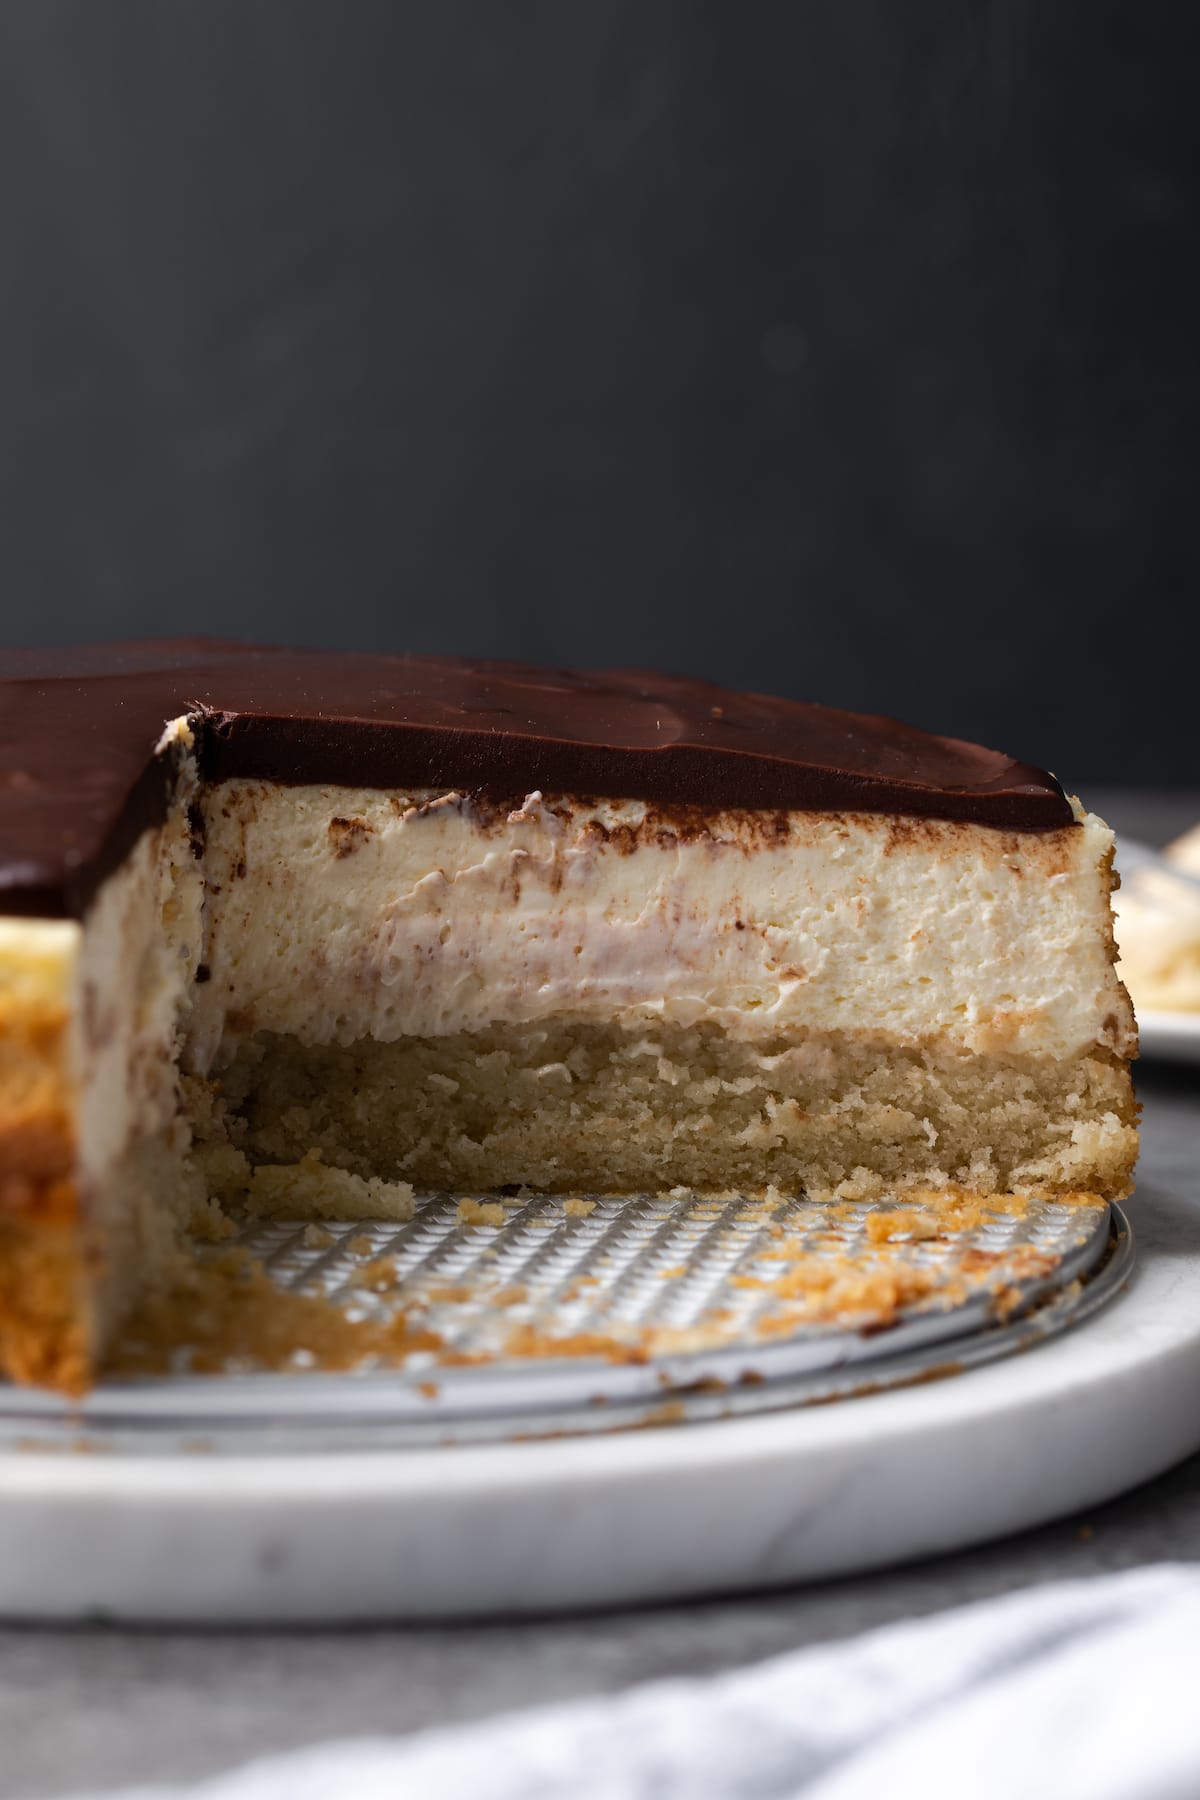
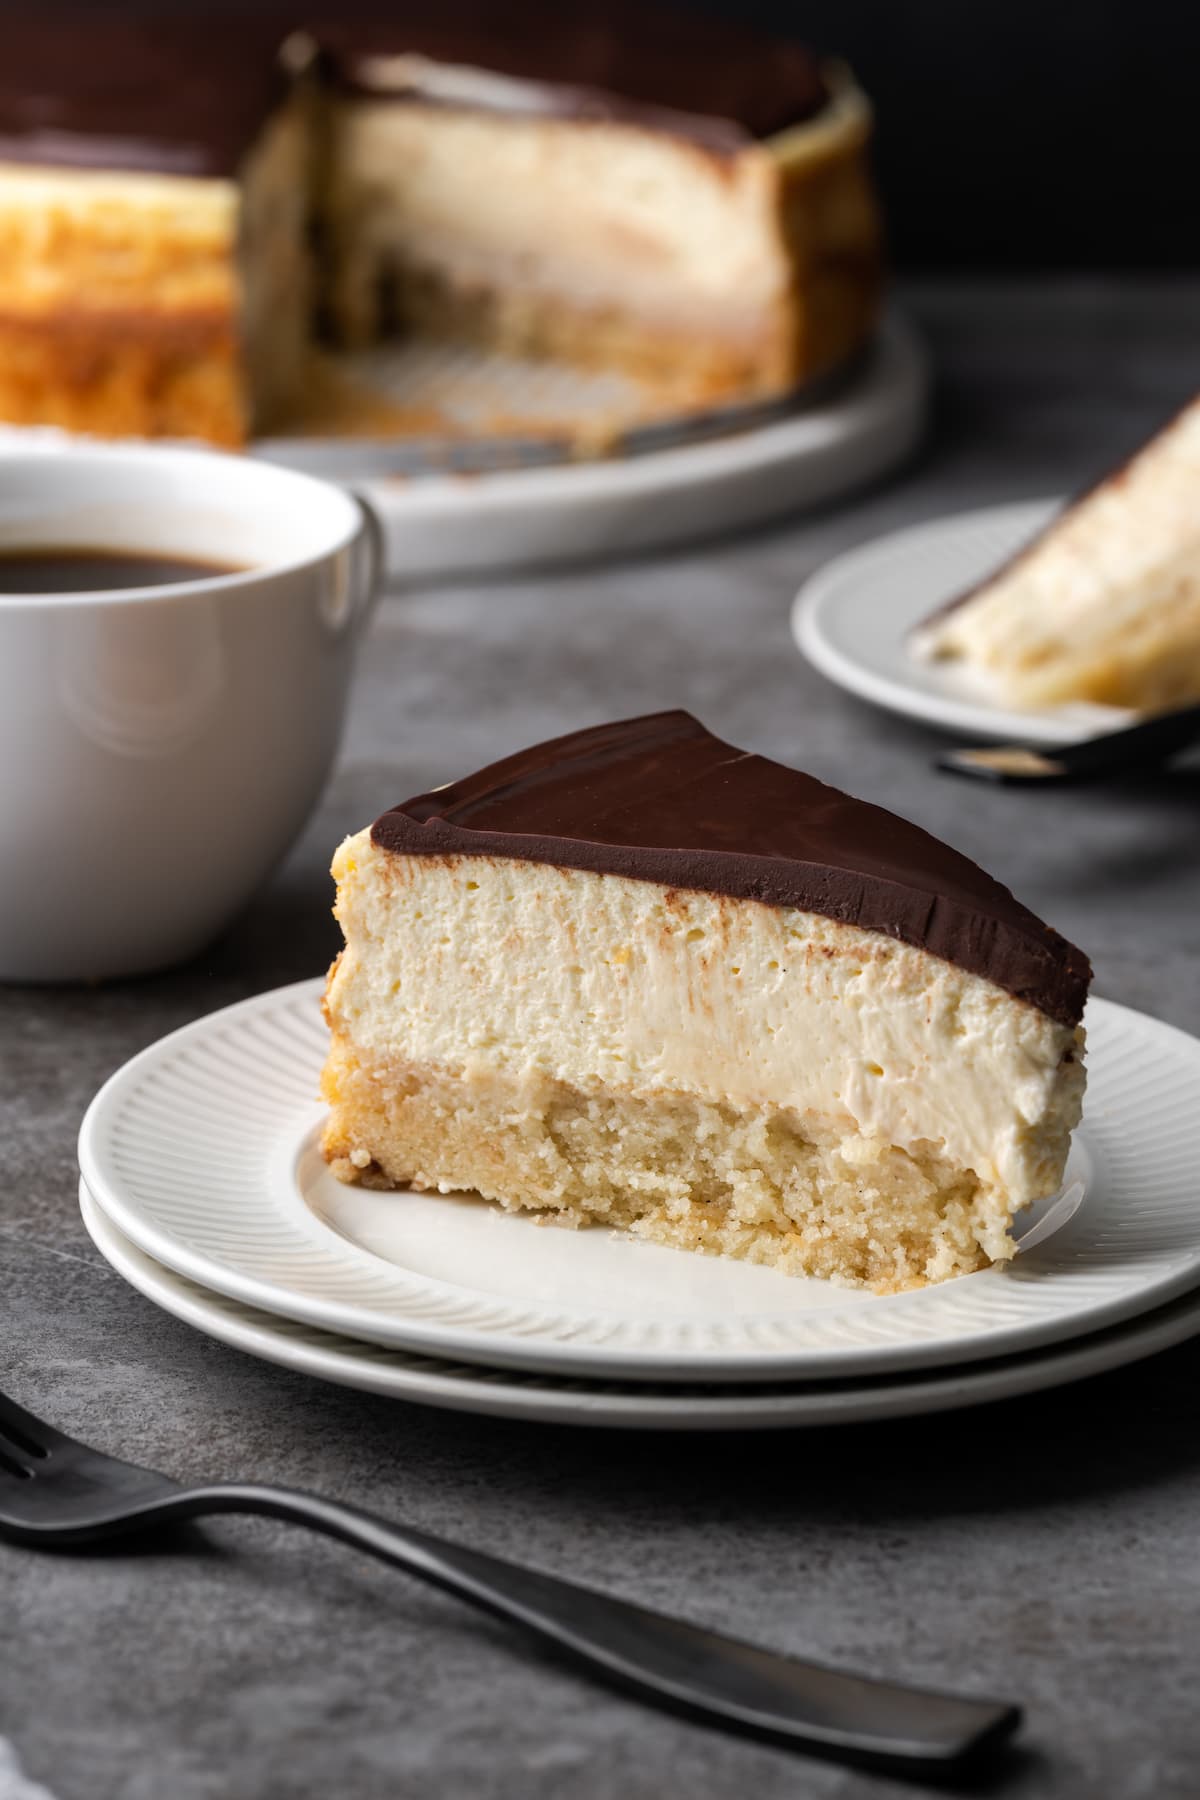
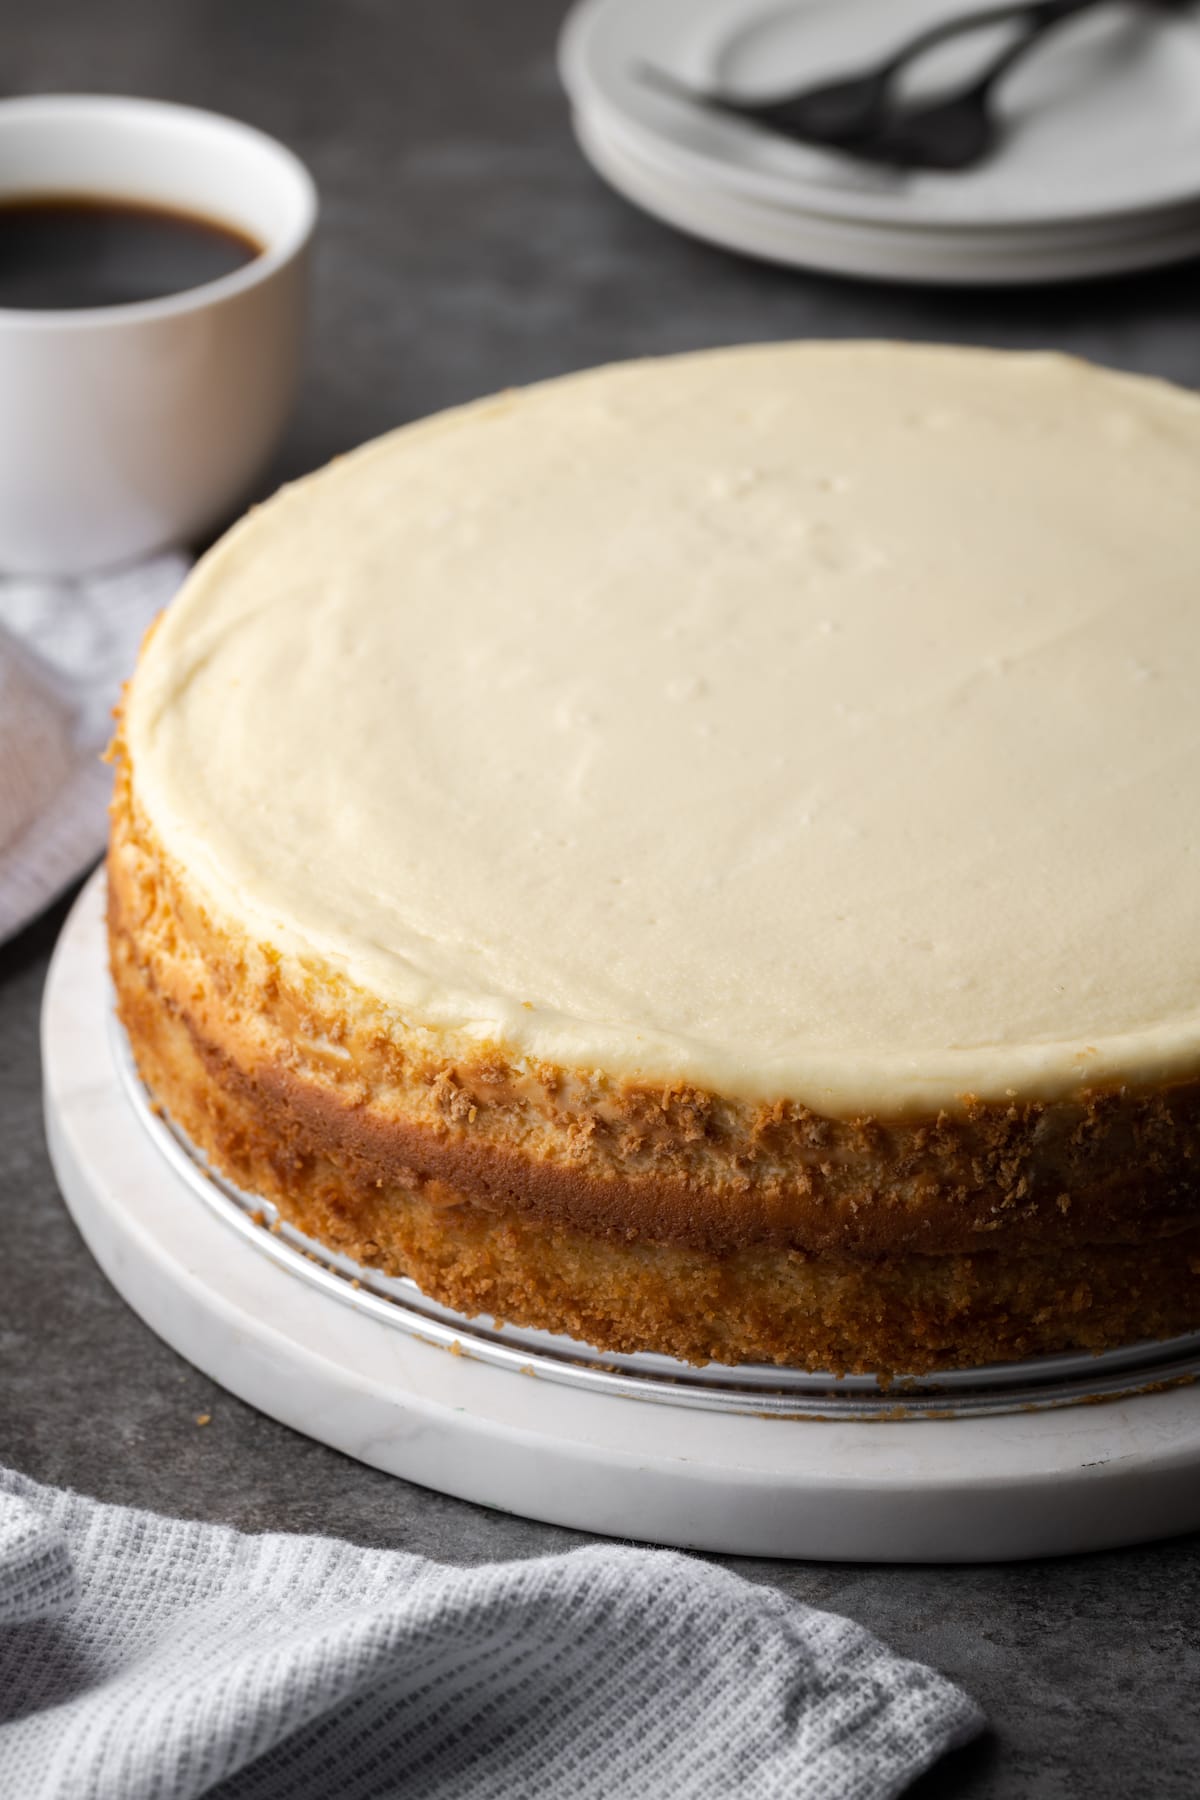
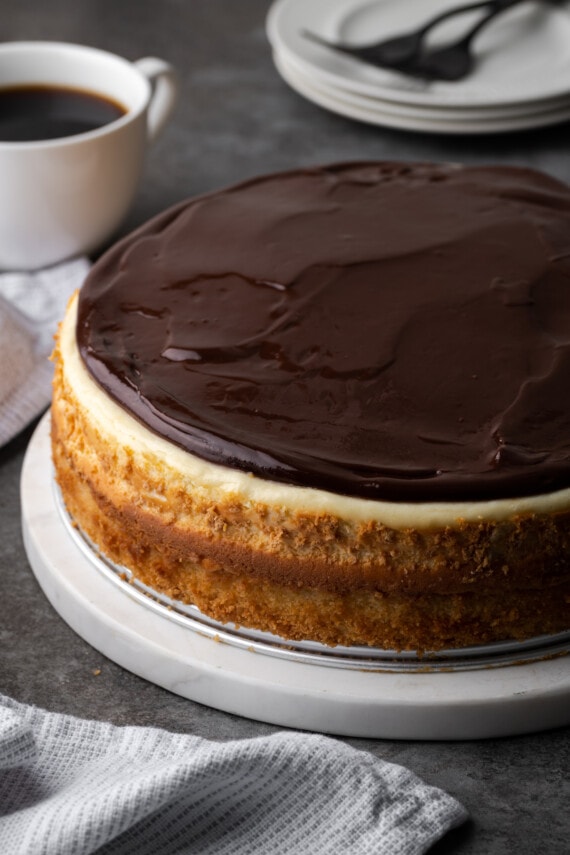
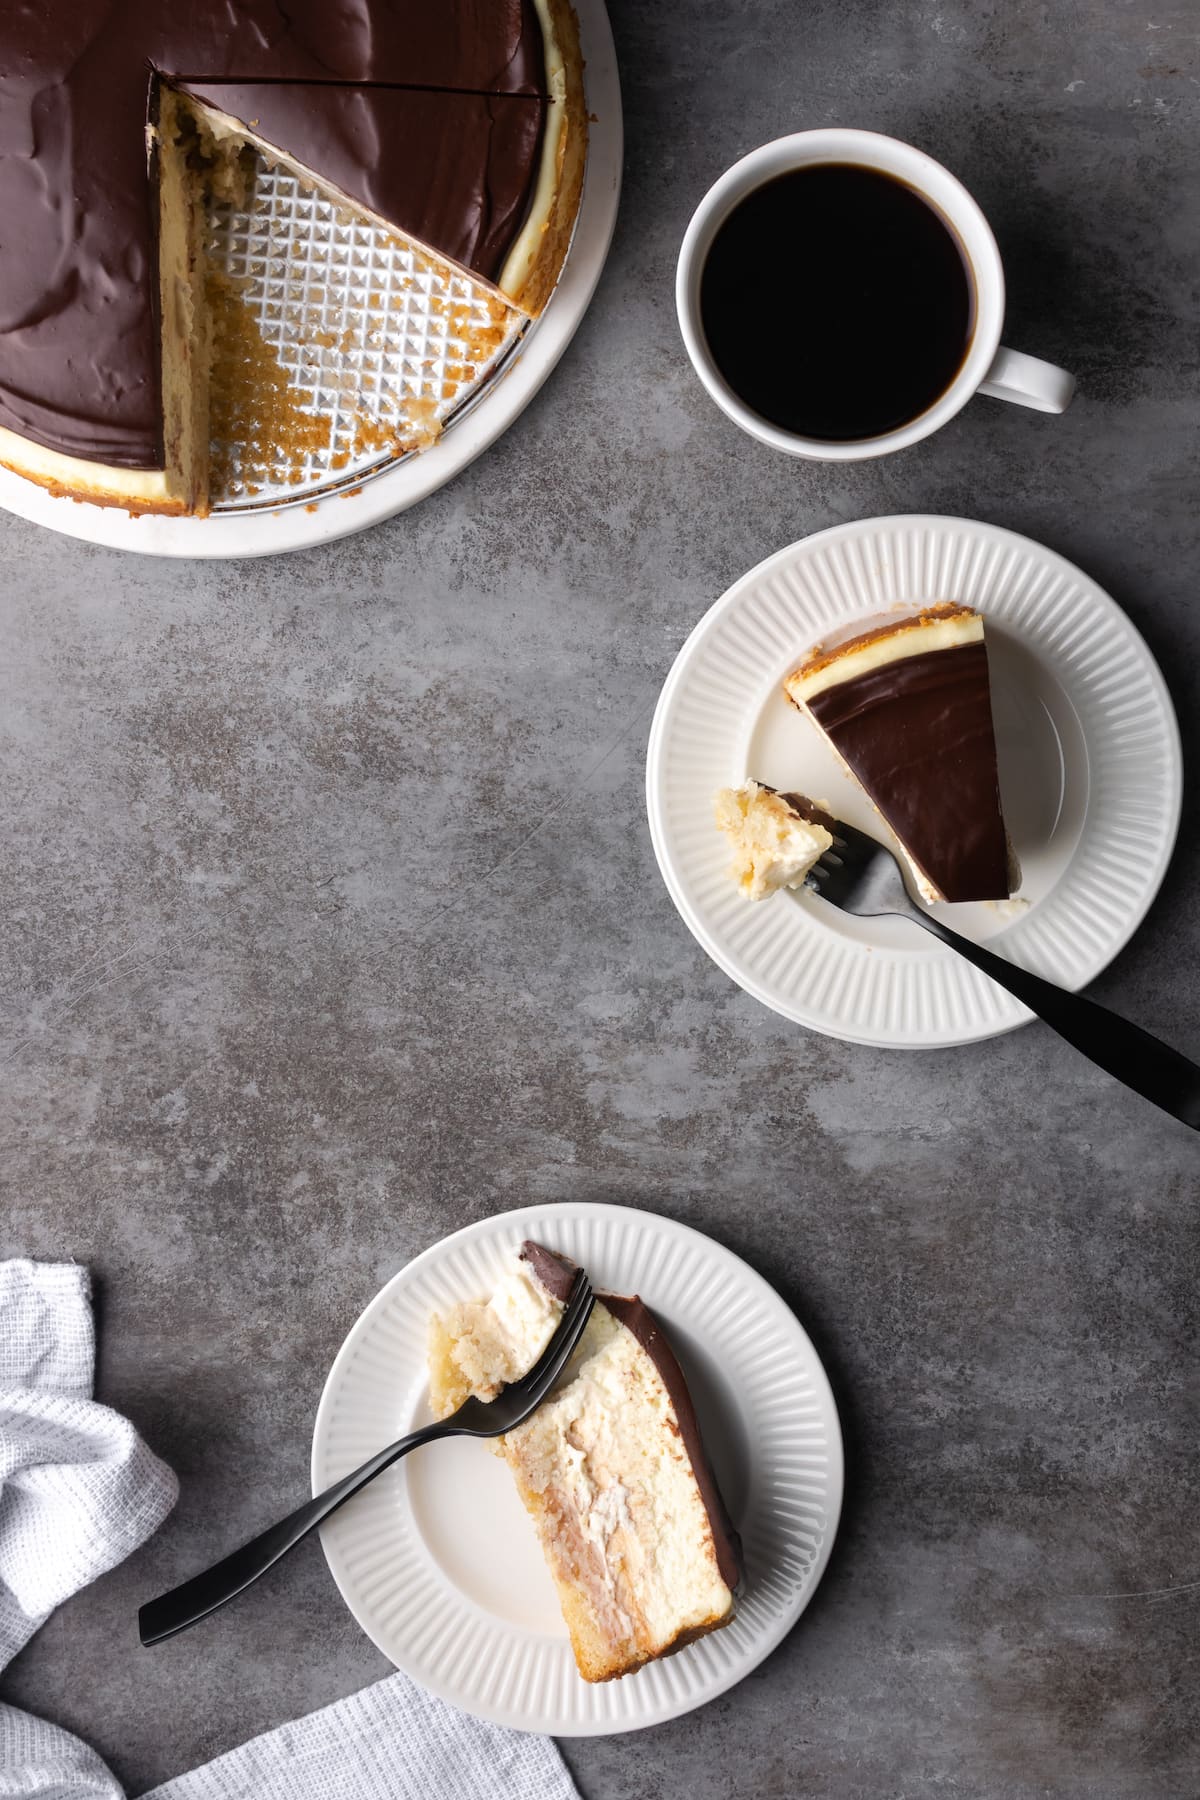
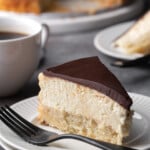
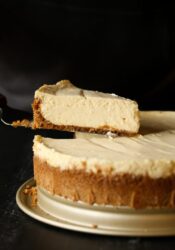
Boston Cream Pie Cheesecake is a combination of two classic desserts! Made with a creamy cheesecake on top of a moist layer of cake, topped with delicious chocolate ganache.
For another fun dessert mash-up, try my red velvet cheesecake and cannoli cheesecake recipes, too.
Crave-Worthy Boston Cream Cheesecake
So I have a confession to make. I, a baker and food blogger by trade, do not love custard. I know, I said it! This is why the Boston Cream donut is something I’ve always really, really wanted to love for all its chocolatey, donut-y aspects. But the thought of the custardy mess? It’s a no from me.
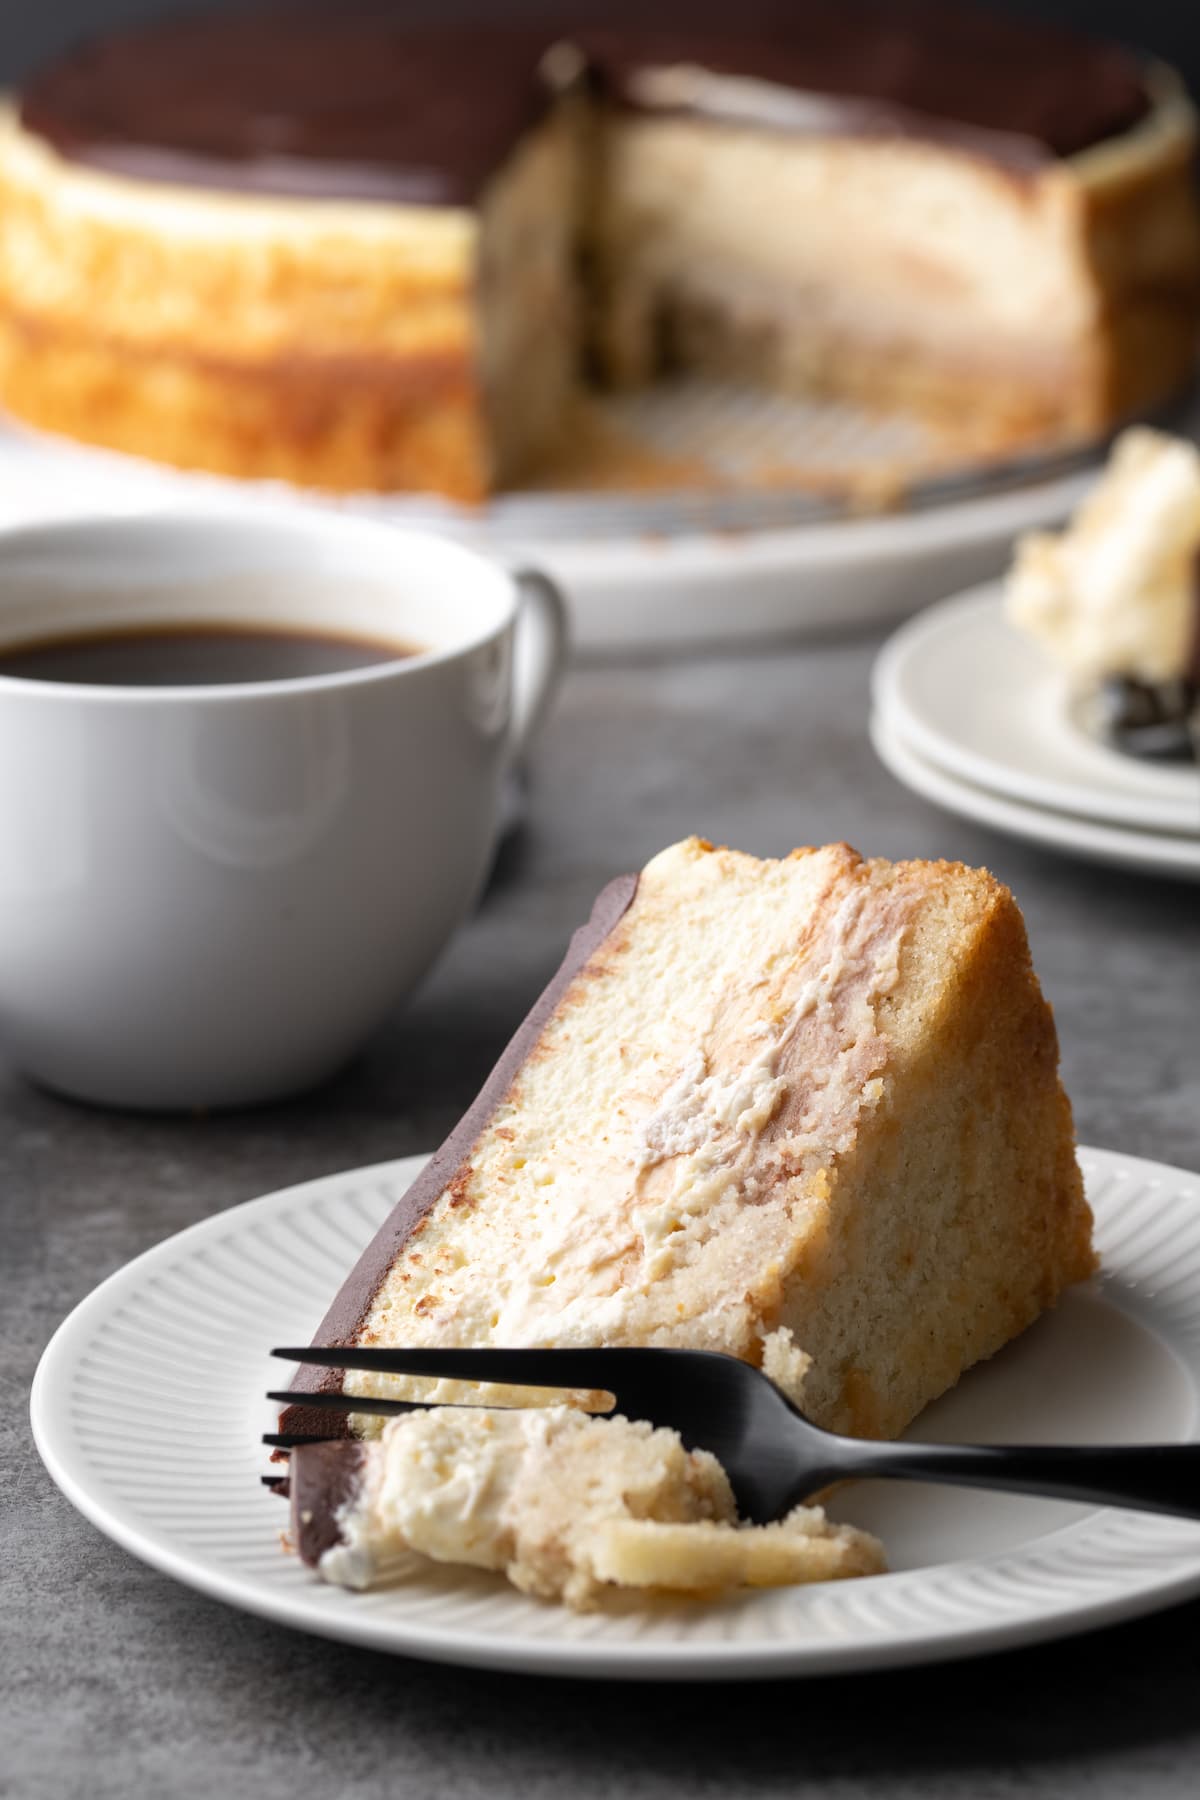
What I do love is cheesecake. But this is no ordinary cheesecake, it’s Boston Cream Pie Cheesecake! And it’s perfect because this recipe is blissfully custard-free (sorry, Boston cream lovers everywhere!). But you’ve got a layer of moist vanilla cake, a layer of rich and creamy cheesecake and a decadent chocolate ganache topping. What more do you need?
What Exactly is Boston Cream?
Boston cream, or Boston crème, is a custard-like pastry cream (“crème patisserie” in French, if we’re being technical), that’s made with egg yolks, milk, and sugar, flavored with vanilla.
You may recognize it from a traditional Boston cream pie – which isn’t really a pie, mind you, but more of a cake filled with custard, often topped with chocolate glaze. Boston cream is also the filling in Boston cream donuts!
This recipe for Boston cream pie cheesecake infuses the flavors of Boston cream into a rich, decadent cheesecake layer instead.
Recipe Ingredients
Here’s a little overview of what you’ll need for the different cake layers. Be sure to check the recipe card later on in the post for the full amounts required!
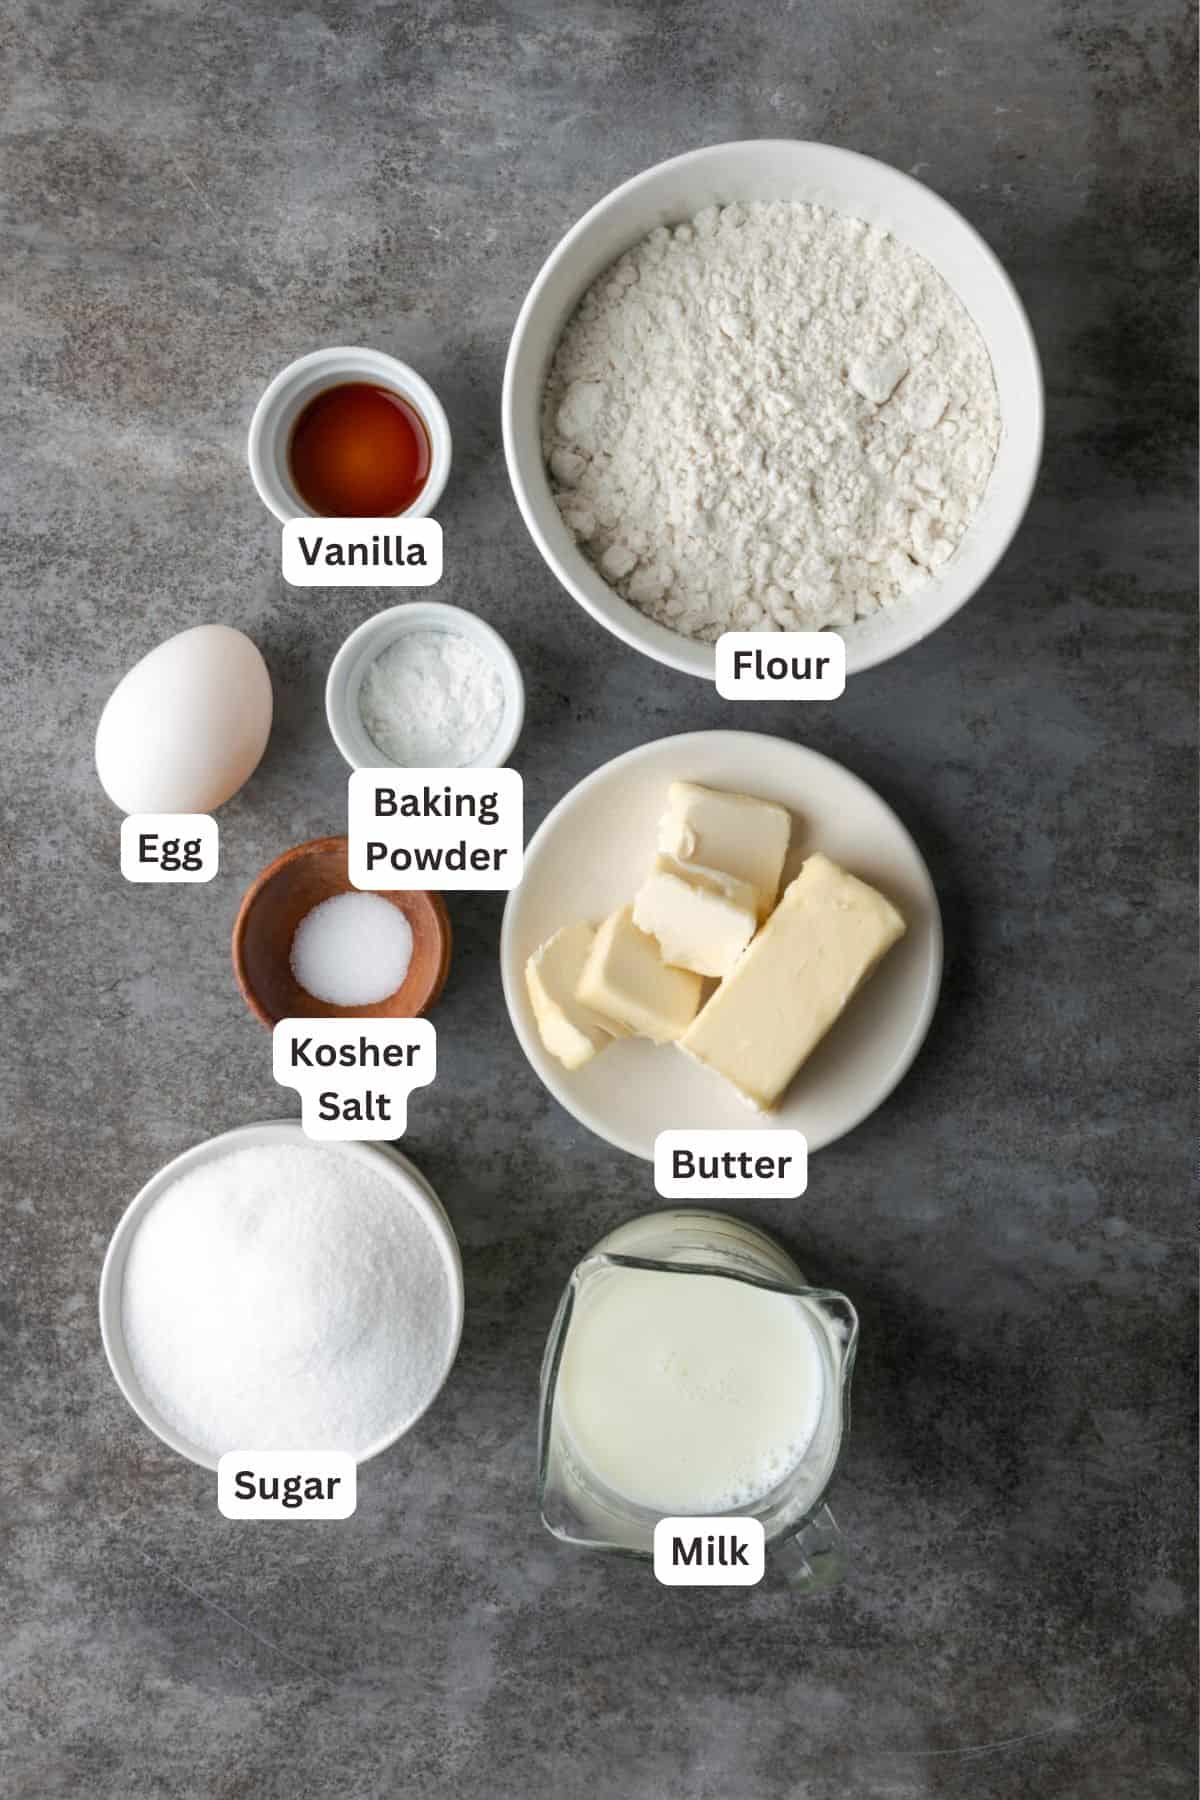
For the Cake Layer
- Flour: All-purpose flour bakes up consistently for a fluffy vanilla cake.
- Baking Powder: For a little bit of lift.
- Butter: Remember to take your butter out of the fridge before you plan to use it, so that it has a chance to reach room temperature. Room temperature butter is better for mixing, and for baking evenly.
- Sugar: Regular granulated sugar is the most consistent when it comes to baking.
- Egg: Egg acts to bind everything together and adds richness.
- Vanilla: For the best flavor, use pure vanilla extract.
- Milk
- Salt
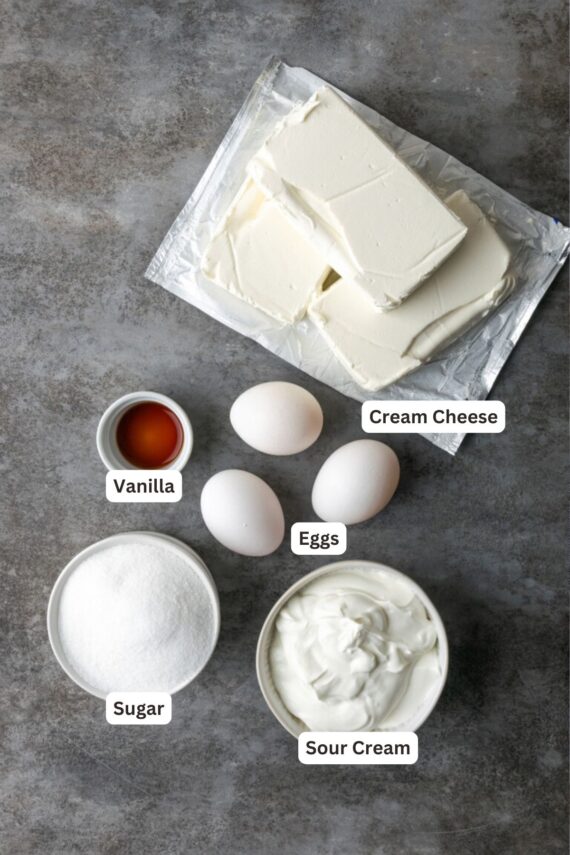

For the Cheesecake Layer
- Cream Cheese: Like the butter for the cake layer, remember to take your cream cheese out of the fridge and let it come to room temperature, too. For the same reason, it makes it way easier to combine!
- Sugar: Again, I like to stick with white granulated sugar.
- Vanilla
- Eggs
- Sour Cream: The addition of sour cream in the cheesecake layer makes it extra creamy! Trust me on this one.
For the Chocolate Ganache
- Heavy Cream: Melting the heavy cream with chocolate makes it silky and spreadable.
- Chocolate Chips: Semi-sweet chocolate chips are the easiest for melting. Semi-sweet baker’s chocolate will also work.
- Butter: Again at room temperature.
How to Make Boston Cream Pie Cheesecake
This recipe has it all. Cake, cheesecake, and chocolate. And it’s crazy simple! The vanilla cake in this recipe is easy enough to make from scratch, but you could even sub in half a box of cake mix if you prefer.
Make the Cake: Start by preparing your cake layer. Sift together the dry ingredients and combine the wet ingredients separately. Mix the dry ingredients into the wet ingredients, pour the batter into a springform pan, and then bake.
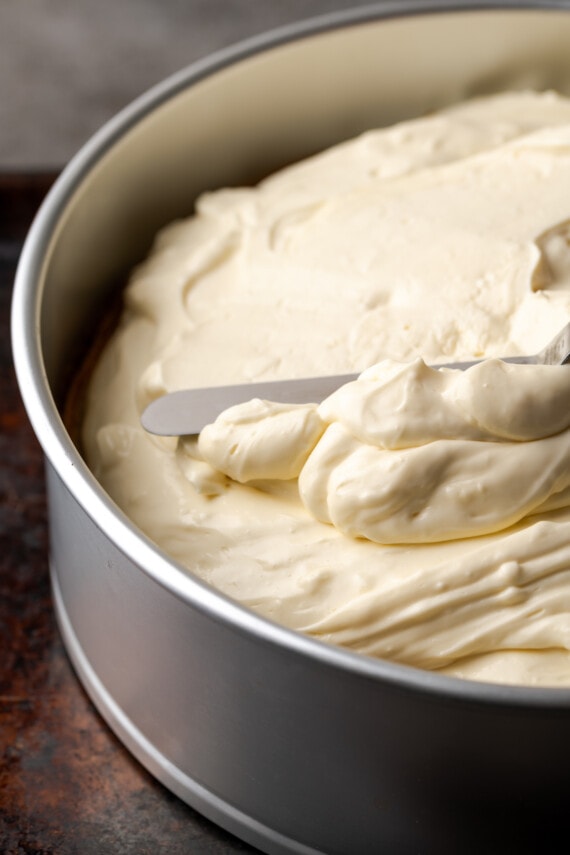
Make the Cheesecake: While your cake is in the oven, beat together the ingredients for the cheesecake layer. Whisk and add the eggs separately and then stir in the sour cream, before spreading it over top of the baked cake. Pop the now two-layer cake back into the oven until the edges are set.
Chill: Once your cheesecake layer is baked and set, loosen the cake from the pan using a butter knife, then cover and leave the cake to cool completely. You’ll need to chill the cake for at least 4 hours before finishing it with the ganache!
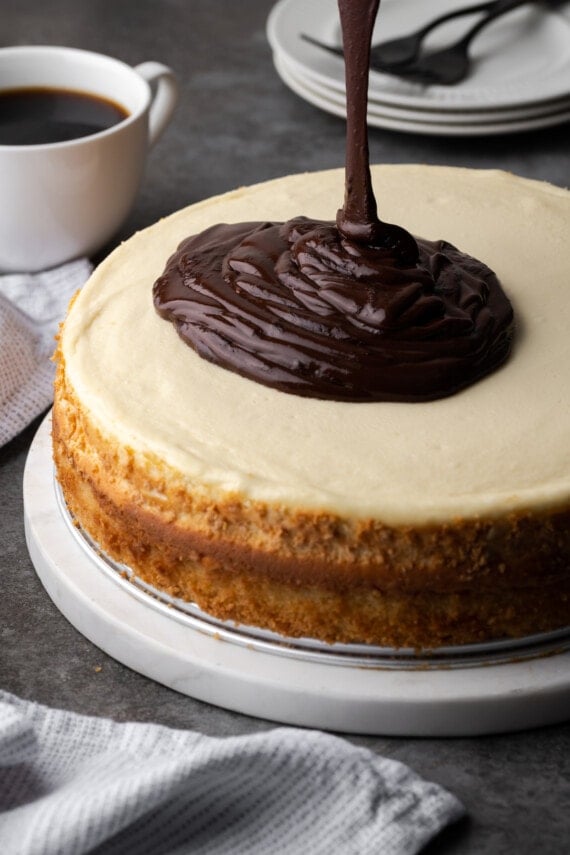
Make the Chocolate Layer: Fast forward, and you’ll have a chilled cake that’s ready for its chocolate topping! Heat up the heavy cream, melt in the chocolate and butter, and then let the ganache chill and thicken a bit before spreading it over the cake.
Tips for Success
Make the most of this Boston cream pie cheesecake recipe with these helpful tips:
- If You Use a Boxed Cake Mix: If you’re making your cake layer using a boxed cake mix, divide the recipe in half and then bake per the instructions on the box. You can also always bake both layers, and save one for another day!
- Measure the Flour Correctly: If you’re making this cake from scratch, be sure to measure your flour correctly! If you don’t have a kitchen scale, the best way to do this is with the spoon and sweep method. Use a spoon to scoop the flour into the measuring cup, and then level it off with the back of a knife (as opposed to scooping the flour straight from the bag using the cup, which can result in too much flour).
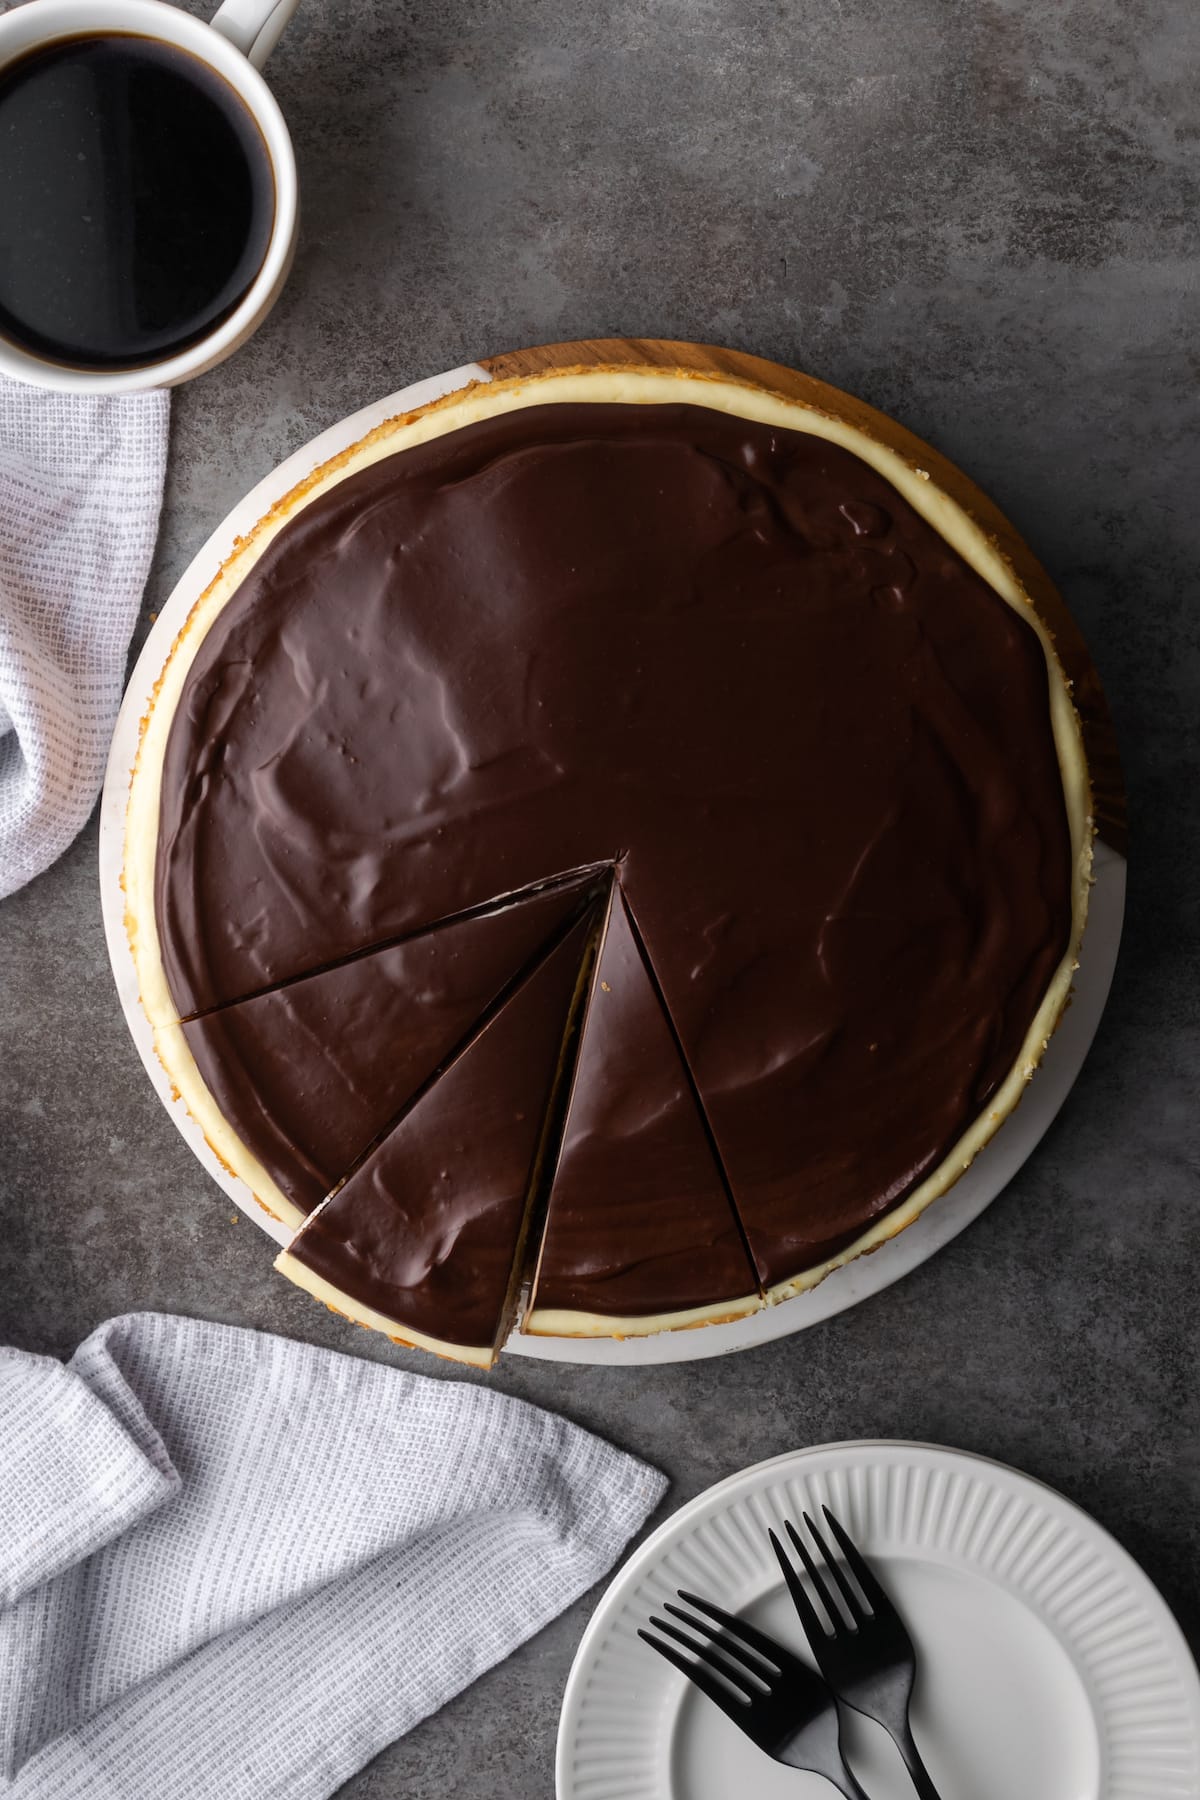
- Warm the Knife: Warm the knife before slicing your cake! This is an easy hack that helps with nice, clean cuts.
Storage Instructions
Store this Boston cream cake in an airtight container or covered with plastic wrap, in the fridge for up to 3 days. (This recipe should not be stored at room temperature due to the dairy and cheesecake).
Can I Freeze This?
Most cheesecake recipes can be frozen, and this one isn’t much different. The only suggestion I’d make is to not freeze it for too long. After a month in the freezer, the texture and taste of the cheesecake layer will start to degrade.
Freeze your Boston cream pie cheesecake airtight either whole or in slices. Thaw the cake in the fridge when you’re ready to serve it.
More Decadent Cheesecakes to Try
- Pumpkin Cheesecake
- Sugar Cookie Cheesecake
- Chocolate Cheesecake
- Lemon Meringue Cheesecake
- Banana Pudding Cheesecake
Boston Cream Pie Cheesecake
- Prep Time: 20 minutes
- Cook Time: 80 minutes
- Total Time: 1 hour 40 minutes
- Yield: serves 12 1x
- Category: Dessert
- Method: Oven
- Cuisine: American
Description
Boston Cream Pie Cheesecake is a combination of two classic desserts! Made with a creamy cheesecake on top of a moist layer of cake topped with delicious chocolate ganache.
Ingredients
Cake Layer
- 1 1/2 cups all purpose flour
- 1 teaspoon baking powder
- 1/2 teaspoon kosher salt
- 1/2 cup butter, room temperature
- 1 cup granulated sugar
- 1 large egg
- 1 teaspoon vanilla
- 3/4 cup milk
Cheesecake layer
- 3 (8- ounce packages) cream cheese, room temperature
- 3/4 cup granulated sugar
- 1 teaspoon vanilla extract
- 3 large eggs
- 1 cup sour cream
Chocolate Layer
- 3/4 cup heavy cream
- 1 cup semi-sweet chocolate chips
- 2 tablespoons butter, room temperature
Instructions
- Cake Layer: Preheat oven to 350°F. Grease the bottom and sides of a 9 or 10- inch springform pan, set aside.
- Sift together the flour, baking powder and salt.
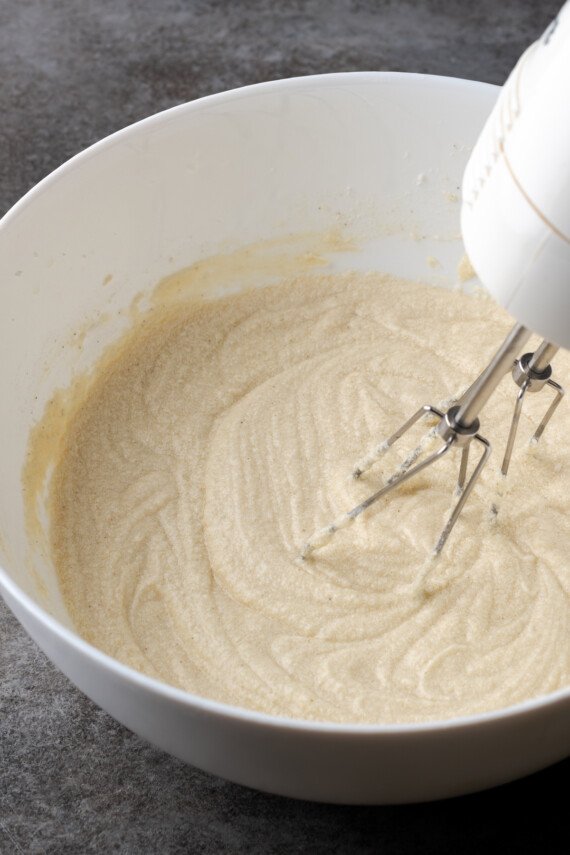
- In the bowl of your stand mixer fitted with the paddle attachment mix the butter and sugar on medium speed for 2 minutes until light and fluffy. Add the egg and vanilla and continue mixing until smooth, scraping the sides of the bowl as necessary.
- Turn the mixer to low and add in the flour mixture and milk in alternating additions, starting and ending with flour. Mix until just blended.
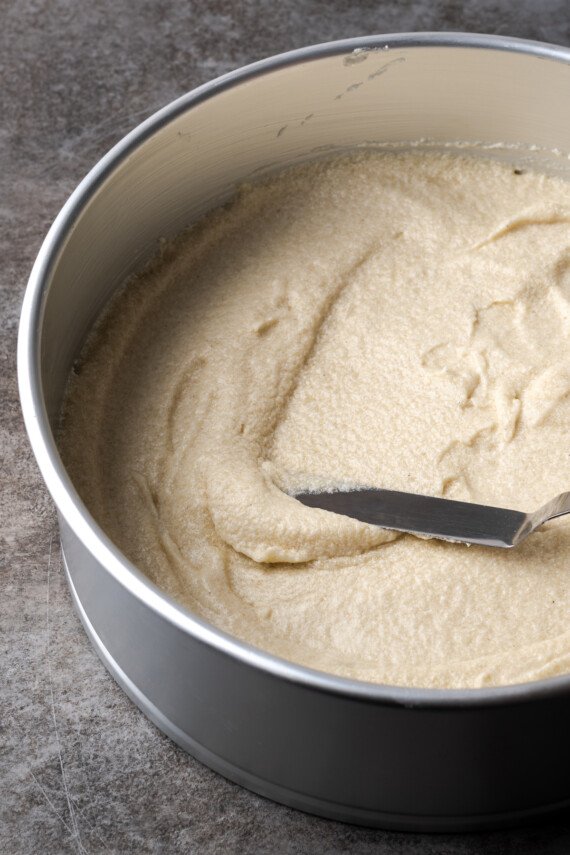
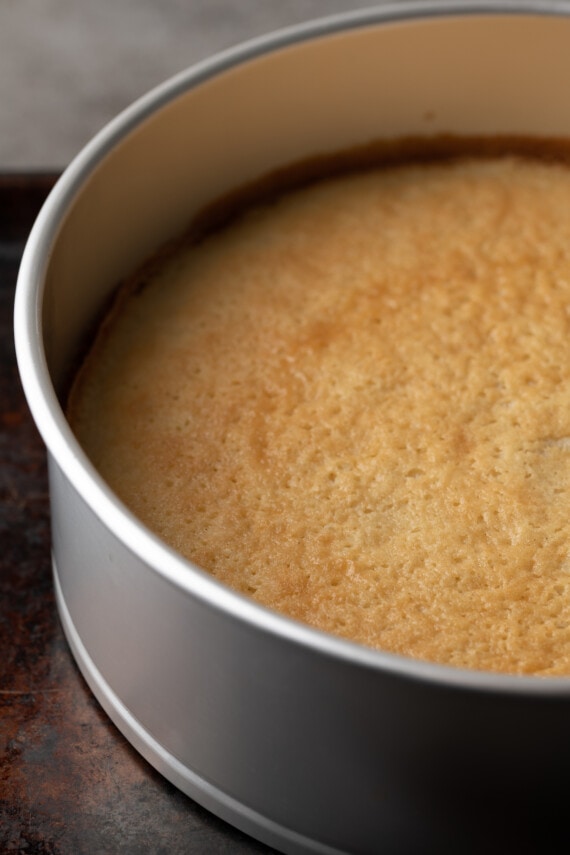
- Pour the batter into the prepared springform pan and bake for 25 minutes until center is set and toothpick comes out clean.
- Cheesecake Layer: Lower the oven temperature to 325°F.
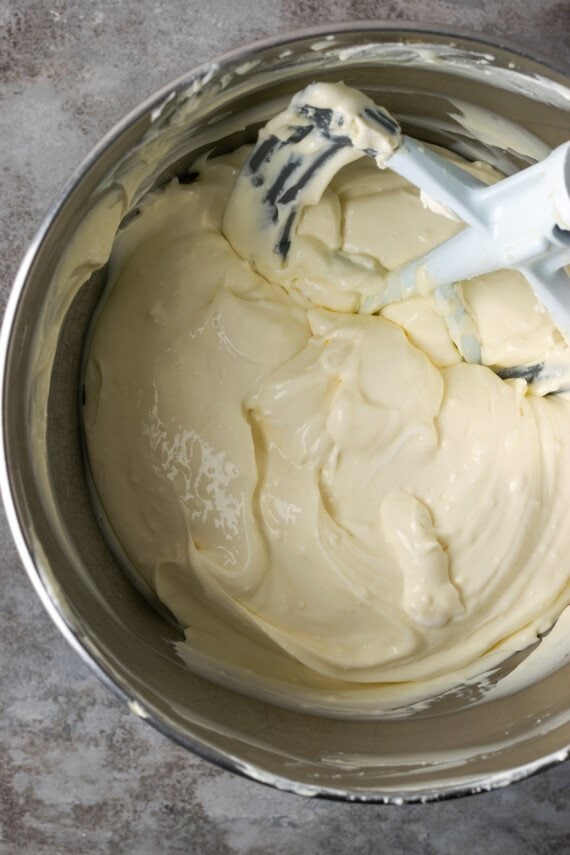
- In the clean bowl of the stand mixer fitted with the paddle attachment mix the cream cheese, sugar and vanilla together on medium speed until smooth.
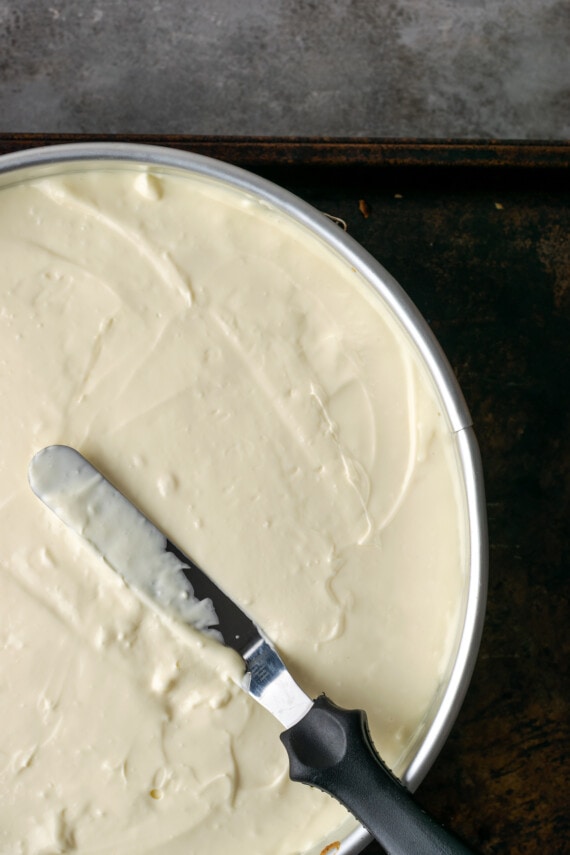
- Separately whisk eggs with a fork in a small bowl, add the beaten eggs to cream cheese mixture on low until just combined. Stir in the sour cream, mixing until combined. Pour mixture over cake in the springform pan, spreading to cover.
- Bake for 45-50 minutes until the outside edges appear set when gently shaken. Cool in pan on a wire rack for 15 minutes.
- Loosen the edges of cake from the pan by running a butter knife around the cake. Allow cake to cool completely. Cover cake and chill for at least 4 hours (I chilled mine overnight)
- Chocolate Layer: When the cheesecake is chilled, heat the heavy cream in a small saucepan until it almost comes to a boil. Remove from the heat and stir in chocolate chips until melted. Stir in butter until smooth.
- Chill for 15 minutes and then spread over top of cake.
- Chill until ready to serve.
Notes
If you choose to use a boxed cake for the cake layer, just divide the recipe in half, or bake both layers and save the extra layer for another day.
Nutrition
- Serving Size:
- Calories: 797
- Sugar: 52.1 g
- Sodium: 390.6 mg
- Fat: 53.2 g
- Carbohydrates: 71.2 g
- Protein: 13.1 g
- Cholesterol: 202.3 mg


Does baking the cake layer for so long cause it to dry out? Thank you!
Nope! I was worried about this too, but the cheesecake layer locks in the moisture!
I would like to make a smaller version of this–using an 8″ inch pan. Would I cut the ingredients by 1/3? Your thoughts?
I would say maybe just 1/4?
I’m going to try this. I think it looks delicious. There is a comment about the cake becoming dry because it’s baked twice. I’m going to try this with a no-bake cheesecake recipe. 8 oz. cream cheese, 2/3 c. Sugar, 12 oz marscapone, 1 1/4 c. Whipping cream, 2 T. Fresh lemon juice. I’m going to pour over baked cake and chill then add chocolate.
Out of all these comments, I believe about two were helpful I that they tried it. All the rest were that it looked good. Not helpful to me at all!! I want to hear from those who TRIED it. Otherwise, a waste of my time and I skip the recipe. Just sayin’.
I agree with reviewer looking for comments on how the recipe worked out, rather than going on and on about how good the recipe looks! Very frustrating. But I’ll give it a shot!
I made this for my husband to take to a potluck dinner. He said it was good and there was none to bring home so I guess I’ll have to make another one so I can try it ;-). It’s one of the simplest and prettiest cheesecake presentations I think I’ve ever made. Thanks for sharing.
SO glad you liked it!!
This looks sooooo good! After baking the cake layer, do I have to let the cake cool before adding the cheesecake layer or put it on as soon as the cake comes out of the oven?
I baked this cheesecake a few days ago and it was absolutely delicious. Amazing how the cake layer remained so moist. Thanks so much for the recipe!
Tienes muy gusto, gracias.
Hi Shelly!
Just wanted to check if 350 is in celcius or farenheit?
Fairly new baker here, so would like to make sure i get it right 😀
Fahrenheit!