

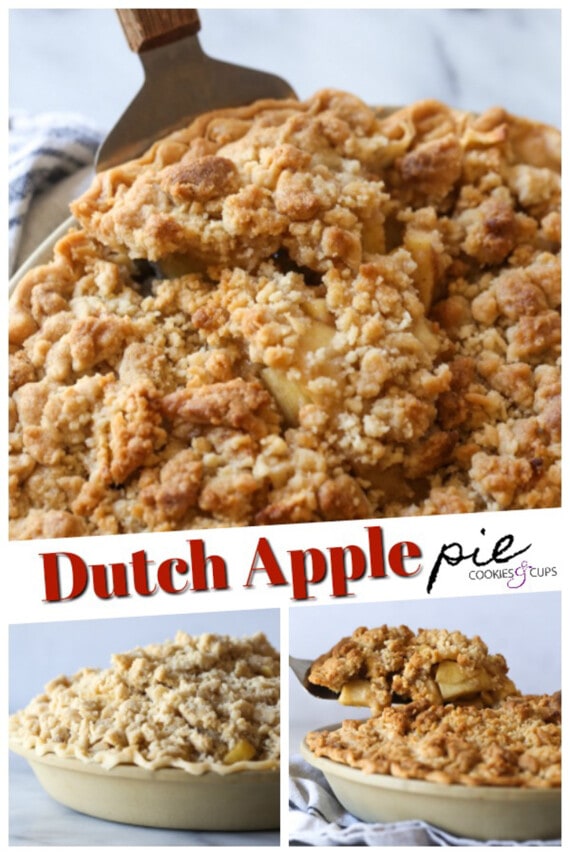
This delicious Dutch apple pie recipe has a warmly spiced cinnamon apple filling with a thick, buttery crumble topping, baked inside a homemade flaky pie crust. Skipping a top crust makes this an easier way to prepare apple pie for Thanksgiving dessert this year!
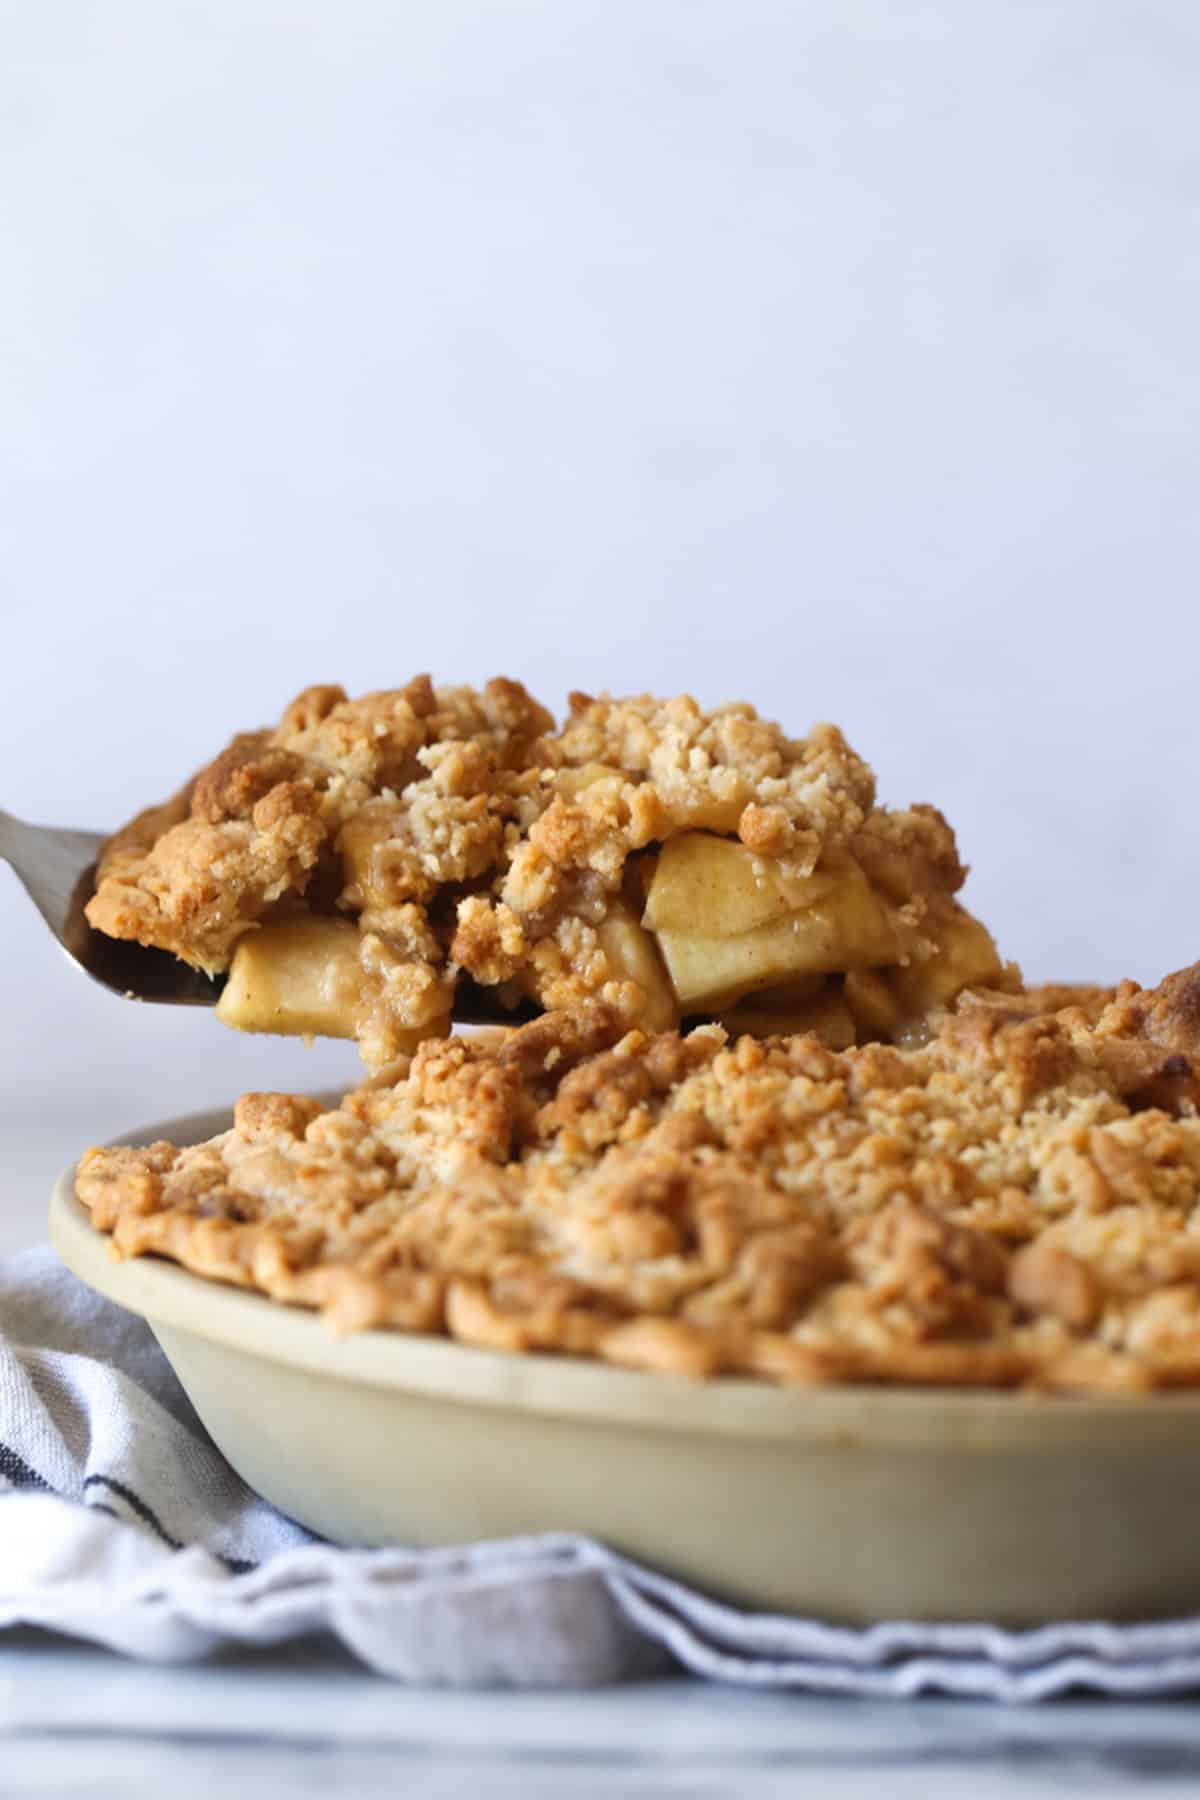
We’re going Dutch! As in, Dutch apple pie. This pie goes by different names, including apple crumble pie. A variation of classic apple pie, Dutch apple pie has a flaky pie crust on the bottom, and trades a traditional top crust for a buttery crumble or streusel (like you’ll find on my apple crumble tart), with juicy cinnamon apple pie filling in between.
Dutch apple pie is a staple on all of our holiday dessert tables, from Thanksgiving to Christmas. It’s always one of the first pies to disappear, right alongside my pecan pie. I loved this recipe so much that I even have a chai apple pie made with a Dutch-style topping!
What Makes a Dutch Apple Pie Different?
There are so many ways to bake an apple pie. American apple pie has an all-butter top crust (I’ve made a skillet apple pie this way). French apple pies have a shortbread-type crust and raisins in the filling. Some Dutch apple pie recipes even bake the crumb topping inside the pie. But for now, let’s dive into my favorite, original homemade Dutch apple pie recipe:
- Where a traditional American apple pie has a pastry top crust, Dutch apple pie has a buttery crumb topping, similar to an apple crisp.
- While some Dutch apple pies still have a lattice crust, you don’t need to worry about latticing a top crust for this recipe.
- You also don’t need to pre-cook the apple pie filling. I like to let the apples steam while they cook in the pie. The topping absorbs the juices and flavor, creating a nice, thick crumb.
- As a result, this classic Dutch apple pie is very simple to assemble. It’s ready for the oven in 20 minutes.
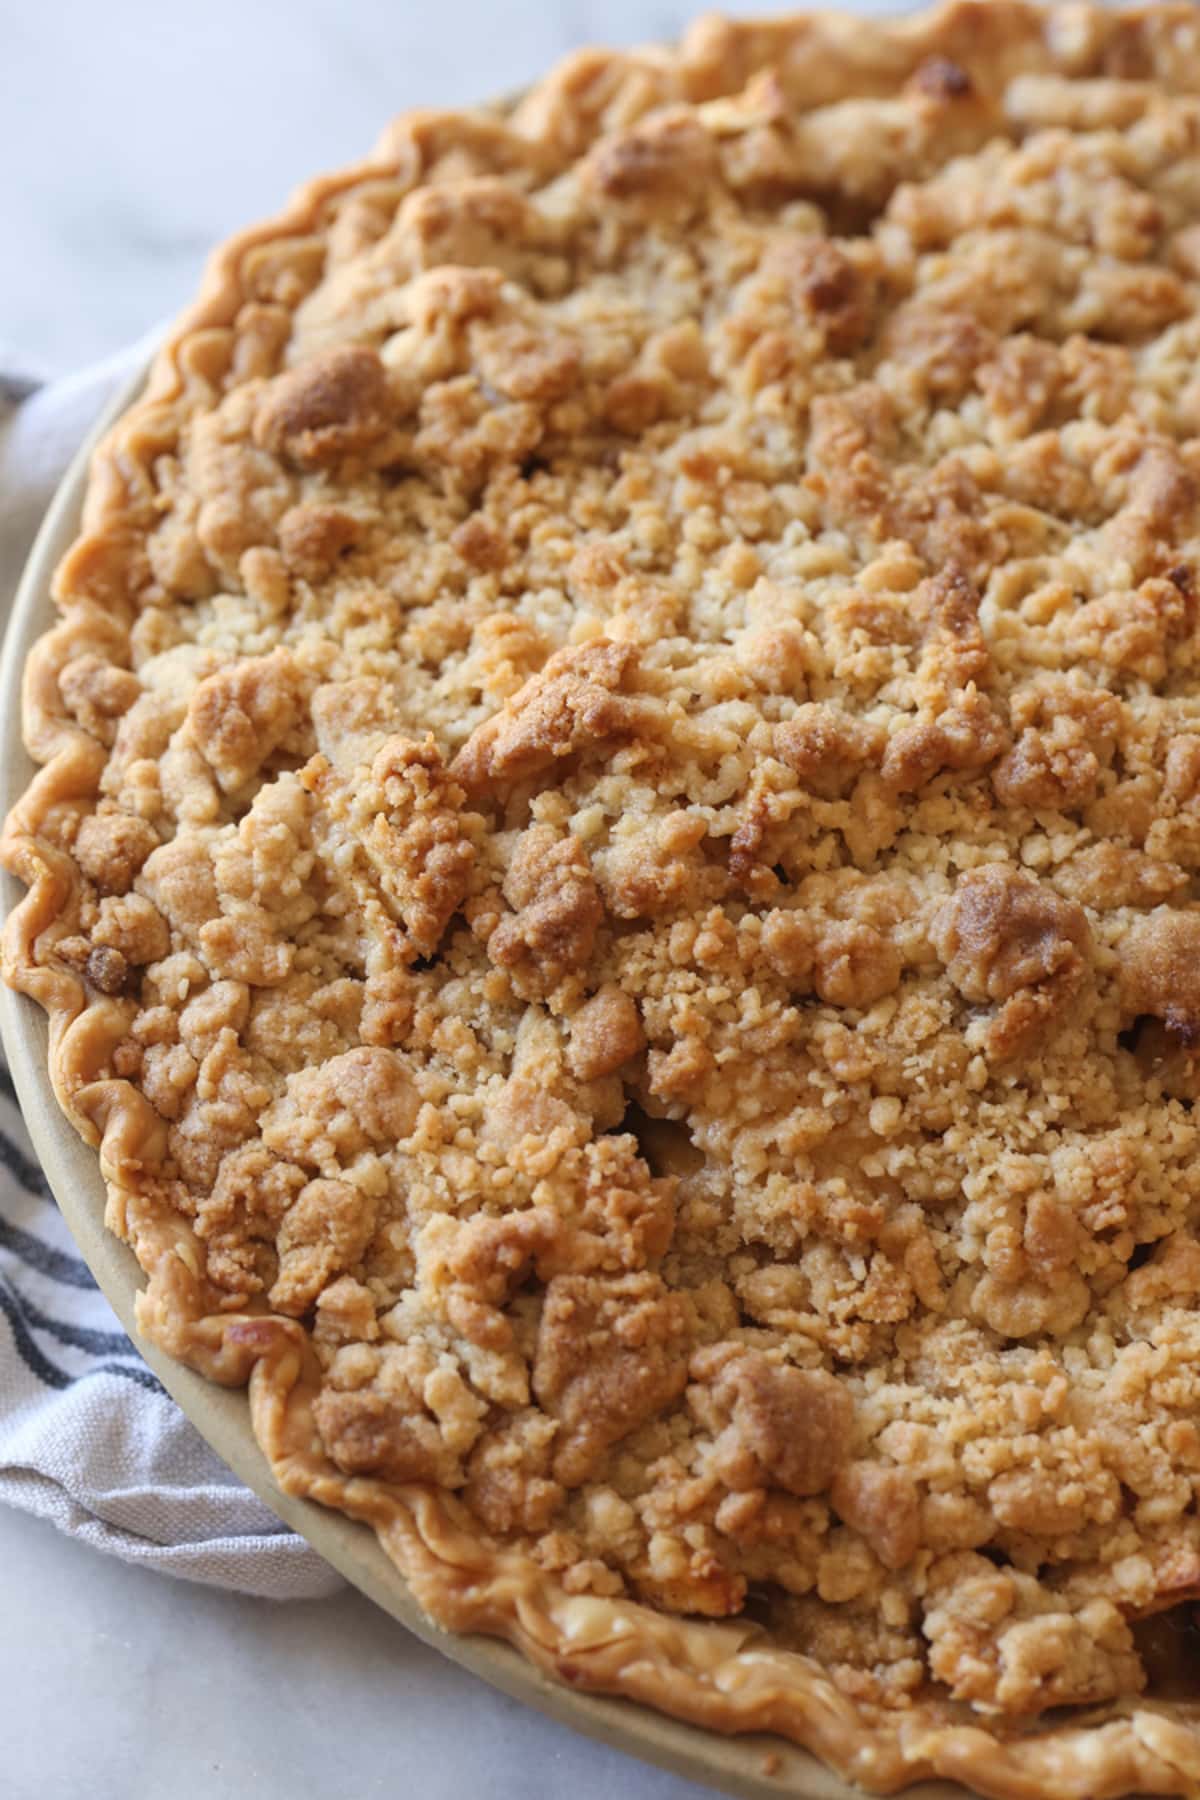
Ingredients Needed
Here are my notes on what you’ll need for this easy Dutch apple pie recipe. Scroll to the recipe card after the post for the full measurements and step-by-step instructions.
- Pie crust – Use a homemade pie crust or your favorite store-bought refrigerated or thawed, frozen crust. My homemade pie crust recipe makes enough for two pie crusts, so you’ll have one leftover for another pie recipe (or you can always double this recipe and bake two pies).
- Apples – The main thing when baking is to avoid mealy and floury apples, like McIntosh and Red Delicious. See below for notes on the best apples for baking.
- Lemon juice – Helps prevent the apples from turning brown and balances out the sweetness.
- Sugar – Equal parts light brown sugar and granulated sugar are used in the pie filling. Additional sugar is also used in the crumb topping.
- Flour – Helps to thicken the apple crumb pie filling. It also acts as the base for the crumb topping.
- Cinnamon – Adds a warm flavor throughout the pie.
- Butter – Cold butter helps create the crumbly texture in the topping.
The Best Apples for Baking
The best apples for apple pie are firm, crisp-tart apples. My go-to apples for baking are Granny Smith, as they hold their texture and don’t release as much liquid as others. Other good choices include Honeycrisp, Fuji, Braeburn, Gala, and Pink Lady apples. You can also use a blend of different kinds of apples for more dimension and flavor.
How to Make Dutch Apple Pie
As mentioned, I don’t cook the pie filling first. If you’d prefer to cook the cinnamon apples, or if you’re using a canned apple pie filling for this recipe, you may need to shorten the baking time slightly.
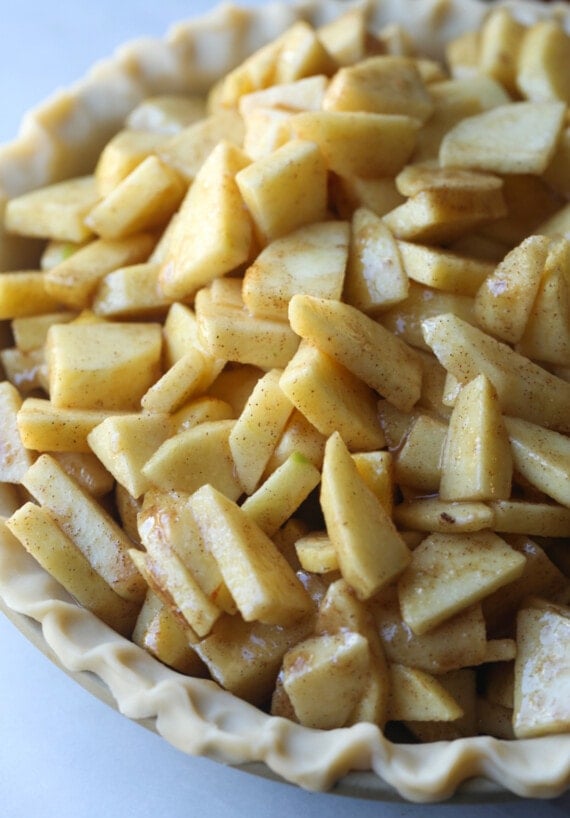
- Prepare the crust. Roll your pie dough into a 12-inch circle. Then, place it into a 9-inch pie plate, crimping the edges. Chill the crust in the fridge until it’s time to fill it.
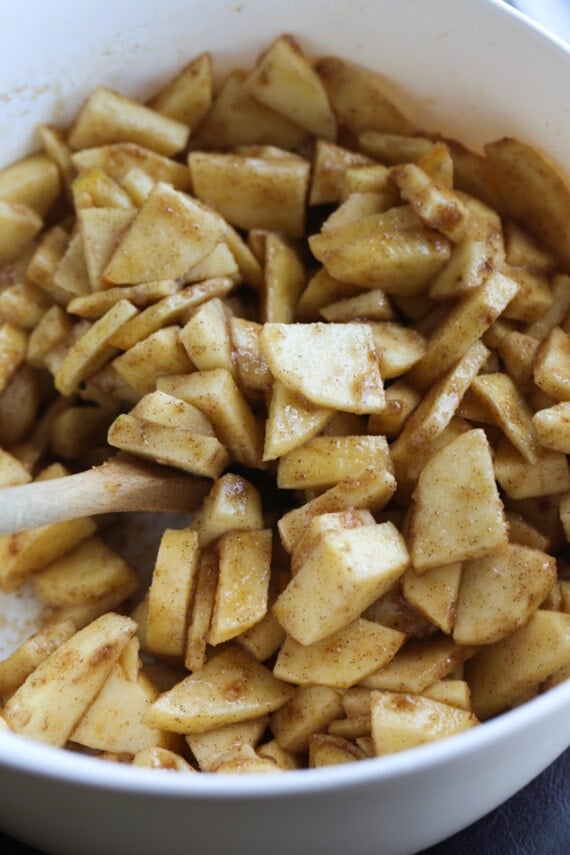
- Make the filling. Next, combine the apples, lemon juice, both sugars, flour, and cinnamon for the pie filling. Stir so the apples are evenly coated.
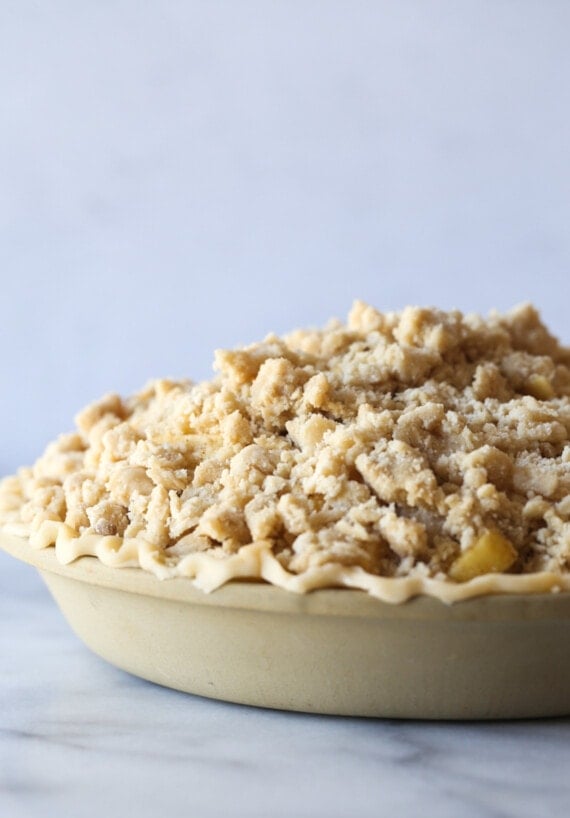
- Make the topping. Mix flour, sugar, and butter in a bowl to make a coarse crumb. Afterward, use your fingers to squeeze the mixture together until all the butter is absorbed into the streusel.
- Assemble. Now, drain the apple filling of any excess liquid. Spread the apples evenly in the crust. Sprinkle the crumb topping evenly over the apples.
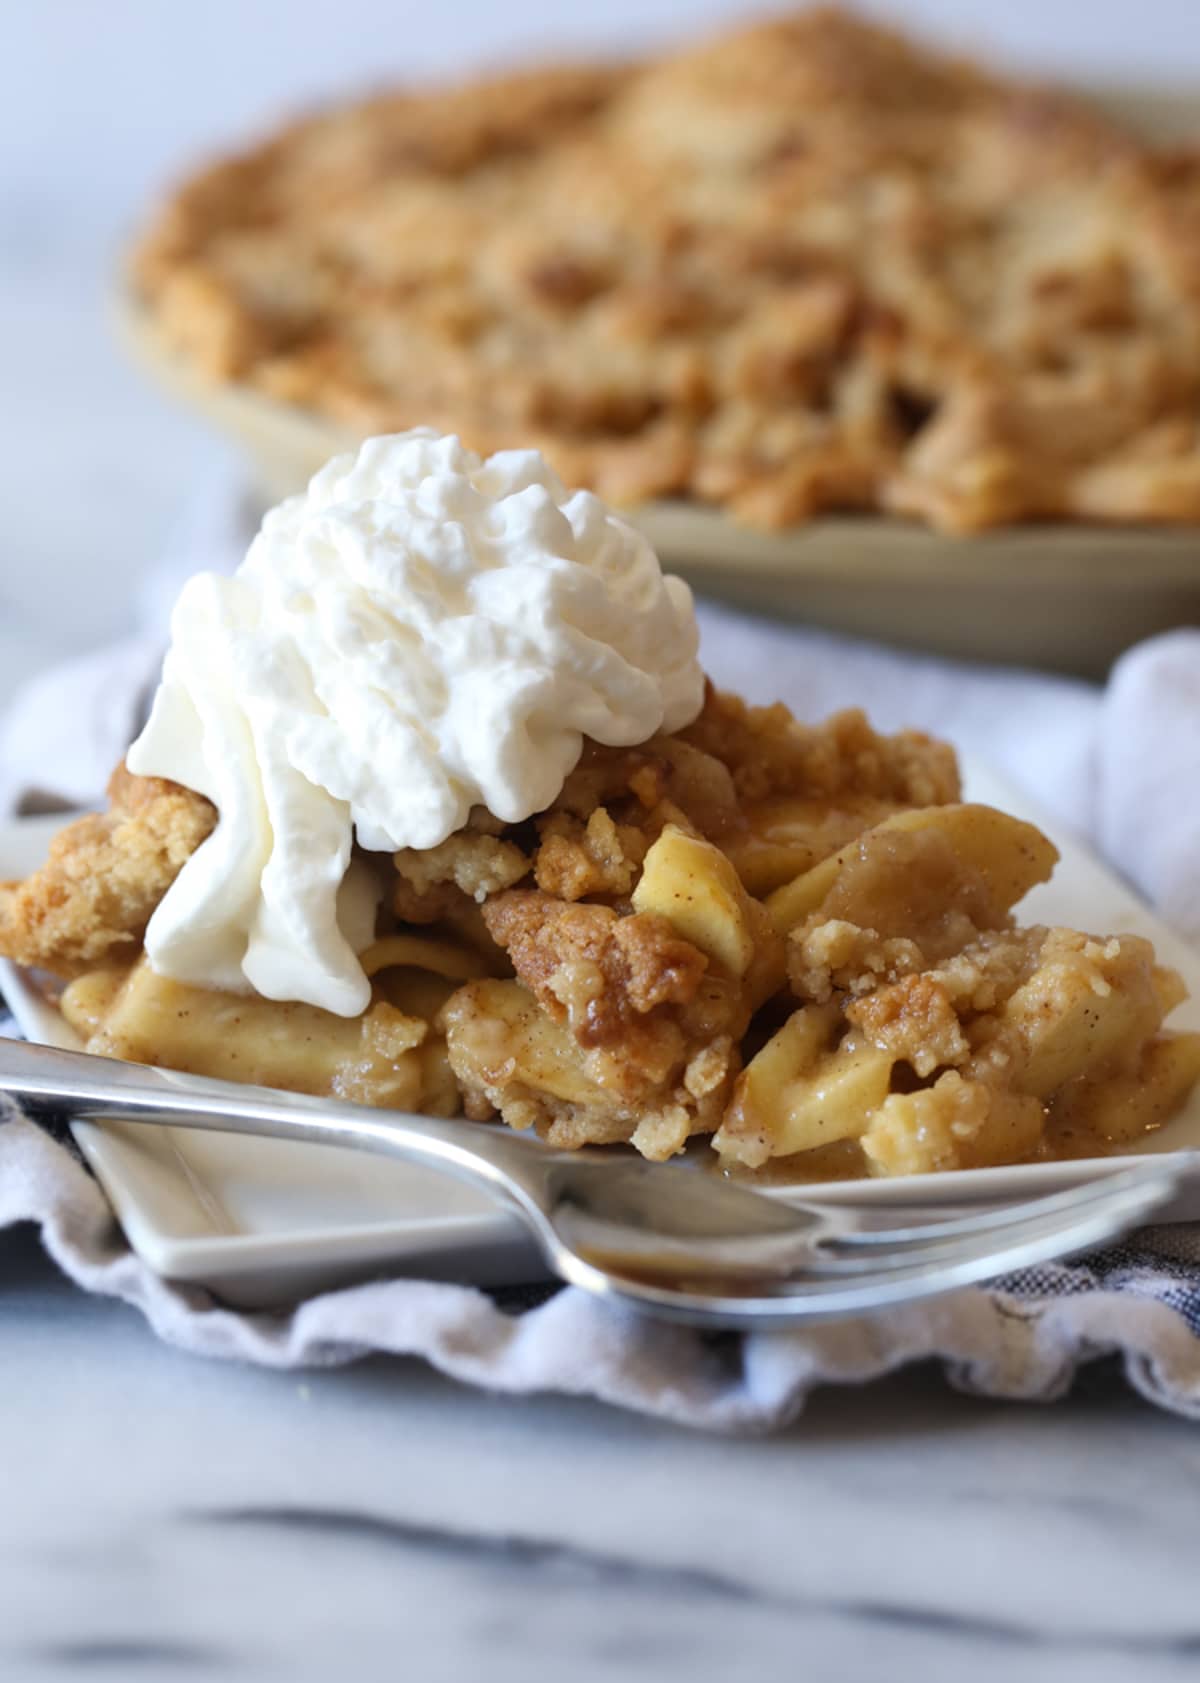
- Bake. Bake this Dutch apple pie at 375ºF for 50 to 60 minutes, until the apples are bubbly and the crumb topping is golden. If the crust or topping bakes too quickly, cover it loosely with foil or a pie shield while the pie finishes baking.
Tips for Preventing a Soggy Pie Crust
The downside to baking with uncooked apples is that the extra moisture that makes this pie delicious and juicy can, in turn, make the bottom crust soggy without a few precautions. These are some tips to avoid a soggy bottom crust on your Dutch apple pie.
- Use a glass pan. This way, you can actually see when the bottom crust is golden brown and baked through. It seems obvious, but the simple answer is sometimes the best.
- Use the right apples. I love using Granny Smith Apples in my pies because I find they don’t release as much liquid as other varieties.
- Allow the fruit to sit a bit. There’s a reason I make the apple filling before the topping. The sugars naturally draw out the moisture in the apples. This way, I can discard any liquid before adding the apples to the pie.
- Bake on the bottom rack. Bake your apple pie on the bottom rack of the oven, as it’s closest to the heating element. This allows the bottom of the pie to bake more quickly and firms up the crust.
- Bake your pie for AT LEAST as long as the recipe calls for. It’s pretty hard to over-bake an apple pie, as long as you protect the exposed edges of the pie crust. You want the filling to be bubbly, and let it bubble for a while to evaporate some of the liquid.
- Shield the pie edges. If you notice the edges of the crust are browning quicker than the bottom crust is baking, cover the edges of your pie with a pie shield or aluminum foil while it finishes baking.
- Finally, you can do a partial blind bake on the pie crust if you’re very worried about it becoming too soggy. After you’ve pressed the rolled-out pie dough into the pan, prick the crust all over with a fork, line it with parchment paper, and add pie weights. Bake at 350ºF for 20 minutes, then remove the weights and bake for another 7-8 minutes, just until the bottom starts to brown. Let the crust cool completely before you add the apple filling.
How to Store Leftovers
- Fridge. Let your pie cool to room temperature, then wrap it in Saran Wrap and store it in the fridge for up to 4 days.
- Reheat. If you like your pie to be warm, you can also zap your slice in the microwave for about 30-45 seconds, depending on how warm you want it to be.
- Freezer. You can also freeze this apple crumble pie. Once it cools completely, wrap tightly in plastic wrap and foil. Freeze for up to 3 months. Thaw in the fridge.
More Apple Dessert Recipes
Dutch Apple Pie (Apple Crumble Pie)
- Prep Time: 20 minutes
- Cook Time: 50 minutes
- Total Time: 1 hour 10 minutes
- Yield: 10 servings 1x
- Category: Pie
- Method: Oven
- Cuisine: Dessert
Description
This easy Dutch apple pie recipe features a homemade pie crust, warmly spiced apple filling, and a thick, buttery streusel topping. It’s a quicker, easier way to make apple pie!
Ingredients
- 1 pie crust (my recipe will create enough for two crusts)
- 5–6 cups Granny Smith Apples, peeled and sliced into 1/4– inch pieces
- 1 tablespoon lemon juice
- 1/3 cup light brown sugar
- 1/3 cup granulated sugar
- 1/4 cup flour
- 1 teaspoon ground cinnamon
Streusel Topping
- 1 cup flour, plus 2 tablespoons
- 1/3 cup granulated sugar
- 1/3 cup light brown sugar
- 1/2 cup cold butter, cubed
Instructions
- Preheat oven to 375°F. Adjust your oven rack to the lowest position.
- Roll out your pie dough to a 12- inch circle and fit it into a 9- inch pie plate, crimping the edges. Place the pie plate in the refrigerator while you do the next steps.
- In a large bowl combine the apples, lemon juice, brown sugar, granulated sugar, flour, and cinnamon. Stir to coat evenly. Set aside.
- To prepare the topping, combine the flour, granulated sugar, brown sugar, and butter in a medium bowl. Using a pastry cutter or fork blend the mixture together until coarse crumbs form. Using your hands squeeze the mixture together until all the butter is absorbed and your crumb topping comes together.
- Remove the pie plate from the refrigerator and spread the apples evenly into the crust, discarding any liquid that has been released from the apples. Sprinkle the crumb topping evenly on the apples.
- Bake for 50-60 minutes, until the apple mixture is bubbly and the crumb and crust is golden. If the crust and/or crumb begins to brown too quickly cover the pie loosely with foil and/or pie shield. Make sure to bake the pie long enough that the mixture is bubbly to ensure that the bottom crust is cooked. Since you are baking the apples raw they will release juice which can make the bottom crust slightly soggy. Positioning the rack to the lowest position and baking the pie long enough will make sure that the bottom crust bakes properly.
- Remove the pie from the oven when done and allow to come to room temperature before slicing.
Notes
- Store airtight at room temperature for up to 2 days, or in the refrigerator for up to 5 days.
- *The recipe for my homemade pie crust makes enough for 2 dough rounds, however this recipe is for one pie. So you will only need one round for this recipe. You can cut the dough recipe in half, or divide it and save dough for later!
Nutrition
- Serving Size: 1 slice
- Calories: 365
- Sugar: 29.4 g
- Sodium: 97.9 mg
- Fat: 15.1 g
- Carbohydrates: 56.2 g
- Protein: 2.8 g
- Cholesterol: 24.4 mg









First attempt at a Dutch apple pie and it was delish!! I used a combination of granny Smith and gala apples. Will definitely be baking this one again.
It came out great but the bottom crust is not cooked and it is kind of watery. Not sure what I did wrong. But I will definitely make this again.
Tp prevent this from happening again, try and bake it a little longer (tenting the top if you need to so it doesn’t burn. And place the pie on the lowest rack of the oven so it’s closets to the heating element which will help it cook a little more 🙂
Can you prep the apples the night before and put them in the crust and bake them the next morning.
They will brown a bit overnight and a lot of juice will form as the apples macerate, so I don’t recommend it, unless you plan on draining the juice that forms, because that will make you pie crust soggy 🙂 If you drain the juices, you are losing a bit of the sauce the apple make as they are baking. SO long story short…you can, but I don’t recommend. 🙂
Im confused about the making my own pue crust part.
You didn’t give any direction for making the crust. Do I find a different recipe for crust ?
I linked to the crust in the recipe 🙂
Can this pie be made ahead of time and frozen and then baked right out of the freezer?
Yes it can! As it will take longer baked from frozen make sure to watch the crust and top of the pie from browning too much. You might need to tent the top with foil and/or use a pie shield.
I’ve been making apple pies for years but never a Dutch Apple. Our family considers themselves connoisseurs on apple pie, but this recipe was the best we’ve ever had! Your tips were so helpful. I used Gala apples and baked on the bottom rack. It came out perfect and was the perfect end to our Thanksgiving dinner. Even the pumpkin pie lovers were won over.
Love hearing this!! So glad you liked it!
I’ve never tried making a dutch apple pie, but it looks pretty easy! My pie crust top is never as pretty as I like and this seems like an equally delicious but easier way to make apple pie!
I’m worried… you said to put the pie on the lowest rack and cook long enough till it’s bubbling… will this possibly burn the bottom of the crust?
I have never had my bottom crust burn. It would be very difficult…the apple release a good amount of liquid which is why you want to ensure the crust gets cooked all the way! BUT if you are using a glass pie plate, you can always ALWAYS check the bottom of the pie!
After making this wonderful pie my adult children said “Mom do not lose this recipe”.
This is a keeper, the best pie ever!!
Thank you for all the great tips, can’t wait to make another of your recipes.
LOVE hearing that!!
Shelly: You indicated in your description above that you like to cook the apples for this recipe, however, you didn’t do that in the recipe directions. Please provide instructions for cooking the apples first before putting them in the crust. Do you still bake the pie for the indicated amount of time? Thank you. Lisa
Hi! I hope I didn’t mistype somewhere within the post, I can’t find exactly where you see that…I did say I like to use raw apples for this recipe, but I like to use cooked apples for my classic apple pie recipe, which is linked above, but also here’s the link to that:https://cookiesandcups.com/apple-pie-recipe/
Within the post with the heading “Should You Bake The Apples Raw” I explain my method and the reasoning behind it 🙂 Hope this helps!
Serves 10? Let’s be realistic.
Hi Sam, certainly you can cut your pie slices as large or as small as you would like.I would absolutely say this pie will feed 8-10 people.