Instant Pot Dulce De Leche is a foolproof way to make dulce de leche EVER! Making gorgeous, creamy, sweet dulce de leche in 35 minutes using your pressure cooker is so easy!
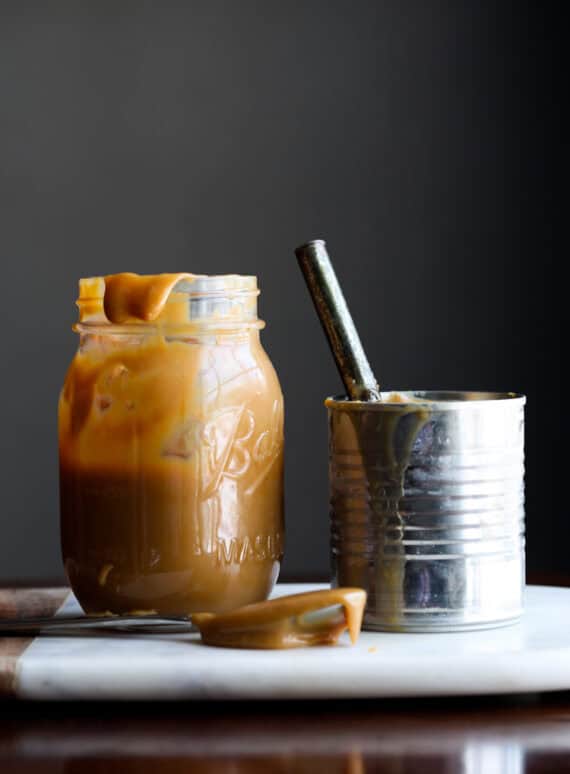
Table of Contents
- What Is Dulce De Leche?
- How To Make Dulce De Leche in the Instant Pot Pressure Cooker
- Here’s the IP method I chose…and why!
- How Much Water Do You Add to the Instant Pot when making Dulce De Leche?
- How Long Do You Cook Dulce De Leche For in the Pressure Cooker?
- Can You Make Dulce De Leche in the Slow Cooker Too?
- Which Method Do I Recommend Overall?
- Now That You’ve Made It, How Do You Use It?
- Get the Recipe
I haven’t pulled my Instant Pot in a minute…so when I decided I wanted to try making dulce de leche in my Instant Pot, I had to dig it out of m pantry and dust it off. When I first got my IP I used it a LOT. I LOVED making Instant Pot Salsa Chicken and found that making Instant Pot Cheesecake was a HUGE hit! But, like so many small appliances of yore, my Instant Pot got put away one day, never to be seen again.
BUT I have decided to get back to Instant Pot business, starting with Dulce De Leche!
What Is Dulce De Leche?
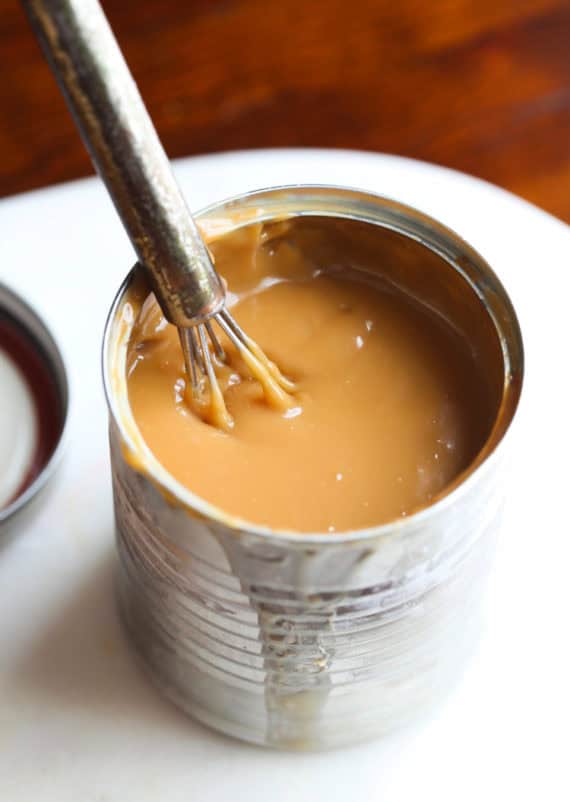
Dulce de Leche a sweet, thick sauce made from slowly heating sweetened condensed milk. The slow cooking caramelizes the sugar in the condensed milk giving it that deep golden color. The Spanish translation of dulce de leche is “sweet of milk” or “candy of milk”. And that’s exactly what it is!
Are Dulce De Leche and Caramel the Same Thing?
Kinda-sorta. The difference between the two is that, like I said earlier, dulce de leche is made from sweetened condensed milk, and caramel is made from water and sugar. Also, make sure not to make the mistake of using evaporated milk instead of sweetened condensed milk. One has added sugar, which is what gives it that deep golden color, as the sugars cook and caramelize!
How To Make Dulce De Leche in the Instant Pot Pressure Cooker
OK, here’s where we’re going to get into it! I am so excited about this cooking method! There are a few ways to cook the dulce de leche in the IP:
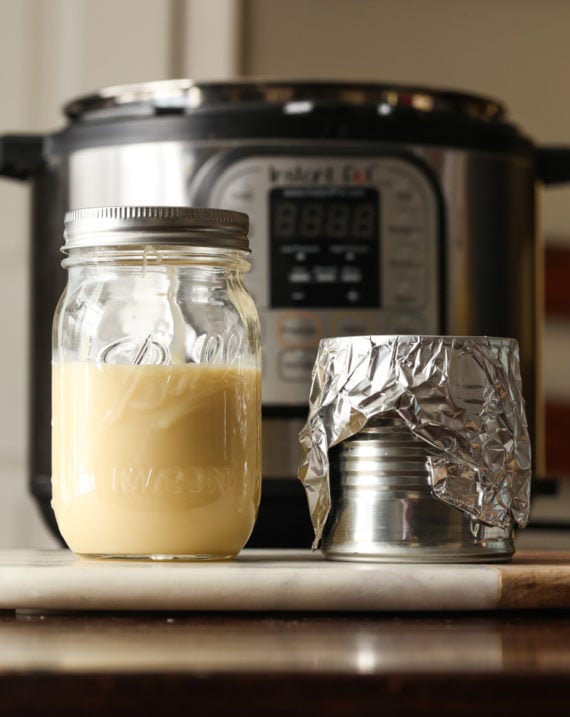
- In a sealed can of sweetened condensed milk
- In a open can of sweetened condensed milk with the lid removed and foil tightly covering the top
- In a glass jar with a sealed lid
- In a glass jar with foil covering the top
Here’s the IP method I chose…and why!
- I was scared of the sealed aluminum can in the pressure cooker. There I said it. Totally scared of explosions. I know it can be done, but I just didn’t feel comfortable doing it! Maybe next time. So what I did was remove the lid to the can, and cover it with foil. This way I felt like if anything was going to explode, the foil would be far less aggressive. Ha! And I knew I could remove the foil without the dulce de leche being completely cooled. I feel like if the can is sealed, I would need to make sure the dulce de leche was 100% cool before I dared opening it. And I’m not patient enough. It’s a character flaw.
- AND I wanted to try the sealed glass jar method, because I actually like the idea of the container being sealed, completely preventing any moisture from getting into the dulce de leche. I will admit, the foil/can method let a little moisture in. Not enough to really make a difference, but enough that there was a thin layer of water on top of the dulce de leche when I removed the foil. BUT using the glass jar actually allows you see when the dulce de leche has stopped boiling inside the jar, without having to let it cool 100% before opening the lid. I just preferred the visual aspect of the jar, and would totally recommend this method for anyone wanting to try this.
How Much Water Do You Add to the Instant Pot when making Dulce De Leche?
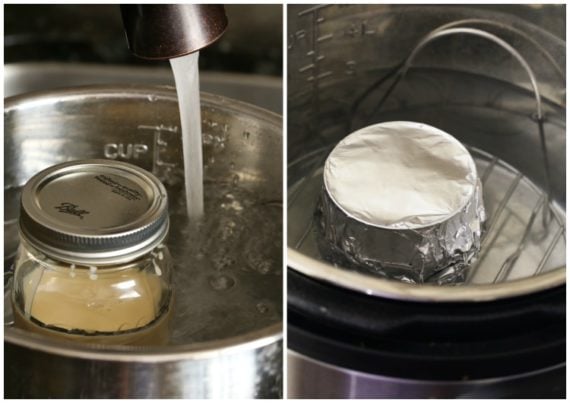
For both methods I chose (the sealed glass jar and the can covered in foil) you don’t need to cover the jar/can with water. You would cover it completely with water if you chose to cook the dulce de leche in the unopened can…which again, is NOT what i did.
- For the jar, fill the water level up to half way in between the sweetened condensed milk and the lid. Obviously, depending on the size of jar you use this will vary. As a rule of thumb keep the water lower than 1 1-1/2 inches below the seal of the lid.
- For the can/foil method, fill the water so it covers the bottom half of the can.
Can You Make More Than One Jar of Dulce De Leche at a Time in the Instant Pot?
Yes! Depending on the size of pressure cooker you have, you can fit up to 3 jars/cans on the trivet at a time without changing the cooking time.
How Long Do You Cook Dulce De Leche For in the Pressure Cooker?
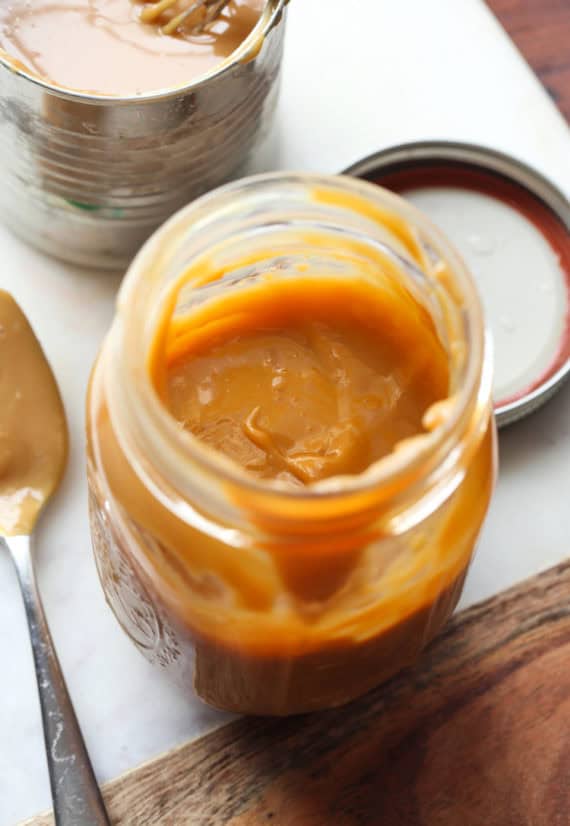
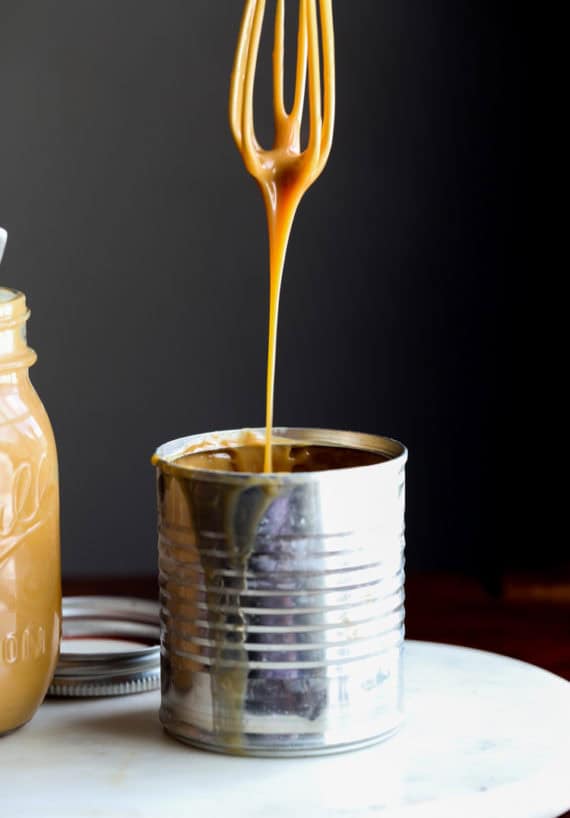
I cook mine for 35 minutes. I recommend 35-40 minutes, depending on if you prefer a lighter or deeper color to your dulce de leche. I prefer a slightly lighter color to mine, so 35 works perfect. The pictured can/jar or dulce de leche were both cooked for 35 minutes.
Do You Quick Release or Natural Release the Pressure?
Either! I prefer quick release, because I am impatient, but you can slow release the pressure as well. This will also tend to add a bit more deepness in color to the dulce de leche, as it cooks a little more than the quick release.
Please note, when removing the can or jar from the IP make sure to use heat-safe tongs that will grip the jar/can tightly. You can allow them to cool in the water as well, but if you want to remove it, be careful because it is HOT!
When Can You Take the Lid Off the Jar?
When you use the glass jar method, you can see inside the jar. If you immediately remove it from the pressure cooker after a quick release, the dulce de leche will still be bubbling inside the jar. Make sure it stops bubbling and the jar is only slightly warm to the touch before unscrewing the jar.
With the can/foil method, allow the can to cool to warm before removing the foil.
Can You Make Dulce De Leche in the Slow Cooker Too?
Yes! Using the sealed jar method, you place the jars in your slow cooker and cover completely with water. Cook on low for 8-10 hours, until the desired color of dulce de leche is achieved.
Which Method Do I Recommend Overall?
I prefer the glass jar method overall. I like to be able to see the dulce de leche inside the jar AND it’s easier clean up! Once the dulce de leche is made, it’s done and cooled it’s ready to go in the refrigerator! Or it’s perfect for gifting.
Now That You’ve Made It, How Do You Use It?
Dulce De Leche can really be used in place of caramel. Here are a few ideas:
- Fruit Dip
- Ice Cream Topper
- Spread on Toast
- Filling for cookies or cakes
- Swirl into brownie batter before baking
- Coffee sweetener
Looking for recipe to use Dulce De Leche? Try these:
- Man Bars (Dulce De Leche Snack Squares)
- Dulce De Leche Filled Churro Sticks
- Dulce De Leche Swirled Fudge

Instant Pot Dulce De Leche
- Prep Time: 0 minutes
- Cook Time: 35 minutes
- Total Time: 35 minutes
- Yield: 10 servings 1x
- Category: Sauce
- Method: Instant Pot
- Cuisine: Dessert
Description
Instant Pot Dulce De Leche (Caramel) is SO easy! You will have gorgeous dulce de leche in 35 minutes, with basically no effort at all!
Ingredients
1 (14- ounce) can sweetened condensed milk
Instructions
- Transfer sweetened condensed milk to a glass jar with a sealed lid. Place the trivet in the bottom of the Instant Pot Pressure Cooker and place the jar on the trivet. Fill the Instant Pot with water until it is about an inch beneath the lid of the jar (above where the condensed milk is and below the lid). Close the Instant Pot, making sure the valve is closed, and choose Manual, High Heat, 35 minutes. It will take about 30 minutes to heat up since there is a considerable amount of water in the pot.
- When it’s done cooking, quick release the steam, and open the pot. Using tongs, remove the jar from the water, or allow it to cool before removing.
- Transfer the jar to a wire rack and cool completely before opening the lid. The dulce de leche will be bubbling inside the jar for a bit of time. Do not open the jar, as pressure has built. Wait until it cools!
Notes
Optional can method – Remove paper label from the can of sweetened condensed milk. Open the top and remove the lid. Cover the top tightly with foil. Place in Instant Pot on top of trivet and fill until water is 3/4 way up the can. Follow instructions as above from here. I prefer the method of using foil instead of the can lid, because you can remove the foil without fear of explosion due to pressure. This is actually why I prefer the glass jar method best, because I can see inside the jar, and can see when it stops bubbling.
Store airtight refrigerated for up to 2 weeks
Nutrition
- Serving Size: 2 tablespoons
- Calories: 172
- Sugar: 29.1 g
- Sodium: 67.9 mg
- Fat: 4.7 g
- Trans Fat:
- Carbohydrates: 29.1 g
- Protein: 4.2 g
- Cholesterol: 18.2 mg
Want To Save This Recipe?















If you use the natural pressure release method you don’t have to worry about an explosion. The water will always have a higher vapor pressure than the cans contents at the same temperature. If the water doesn’t boil off rapidly (due to pressure release) then the two will tay at the same temperature (or within a couple degrees). Since the water outside the can has more pressure than the inside there is no chance of an explosion,
I did 35 minutes using jar method. I think it should be a tad darker. Can I put back in IP and do 5 more minutes?
Amazing! I tried the sealed jar method, I split one can into two jars because I have an 8 qt IP and didn’t want to use THAT much water. They probably came out darker because of the smaller amount in the jars, but I wanted darker.
I thought I had over cooked it when they were done, it looked chunky & odd HOWEVER all it took was some stirring to get to a silky consistency. Highly recommend this method!
Thank you for the review!!
I don’t trust the sealed jar any more than the sealed can. I did the ‘open can with tinfoil’ method and cooked 1 can for 45 minutes plus natural release and it was EXACTLY like the ones my mom would make from the sealed can in my childhood. After the natural release, I just left it in the water in the pot until it was cool enough to remove. I now have 3 (opened) cans going in the pressure cooker right now waiting to cool. I bought 3 different brands of sweetened condensed milk so that I can compare the flavors of the final results.
Jajaja, you can’t compare an explosion of a sealed metal can to a simple glass crack! As my mom said, crack, but cracker ain’t so!
I’ve tried this and it worked AMAZING. all of my friends and family love it. I used the jar method with the sealed lid- but was curious, can i put more than one jar in at a time?
Didn’t work for me either. Very clumpy, almost solid and I did 35 minutes and instant release.
This didn’t really work for me. It’s clumpy and tastes a bit scorched maybe. I used the sealed jar method for 40 minutes.
Can this be left unrefrigerated?
this needs to be refrigerated 🙂
I combined your methods using the glass jar with the foil and it turned out perfect! I had 2 small cans that fell short of a full size can, but using the same cooking time still lended perfect results. It had the bit of water on top as described, but once cool it pours right off. Thank you for posting, this was the best method I found and so easy!!
Thanks for the feedback!!Glad it worked out for you!
I’m just about to try this- do you think the cooking time is the same if I do half the recipe- ie use half a can of condensed milk?