

Learn how to make crème brûlée following my easy, foolproof recipe! All you need is heavy cream, vanilla, granulated sugar, and egg yolks to make this silky baked custard topped with crunchy caramelized sugar. It’s a fun make-ahead dessert to serve guests, perfect for holidays and entertaining. You don’t even need a torch to make the topping.
Definitely try my crème brûlée cookies, too!
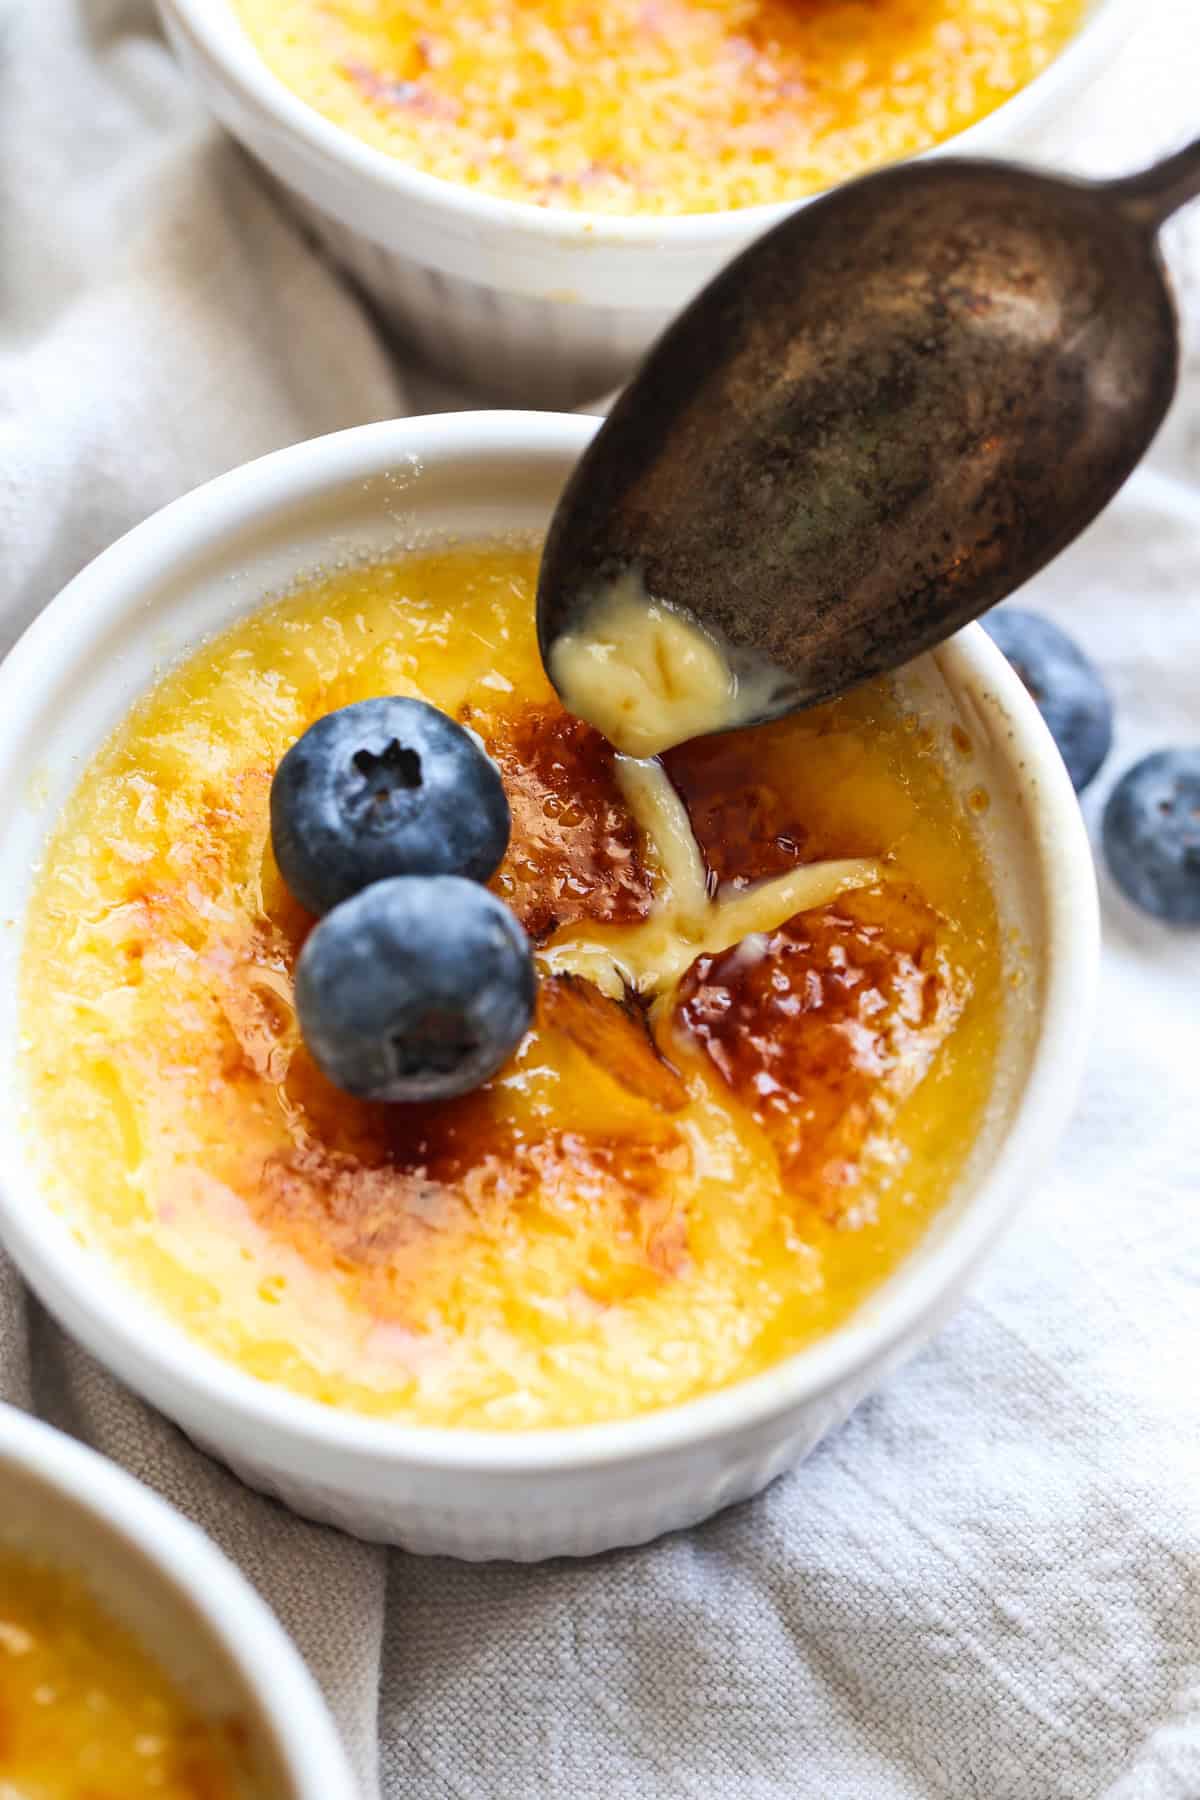
Crème brûlée is one of the “fancy” desserts I always waited to order when we went out for dinner on special occasions. Once I started making it at home, I was blown away by just how easy it is. You only need four ingredients to make classic crème brûlée: Heavy cream, vanilla, granulated sugar, and egg yolks.
You’ll make and bake the custard, chill it, and then top your crème brûlée with a “burnt” toffee topping (hence the name, which translates to “burnt cream” in French). This isn’t exactly a quick dessert due to the chilling time, but it’s super simple. My teenagers actually make this recipe on their own with no help from me.
What Makes This Crème Brûlée Recipe Foolproof?
After today, I think you’ll also be pleasantly surprised at how easy crème brûlée can be! Here, we have what I believe is the simplest, most delicious homemade version.
- Heating and then cooling the cream is an easy way to prepare the custard. The cream heats up, then infuses with real vanilla bean while it cools.
- You’ll bake the crème brûlée custard in a water bath to ensures it bakes evenly and comes out crack-free.
- Chilling before adding the sugar is key. This way, the sugar on top of the cold custard melts and caramelizes into the signature golden crust.
- For this reason, this is a great make-ahead dessert for entertaining or the holidays. It’s elegant, and you can (and should) make it in advance!
- If you don’t have a kitchen torch, you can “burn” the top under your broiler instead. More on this later!
Ingredients You’ll Need
This is all you need to make homemade crème brûlée. Scroll to the recipe card at the bottom of the post for the full recipe and measurements.
- Heavy Cream – Make sure to use full-fat heavy whipping cream, not pouring cream or low-fat alternatives.
- Granulated Sugar – I recommend sticking with granulated sugar. Using brown sugar may impact the flavor and texture of the crème brûlée.
- Egg Yolks – Separate the egg yolks from the whites while the eggs are cold from the fridge. Afterward, bring the yolks to room temperature. They’ll mix more smoothly, and they’ll be easier to temper with the hot cream.
- Vanilla Bean – You can replace one whole vanilla bean pod with one tablespoon of vanilla bean paste or pure vanilla extract.
This recipe makes 8 servings, and I bake my crème brûlée in 6-ounce ramekins. If you use another size, keep in mind the baking time will vary. For example, shallow ramekins bake more quickly than deeper ramekins.
How to Make Crème Brûlée
The process for making crème brûlée is very similar to baking a cheesecake. It includes baking in a water bath until the custard is set but still jiggly, and gradually cooling the custard before adding the topping. It’s actually VERY simple to make!
- Heat the cream. Start by heating heavy cream in a saucepan. Stir it frequently so the cream doesn’t burn on the bottom of the pan, and heat just until it starts to steam and barely reaches a boil. If you’re using vanilla bean, scrape the seeds into the hot cream, then drop the whole pod in to infuse. Let the cream cool.
- Mix the egg yolks and sugar. Meanwhile, combine the egg yolks and sugar in a large bowl. Whisk well until the mixture looks pale yellow. After 10 minutes of cooling, your cream should be cool enough to temper the eggs.
- Combine. Slowly whisk the warm cream into the egg mixture, about ½ cup at a time. Adding it slowly like this prevents the eggs from scrambling, so don’t rush it! Once fully combined, the custard should thicken enough to coat the back of a spoon.
- Prepare the ramekins. Arrange your ramekins in a large baking dish with high sides (like a large lasagna pan, roasting pan, or half sheet cake pan).
- Fill them with custard. Next, divide the custard mixture between the ramekins. The custard doesn’t expand while baking, so you can fill them quite full. I usually leave about ½ inch at the top.
- Make a water bath. Now, pour hot water into the baking dish, enough to go about halfway up each ramekin.
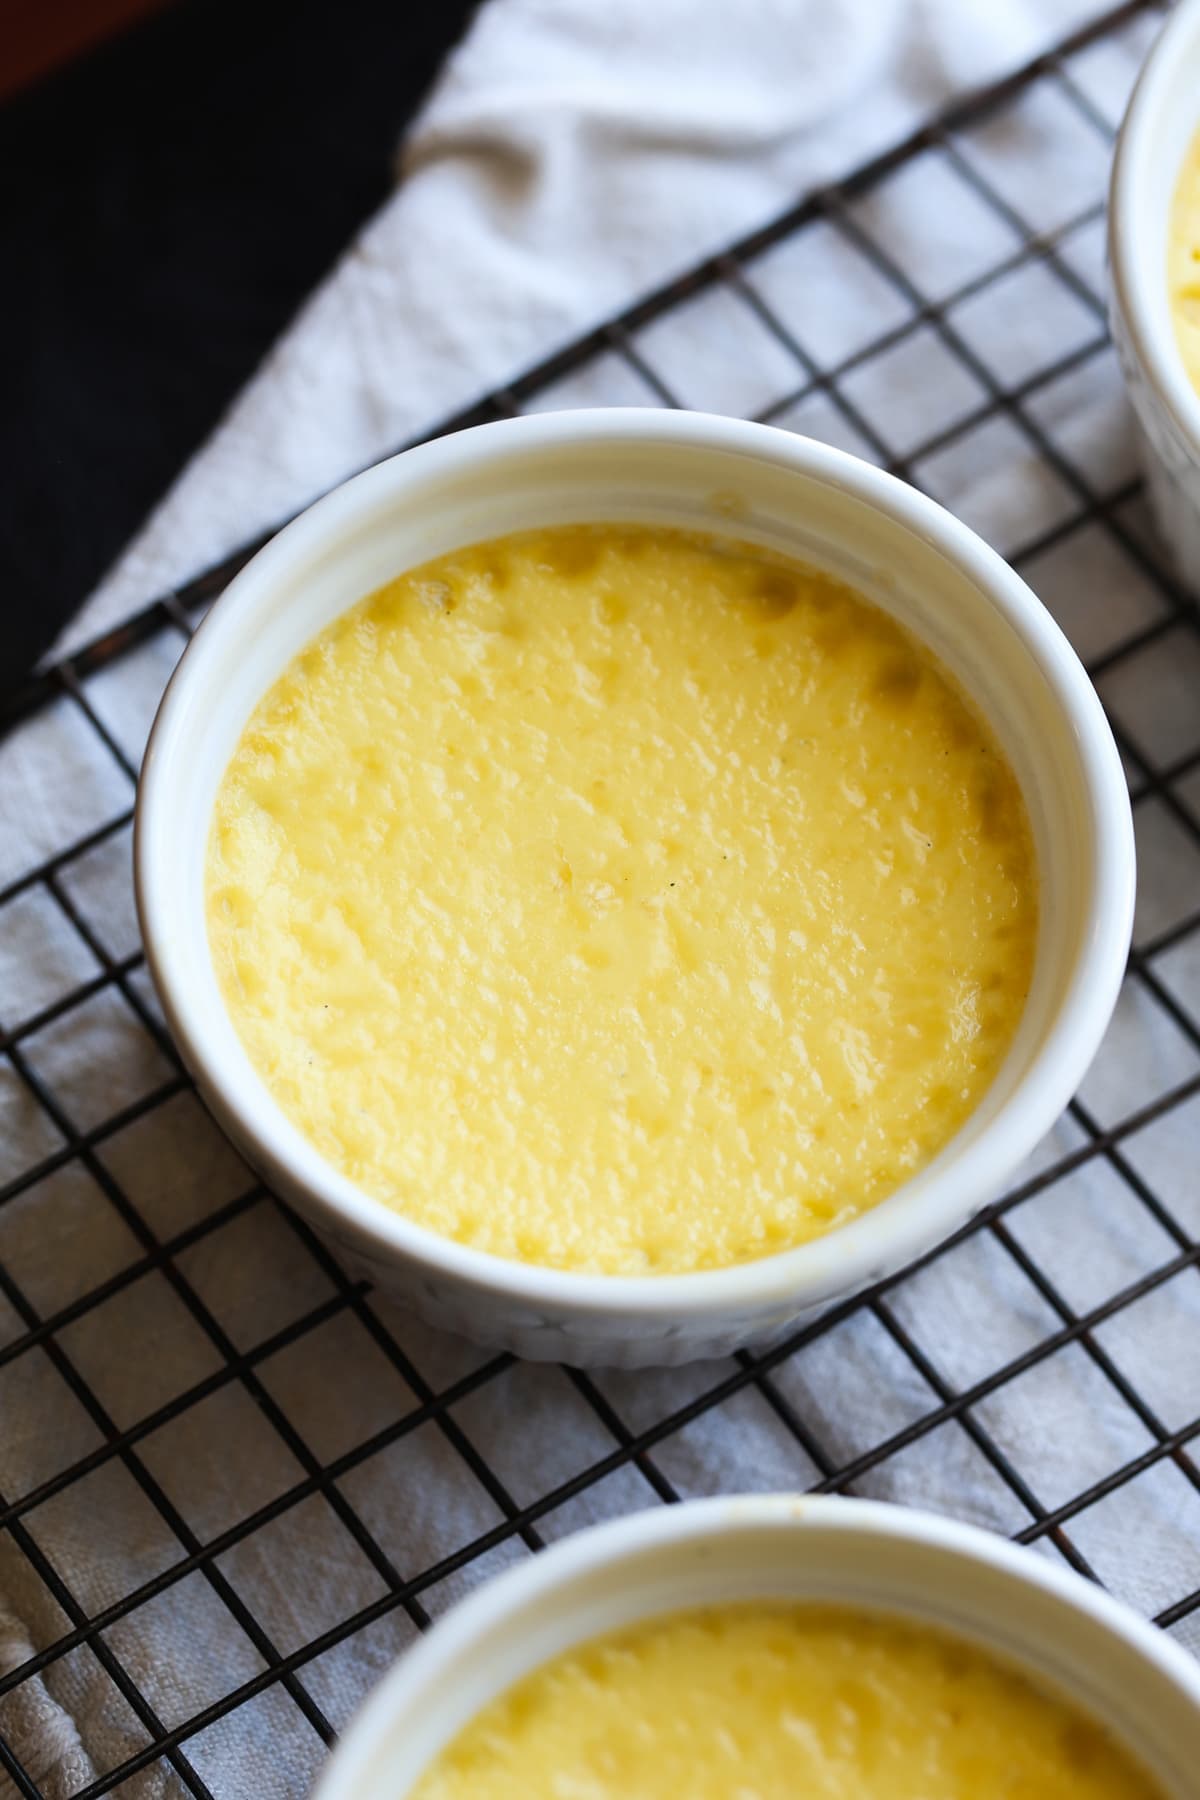
- Bake. Bake the custards at 325°F for 35-45 minutes, until the tops are set but not browned, and the custard still “jiggles” slightly. To test your crème brûlée for doneness, you can also use an instant-read thermometer. The custard will be done when it reaches an internal temperature of 165-170°F.
- Cool gradually. Using an oven mitt or tongs, remove the ramekins from the hot water. Cool the custards on a wire rack for 1 hour, then cover them with plastic wrap (loosely, so moisture doesn’t form on top of the custard). Afterward, transfer the ramekins into the refrigerator and chill for at least 3 hours or up to 3 days.
How to Tell When It’s Done
When the crème brûlée is done, the edges will be set, but the center will still be “wobbly” or “jiggly.” It shouldn’t be soupy; it will have a consistency similar to Jell-O when you shake the pan. If you notice the centers look wet or liquidy, they aren’t done yet.
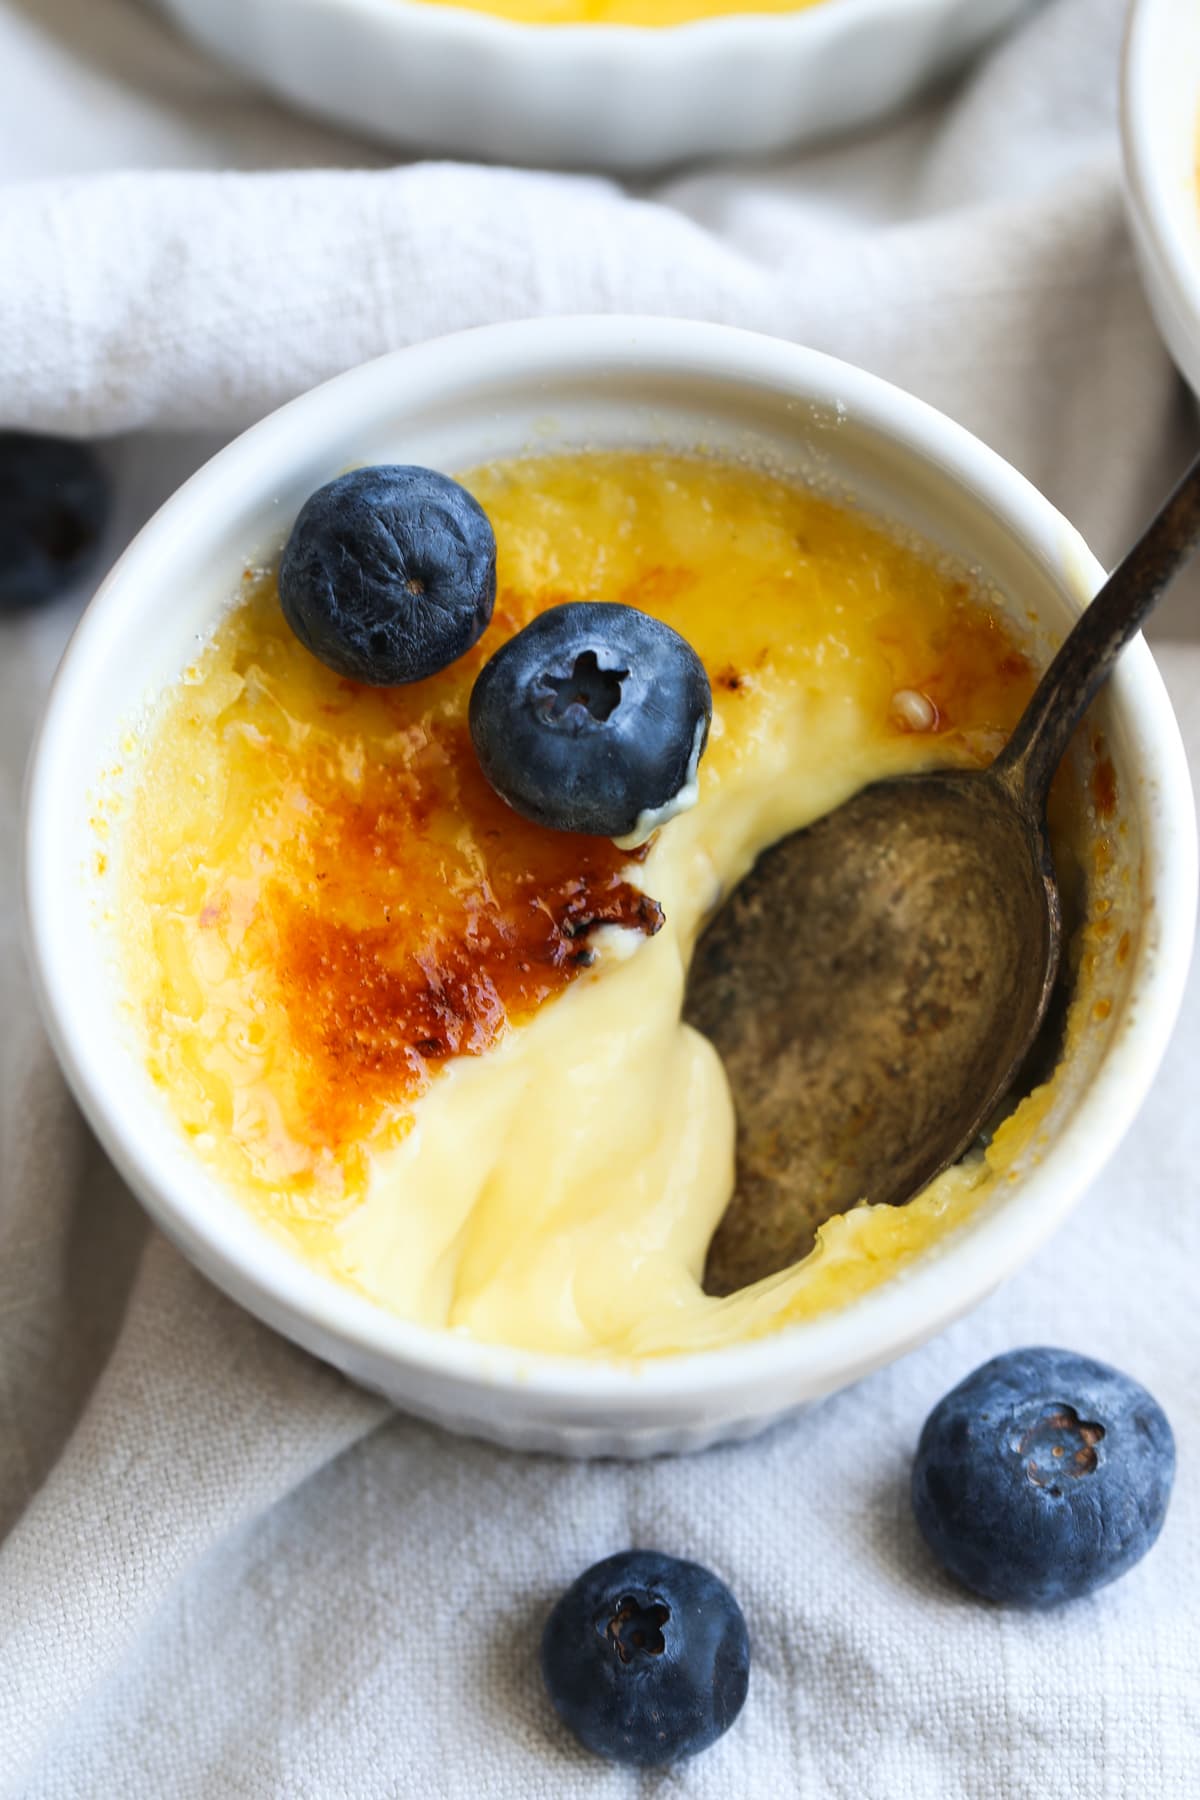
Once it cools, crème brûlée will be less jelly like. It’ll have a soft texture that holds its shape when you scoop it and a rich, velvety mouthfeel. It shouldn’t be thick enough to slice, but it shouldn’t be runny, either.
Making the Crunchy Sugar Topping on Crème Brûlée
Allow your custards to chill completely before adding the sugar and torching the tops. The sugar coating won’t harden up if the custard is warm. It’s best to do this just before serving. We want those tops crunchy!
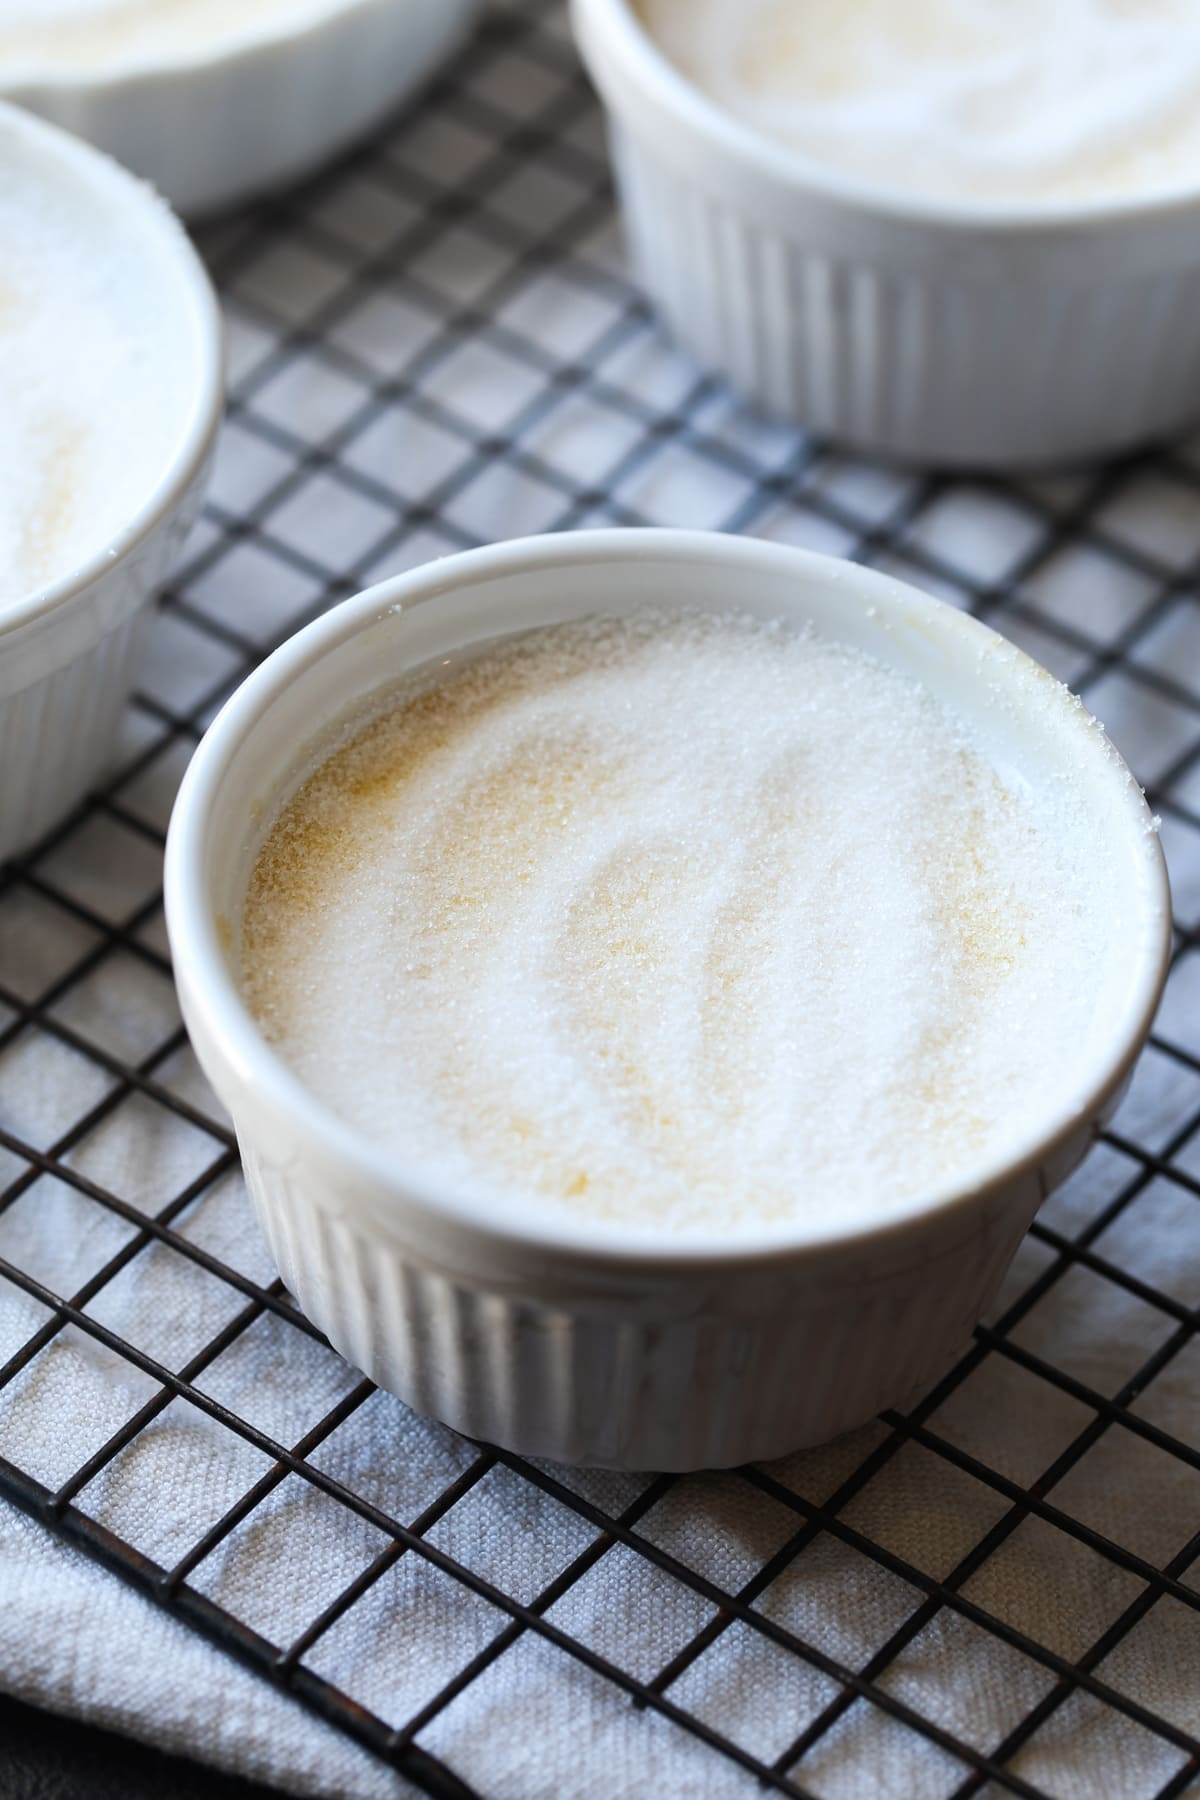
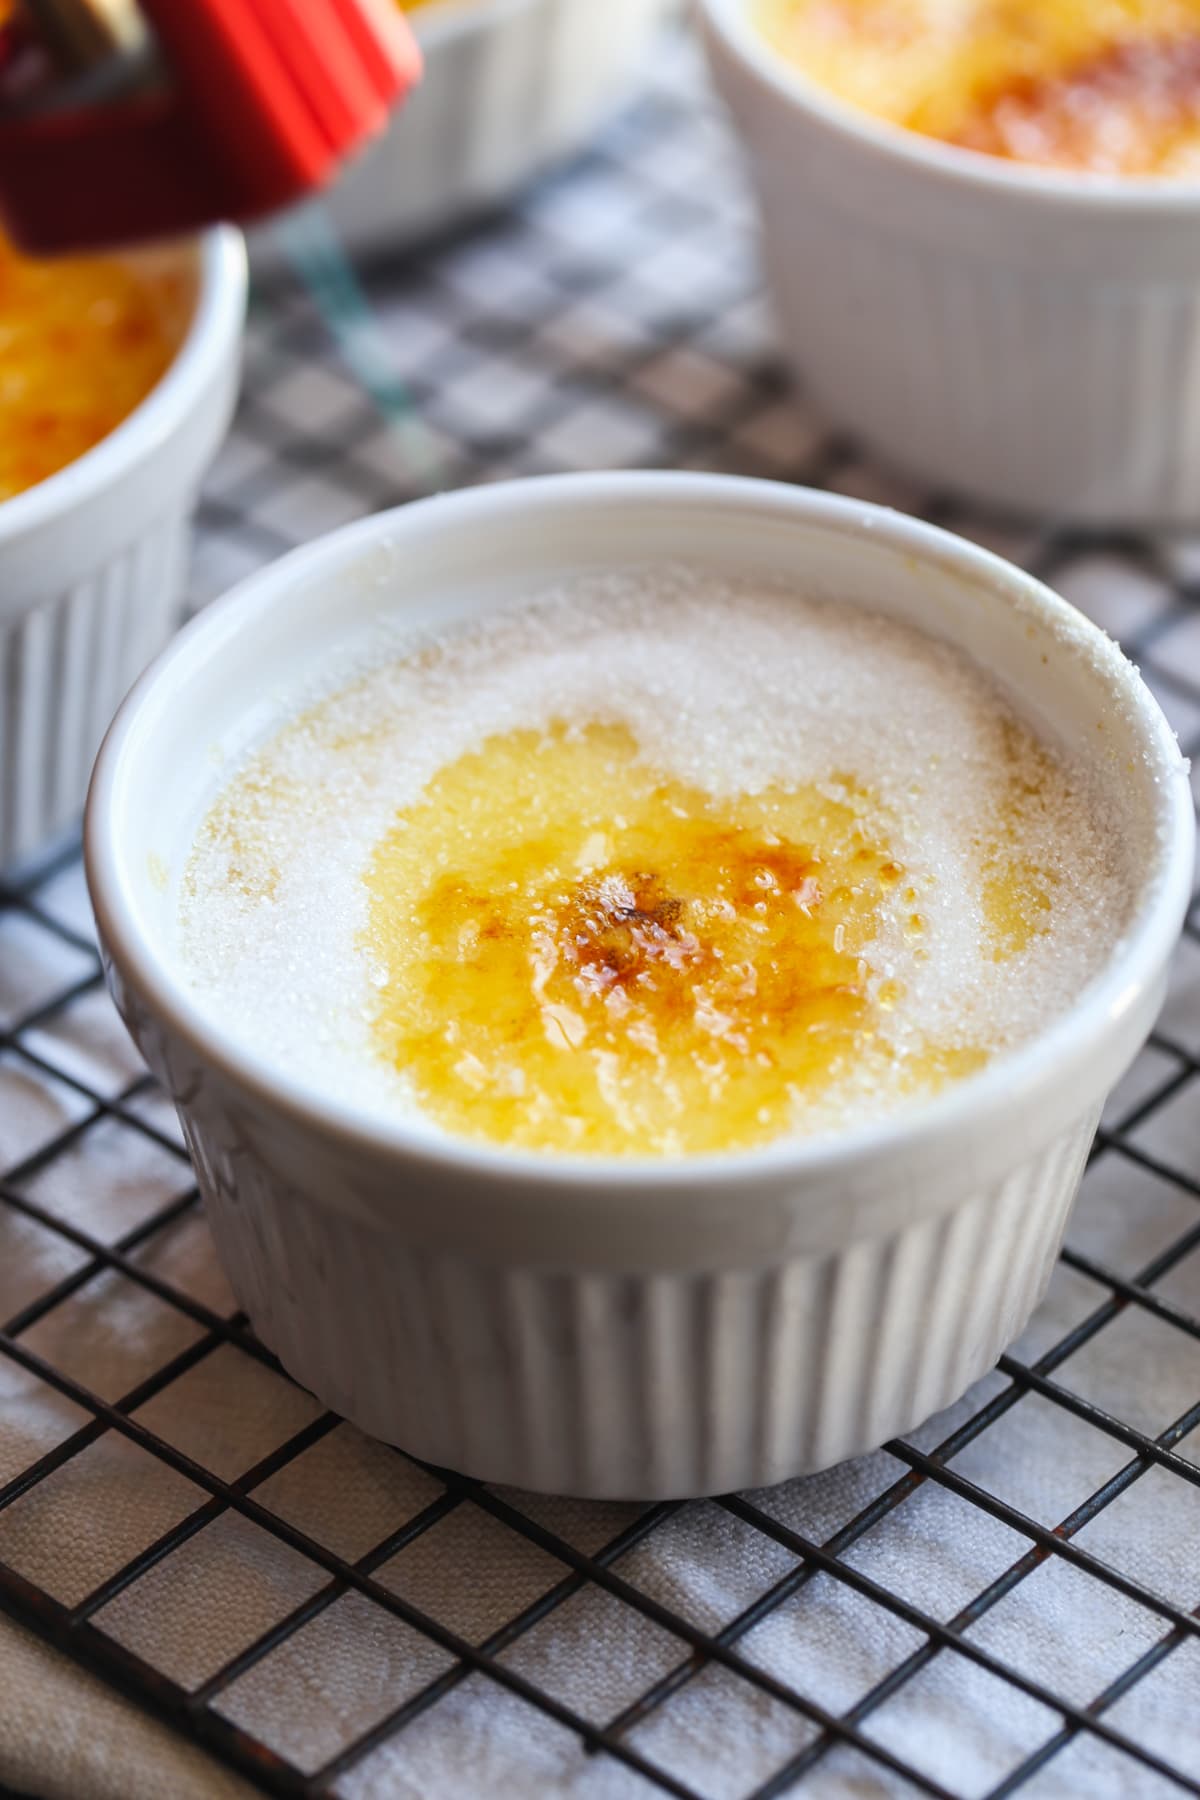
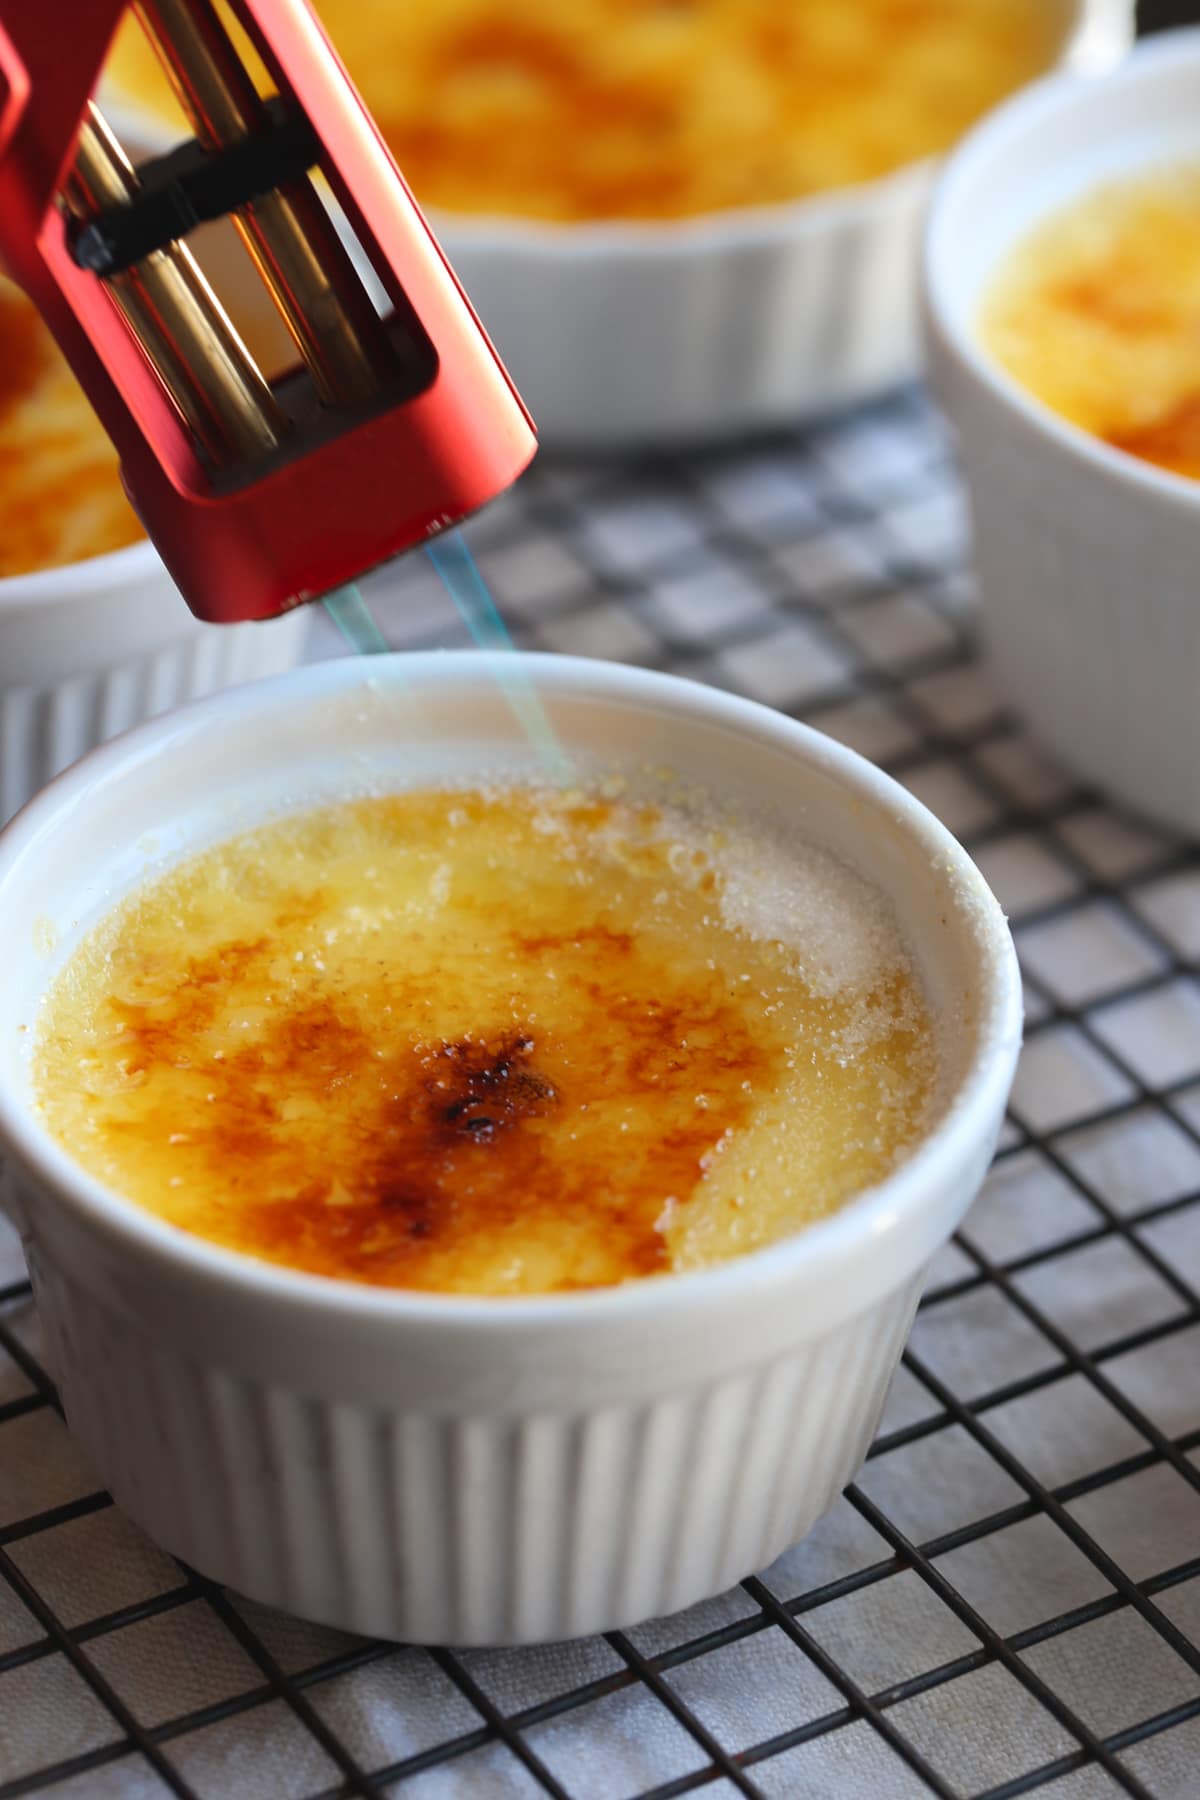
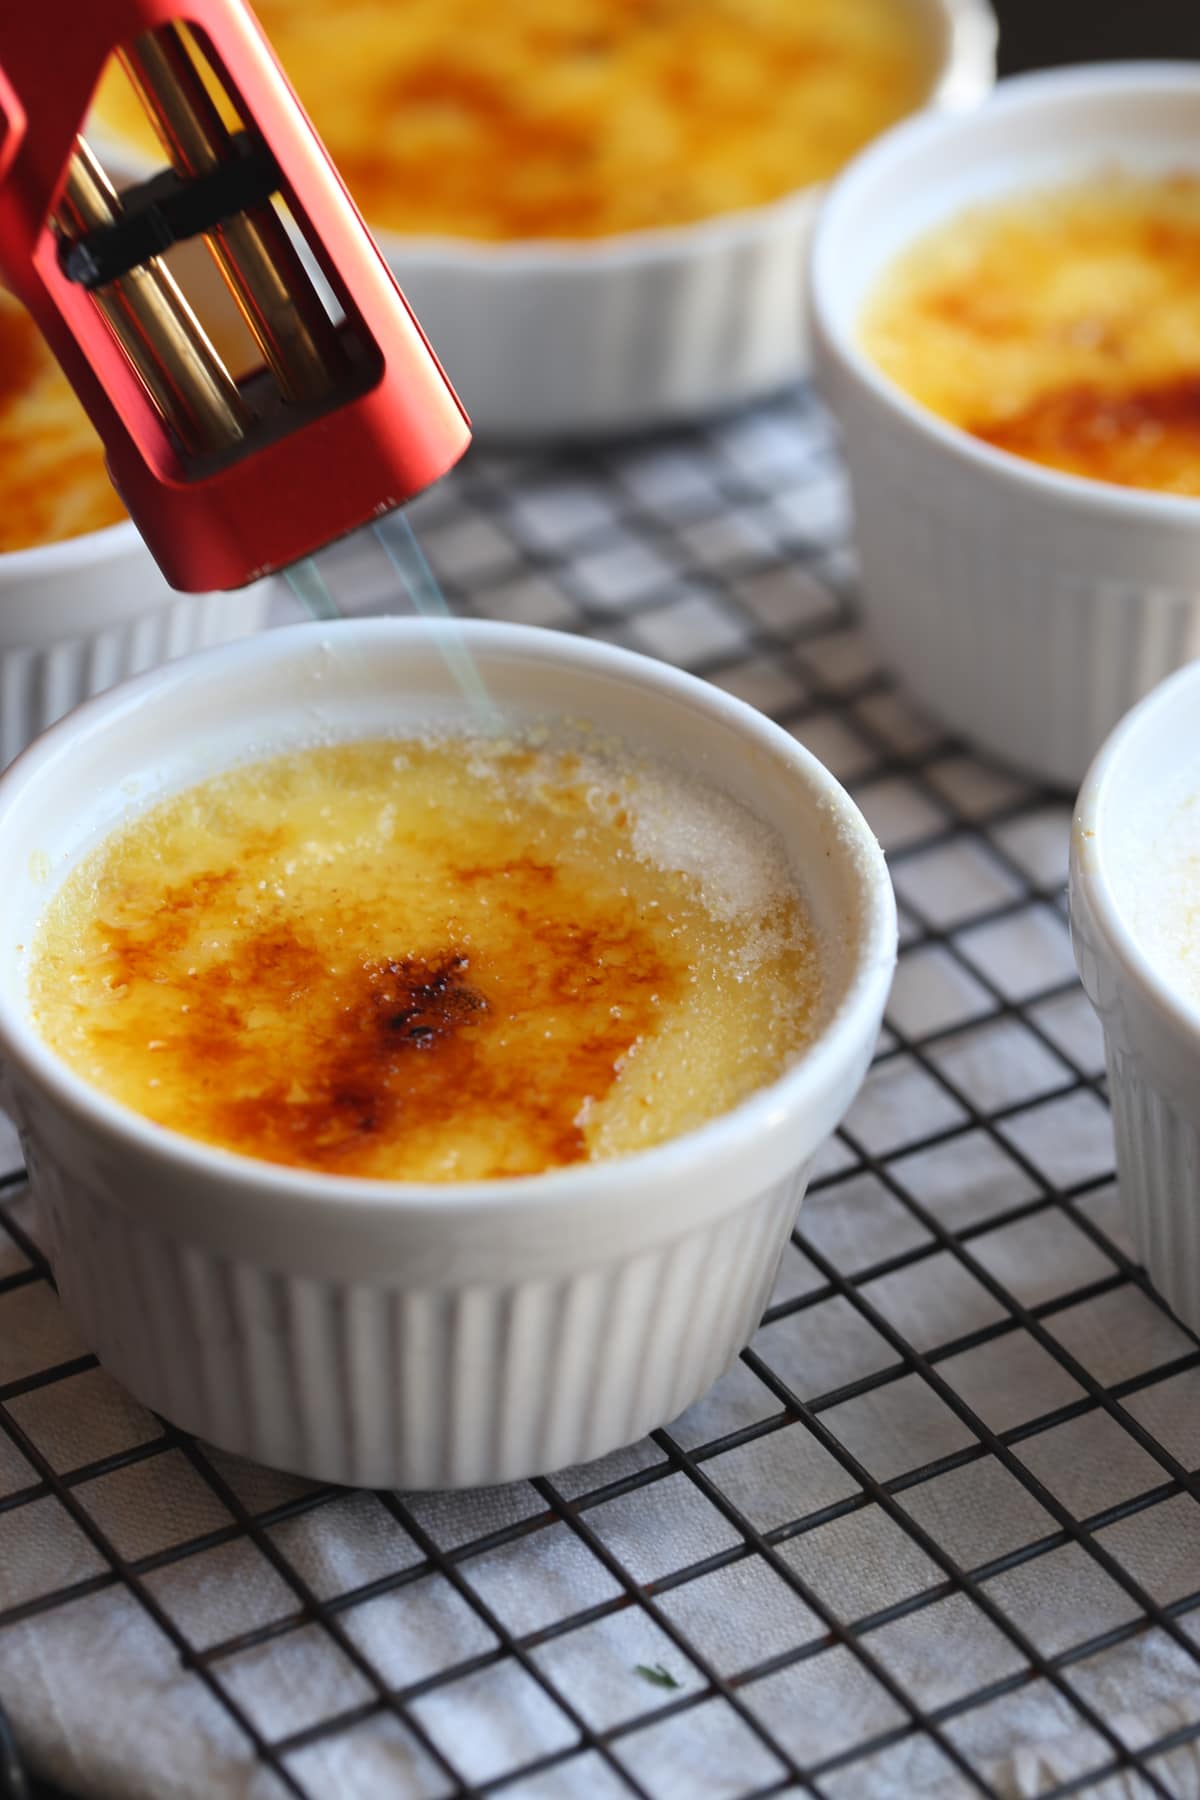
- Toast the sugar. When you’re ready to serve, sprinkle granulated sugar evenly over the top of the chilled custards. Using a kitchen torch, lightly toast the sugar. It’ll melt first; keep torching until it’s bubbling and browned. See my note below if you don’t have a torch.
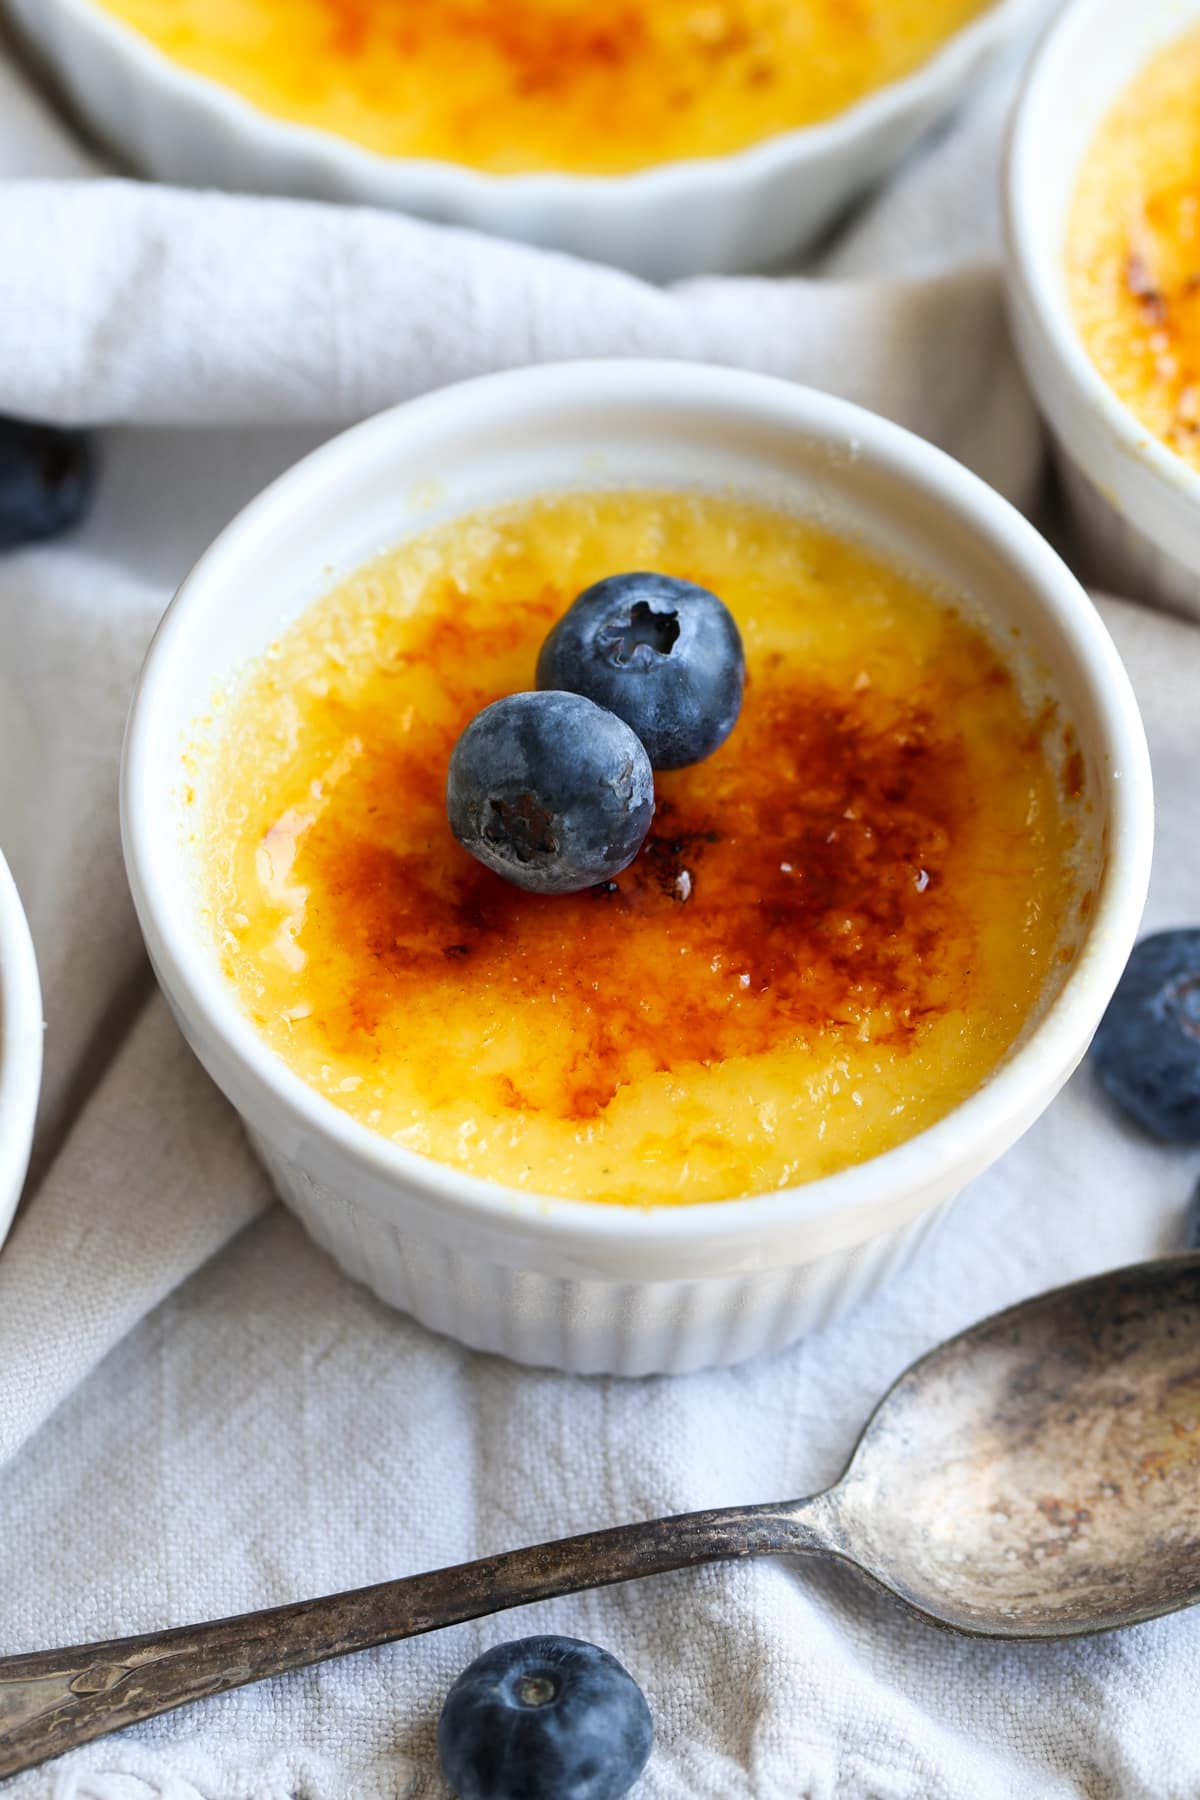
- Enjoy. Once the sugar on top is golden and melted, let it cool to form a hardened, candied toffee crust. It only takes about 5 minutes, and you’re ready to serve.
That feeling of cracking open the toffee topping to be met with the silky smooth custard underneath is nothing short of magical!
Making Crème Brûlée Without a Kitchen Torch
A kitchen torch makes this step easy, but if you don’t have one, never fear. You can toast the sugar under your oven broiler instead. There’s a little less control with this method, but you’ll still end up with delicious, crunchy tops with the right broiling technique:
- Make sure the custard is very cold. Since the broiler heats the custard more than a torch does, ensure your custards are super cold to begin with. Chilling overnight is best. Another way to keep them from becoming too warm is to place the ramekins in a large pan and surround them with ice while they’re under the broiler.
- Get them close to the broiler. When it’s time to burn the sugar, place the ramekins 2-3 inches under the broiler so they’ll toast quickly. While broiling, rotate the pan to ensure the tops brown evenly. Keep a close eye on your crème brûlée, as some ovens will go quicker than others.
Another method is to use a multi-purpose lighter with a long neck to melt and burn your sugar. This is my least-favorite way of doing it, but it does work in a pinch.
Tips for Perfect Crème Brûlée
After making this recipe many times, here are the tips and tricks I found helpful when making crème brûlée from scratch.
- Don’t overheat the cream. Heat the heavy cream just until it starts to steam, but don’t let it boil. Overheating can cause the cream to curdle and become grainy.
- Strain the custard. If you notice any small bits of cooked egg after mixing your custard, strain it through a fine-mesh sieve before pouring it into your ramekins.
- Baking times may vary. Exact baking times depend on things like oven temperature and the size of your ramekins. Check your crème brûlée at the earliest suggested baking time.
- Don’t skip the water bath. A water bath is essential for even baking. Hot water surrounds the ramekins, ensuring the bottoms and sides cook just as evenly as the top. Plus, the steam the water creates in the oven prevents cracking on top.
- If the custard is brown on top, it’s likely overdone. This happens for a few reasons, including too much time in the oven, baking too close to the top element, or oven hot spots/uneven heating. If you notice the tops of the custard are browning, but the centers aren’t done, tent the ramekins loosely with aluminum foil. I have never encountered this problem, but loosely covering the pan with foil should stop any browning.
- Little bubbles may form on top. This is totally fine, and it’s actually a good way to know when your crème brûlée is done. Bubbles start to form when they’re ready to come out. Don’t worry if the bubbles remain after baking. You’ll cover them with crunchy sugar soon enough!
- Add the sugar before serving. If you return the burnt sugar-coated custards to the refrigerator for any length of time, the sugar softens up. So make sure to do this a few minutes before you serve them for the crunchiest topping!
- Don’t be skimpy on the sugar. You might think you’re adding too much, but the thicker the loose sugar layer, the thicker that crunchy topping will be.
What to Serve With Crème Brûlée
Serve it in the ramekin it was baked in, alone or with fresh fruit or mint leaves as a garnish. My husband likes his topped with whipped cream! As for meal ideas, crème brûlée is the perfect sweet follow-up for so many dishes. Here are a few:
- Filet mignon with baked potatoes or risotto for a cozy, restaurant-style dinner.
- Instant Pot beef stew or slow cooker beef tips with homemade French bread.
- French onion soup (or this savory French onion chicken!)
- Air fryer salmon with asparagus or green beans.
How to Store
- Keep refrigerated. Store the baked crème brûlée lightly covered in the fridge up to 3 days before serving. As mentioned, wait to torch the sugar until a few minutes before serving for best results.
- If you’re storing leftovers, keep the crème brûlée covered in the fridge for a day or two. Note that the sugar topping will lose its crunchiness with time.
- If you would like to freeze the crème brûlée, cool them as stated in the recipe, chill them for at least one hour, then cover tightly and freeze for up to 30 days. Allow them to thaw in the refrigerator overnight before torching and serving.
More Special Occasion Desserts

Easy Crème Brûlée
- Prep Time: 15 minutes
- Chilling Time: 3 hours
- Cook Time: 60 minutes
- Total Time: 4 hours 15 minutes
- Yield: 8 servings 1x
- Category: Dessert
- Method: Oven
- Cuisine: French
Description
My classic crème brûlée recipe with silky custard topped with crunchy, caramelized sugar. The perfect make-ahead dessert!
Ingredients
- 4 cups (1 quart) heavy cream
- 1 1/2 teaspoons vanilla extract (or 1 vanilla bean, split and scraped)
- 3/4 cup granulated sugar, divided
- 6 large egg yolks, room temperature
- hot water for water bath
Instructions
- Preheat oven to 325°F.
- In a medium saucepan heat the heavy cream over medium heat until it just comes to a boil. Remove from the heat, add in the vanilla extract, cover the pot and and allow to cool for 10 minutes. (If using vanilla bean scrape the seeds into the cream and add in the seed pod to infuse more flavor into the cream).
- In a large bowl whisk together 1/2 cup granulated sugar and the egg yolks until pale in color and thoroughly mixed. Whisk in the warm heavy cream into the egg mixture slowly, adding about 1/2 cup at a time, whisking constantly as to not scramble the eggs.
- Place 8 (6- ounce) ramekins into a large baking pan. Place the ramekins evenly into the baking pan and fill each ramekin equally with the cream mixture, filling about 1/2- inch from the top.
- Heat 1 1/2 – 2 quarts of water until very hot. Pour the hot water into the baking dish until the water is about half-way up each ramekin, creating a water bath.
- Bake for 35 – 45 minutes, until the tops are set but the custard still “jiggles” slightly when moved. To be sure about doneness you can also use an instant read thermometer. The custard will be done when it reaches an internal temperature of 165°F – 170°F. You don’t want the tops to brown.
- Using an oven mitt or tongs, remove the ramekins from the hot water and allow to cool on a wire rack for 1 hour. Cover the ramekins loosely with plastic wrap and transfer the custards into the refrigerator and chill for at least 3 hours or up to 3 days.
- When ready to serve divide the remaining 1/4 cup granulated sugar evenly on top of the custards. Using a kitchen torch go over the sugar lightly until it bubbles and then browns. *Alternately you can do this under an oven broiler if you don’t own a kitchen torch. Broil the sugar anywhere from 3-10 minutes, watching carefully as not to burn the sugar. Home oven broilers can vary greatly.
- Allow the sugar to cool for 5 minutes before serving to firm up and become crunchy. The sugar will soften if placed back in the refrigerator, so it’s best to do this step right before serving.
Notes
If you are using wide and shallow ramekins, as opposed to the deeper ones pictures here, the bake time will be slightly less. Start checking them after 30 minutes to ensure they don’t over-bake. Also, you might need a little more granulated sugar to top the custards before caramelizing, as there is more surface area to cover.
As stated, the caramelized sugar won’t stay as crunchy, and will soften if refrigerated after torching, so save this step until you’re ready to serve.
If using the broiler to burn the sugar I like to create an ice bath to place the ramekins in before going under the broiler to keep the custard as cold as possible.
Store airtight in the refrigerator for up t 3 days before torching and serving.
To Freeze: Cool them as stated in the recipe, chill them for at least one hour, then cover tightly and freeze for up to 30 days. Allow them to thaw in the refrigerator overnight before torching and serving!














Made this for a New Year’s dessert, yum! I do not have a torch, so I let the ramekins to sit out for at least 10 – 15 minutes after refrigerating overnite, then topped with Sugar In The Raw Turbinado Cane Sugar and placed the under the broiler. Perfect sugary perfection!
What is the nutritional breakdown for this recipe? Thanks in advance.
Can you do a chocolate flavor???
If you don’t have a kitchen torch AND you want to make sure your caramelized tops are even and not burned in spots, there’s a technique that involves a couple more steps, but will guarantee you even caramelization if you use a broiler.
You basically melt some granulated sugar and a little water, and boil it until it starts to turn amber. Pour out the amber caramel on wax paper or parchment. When it’s solid, break it into pieces and put it in a heavy-duty plastic bag (the bags that cereal is packed in inside boxes is also great for this). Crush it, with a rolling pin, or a meat mallet, or even a hammer. Use this ground-up caramel instead of granulated sugar for the topping on the creme brulee, and it will caramelize beautifully under a broiler.
great tip!!