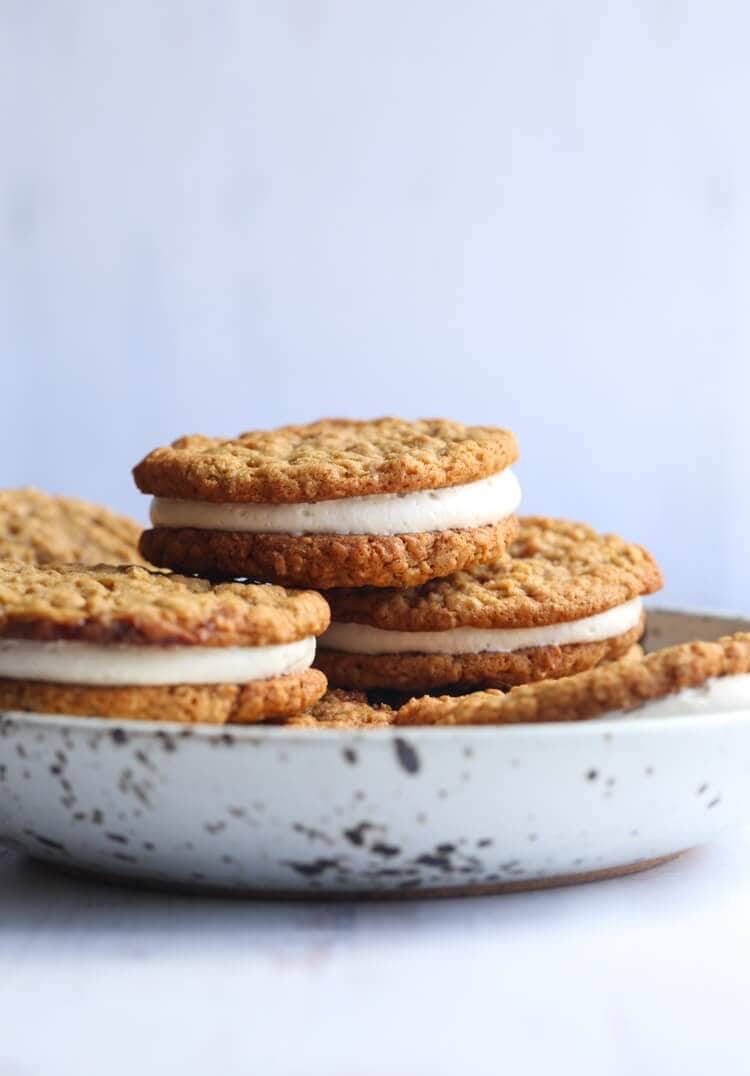
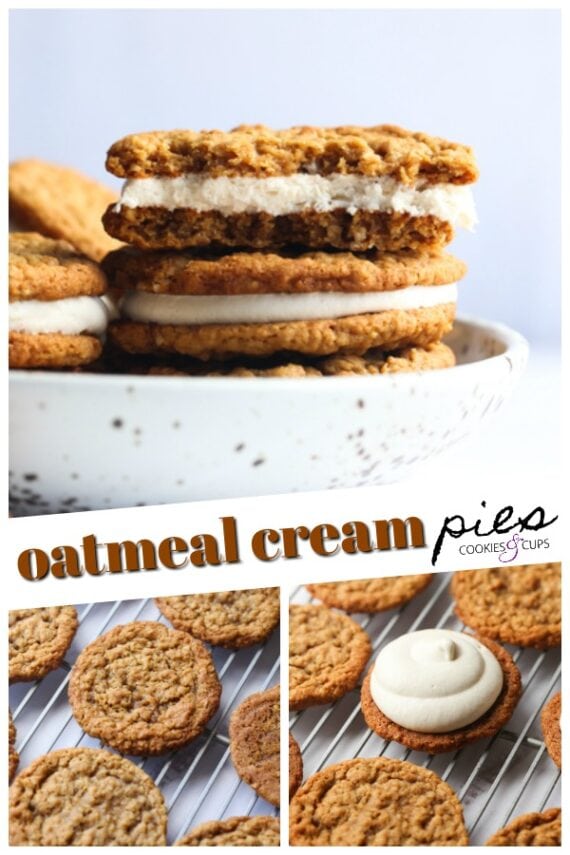
These soft-baked homemade oatmeal cream pies filled with fluffy marshmallow creme frosting will forever be a favorite! One bite will have you feeling nostalgic for the original Little Debbie snack, but homemade is so much better!
I love oatmeal cookies and oatmeal creme pies were a childhood favorite! If you’re looking for more homemade recipes, try my classic oatmeal raisin cookies.
Why You’ll Love These Copycat Oatmeal Cream Pies
I developed this oatmeal cream pie recipe way, way back in 2011, and I still make it often! If you remember Little Debbie oatmeal creme pies from your elementary school lunch box (or is that me, showing my age?), and even if you don’t, this homemade version is for you. Here’s why you’ll love this easy copycat recipe:
- Soft-baked. The oatmeal cookie dough comes together super easily (no chilling time!) and the cookies spread out to the perfect thickness and texture. The combination of molasses, granulated sugar, and light brown sugar make these soft-baked oatmeal cookies sweet and soft in the centers and golden at the edges.
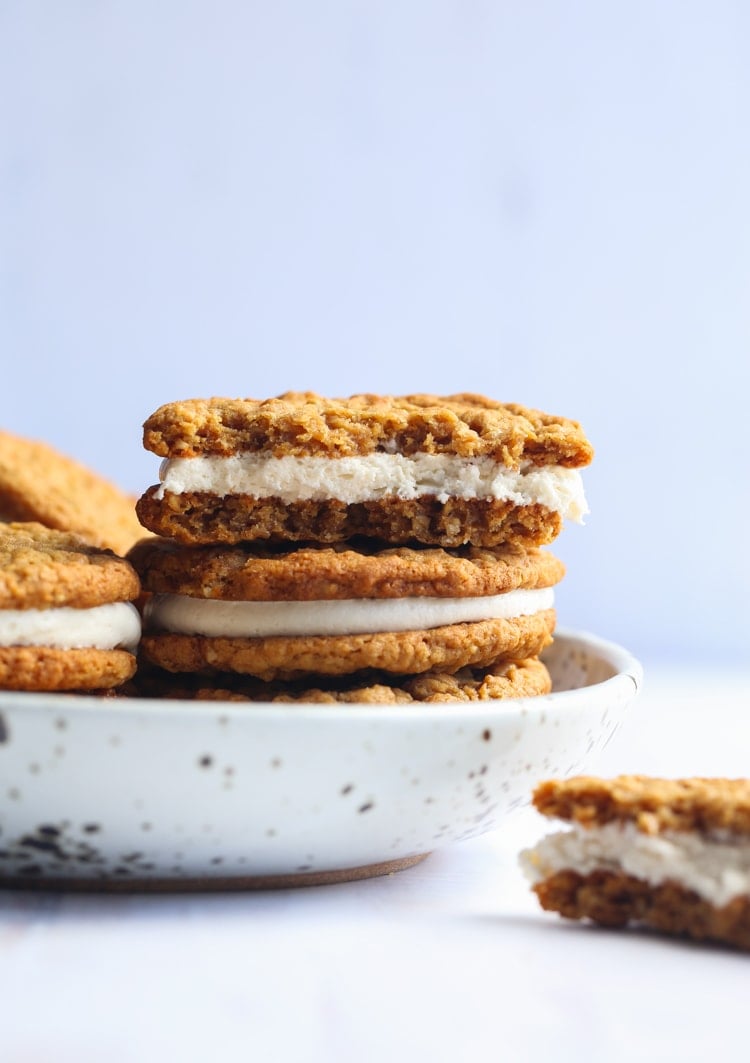
- Filling that stays put. If you’ve ever taken a bite of a sandwich cookie only to have the filling squeeze out the sides, leaving the middle frosting-less, you don’t have to worry about that here. The cookies and frosting in this recipe are soft enough that everything stays in place.
- Snackable. One bite of these homemade oatmeal creme pies had me feeling all sorts of nostalgia for the original Little Debbie lunchbox treat. Maybe it’s my mature palette, but this from-scratch recipe tastes even BETTER!
Ingredients You’ll Need
Everyone knows that the magic of oatmeal cream pies is in their super-soft texture. With this in mind, I developed an oatmeal cookie specifically for this recipe. Here are some notes on the ingredients. Scroll down to the recipe card for a printable list with the full recipe details.
For the Oatmeal Cookies
- Butter – At room temperature. I use salted butter but you can use unsalted if you prefer.
- Sugar – As mentioned, I use a combination of granulated sugar and light brown sugar.
- Molasses – Like my iced oatmeal cookies, I use molasses in this recipe for soft, flavorful oatmeal cookies. Make sure to buy dark molasses, and not bootstrap molasses.
- Eggs – Like the butter, these can also be at room temperature.
- Baking Soda and Baking Powder – Using both leavening agents helps these cookies spread.
- Cinnamon – You can also use nutmeg or pumpkin pie spice, but for the most authentic flavor, stick with ground cinnamon.
- Flour – All-purpose flour works perfectly.
- Oats – I use quick oats. Sure, you can use old-fashioned rolled oats, but after rounds of testing I found that quick oats are the best for texture. Old-fashioned oats have a coarser appearance and chewier texture, which is fine, but I wanted that classic look and softness of the original oatmeal creme pies.
For the Cream Filling
- Gelatin – Unflavored gelatin gives the marshmallow filling the perfect texture and holds it together inside the pie. I use Knox brand gelatin as it’s easy to find.
- Sugar – You’ll use a combination of granulated sugar and powdered sugar (confectioner’s sugar).
- Light Corn Syrup – Along with the gelatin, corn syrup helps to stabilize the marshmallow.
- Vanilla – Real vanilla extract will give your filling the best flavor.
- Butter – Again, make sure it’s at room temperature!
How to Make Homemade Oatmeal Cream Pies
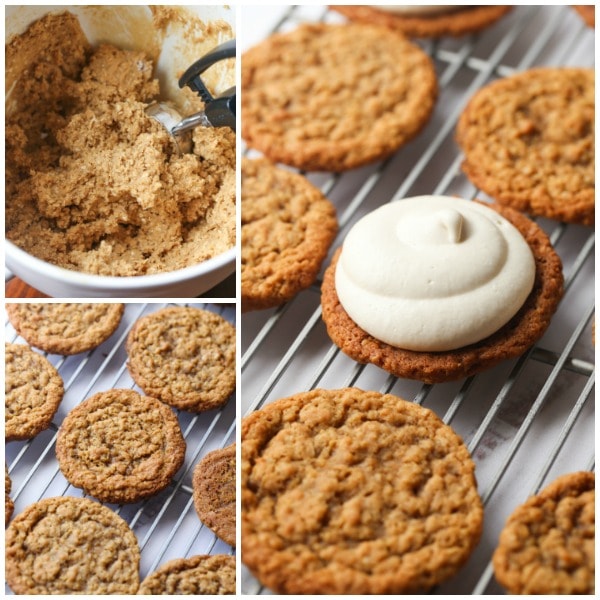
Move over, Little Debbie. These oatmeal cream pies come together surprisingly quickly! Once you’ve mixed up the cookie dough, portion it onto a parchment-lined cookie sheet. A medium-sized cookie scoop works well for this, if you have one. Otherwise, aim for scoops about 2 tablespoons in size. Bake the oatmeal cookies at 350ºF for 10-12 minutes, until they’re just set in the middle. Don’t overbake!
Your cookies will be very soft in the centers (as they should be). Let them rest on the baking sheet for about 5 minutes before you try to move them. If you move the cookies too soon, they’ll crumble. Also, if the edges feel firm when the cookies are fresh out of the oven, don’t worry. These oatmeal cookies actually soften a bit as they set, and the edges soften up further once the filling is added.
Oatmeal Cream Pie Filling
The filling for these oatmeal cream pies is a marshmallow buttercream with the addition of gelatin. Gelatin is what gives the cream pie filling it’s bouncy texture and it’s what makes this the BEST copycat recipe out there! I don’t recommend using marshmallow fluff as a shortcut. It doesn’t stay perfectly in place the way this marshmallow frosting does. See the recipe card below the post for printable instructions.
Assembling the Cream Pies
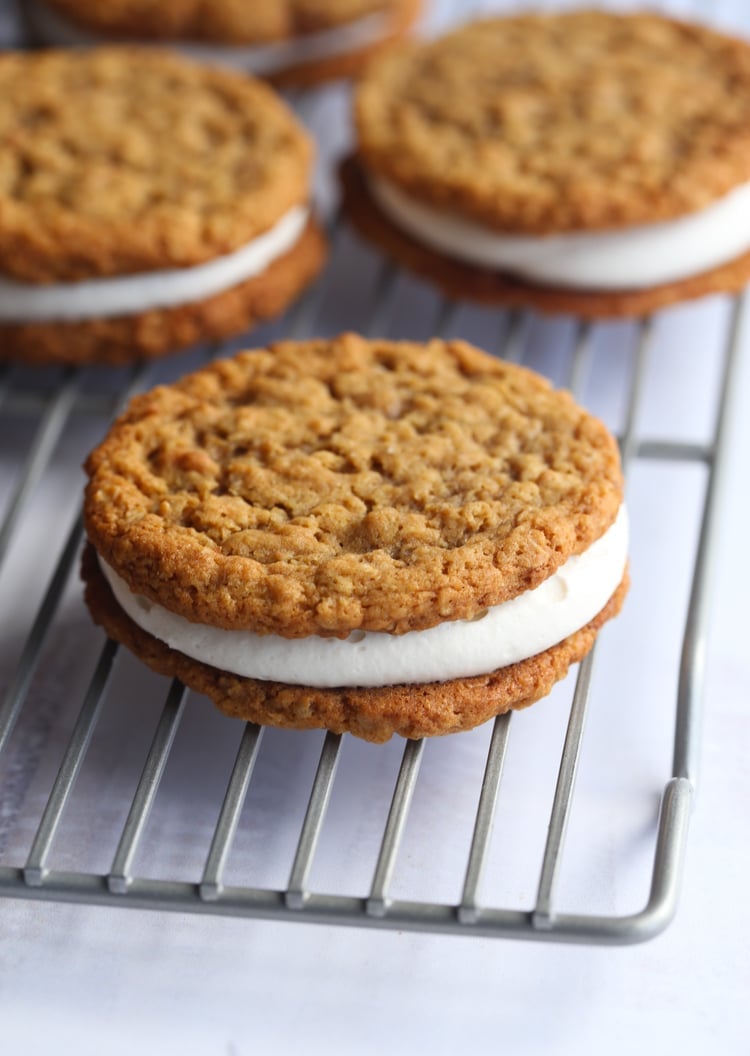
The filling will set up as it sits, so it’s best to wait until it is thick enough to spread or pipe before filling the cookies (about 5-10 minutes). Just make sure not to let it sit out too long, as it will become too thick and marshmallow-like. To assemble your oatmeal cream pies, place 2 tablespoons of frosting over one oatmeal cookie, and close the sandwich with a second cookie. Leave the cream pies to set for 20-30 minutes afterward, and enjoy!
Can I Make the Filling Without Gelatin?
If you don’t have gelatin in the pantry, or if you’re simply not a fan, you can swap out the filling in these cream pies for my fluffy marshmallow frosting instead (rather than marshmallow fluff). It’s a meringue-based frosting that uses cream of tartar as a stabilizer. No corn syrup or gelatin!
How To Store
- Room temperature. These cookies can be made in advance and stored in an airtight container or ziptop bag at room temperature for up to 5 days. Even wrapping them individually is a great idea!
- Freeze. You can also freeze these airtight in a freezer bag for up to 30 days for best freshness. Thaw them at room temperature before enjoying.

Homemade Oatmeal Cream Pies
- Prep Time: 30 minutes
- Cook Time: 12 minutnes
- Total Time: 0 hours
- Yield: 20 sandwiches 1x
- Category: Cookies
- Method: Oven
- Cuisine: Dessert
Description
These homemade oatmeal cream pies are soft-baked and filled with fluffy marshmallow creme frosting. One bite brings back all the nostalgic flavors of the Little Debbie original!
Ingredients
Cookies
- 3/4 cup butter, room temperature
- 1 cup granulated sugar
- 1/2 cup light brown sugar
- 2 tablespoons molasses
- 2 eggs
- 1 teaspoons kosher salt
- 2 teaspoons baking soda
- 1 teaspoon baking powder
- 1 teaspoon ground cinnamon
- 2 cups all purpose flour
- 2 cups quick oats
Filling
- 1 tablespoon plus 1 teaspoon unflavored gelatin (about 1 1/2 packets)
- 1/3 cup plus 1/4 cup water (divided)
- 3/4 cup granulated sugar
- 1/4 cup light corn syrup
- 2 teaspoons vanilla
- 1 cup powdered sugar
- 1 cup butter, room temperature
Instructions
- Cookies: Preheat oven to 350°F. Line a baking sheet with parchment paper and set aside.
- In the bowl of your stand mixer fitted with the paddle attachment mix the butter, granulated sugar, light brown sugar, and molasses together for 2 minutes.
- Add the eggs, salt baking soda, baking powder, and cinnamon and mix for 1 minute, scraping the sides of the bowl as necessary.
- Turn the mixer to low and add in the flour and oats, mixing until combined.
- Using a medium (2- tablespoon) cookie scoop drop the dough on to the prepared baking sheet 3- inches apart. These cookies will spread.
- Bake for 10-12 minutes until the edges are golden and centers are just set.
- Allow the cookies to cool on the baking sheet for at least 5 minutes before transferring to a wire rack, carefully, to cool completely. The centers of the cookies will (and should be) very soft, which is why letting them cool on the baking sheet is an important step.
- Filling: In a small bowl, sprinkle the gelatin over 1/3 cup water. Stir it together and let it stand about 5 minutes. Mixture will get thick as it sits.
- In a 2- quart saucepan over medium-high heat, stir together the granulated sugar, corn syrup, and 1/4 cup water until mixture comes to a full boil. Continue boiling for 30 seconds and immediately remove the pan from the heat.
- Stir in the vanilla and gelatin mixture until it dissolves completely.
- Transfer the mixture to the clean bowl of your stand mixer fitted with the whisk attachment. With your mixer on medium speed, mix for 20 seconds. Gradually raise the speed to high and mix until the mixture is stiff, white, fluffy, and cooled to barely warm, 5-7 minutes.
- Reduce the mixer speed to low and gradually add your powdered sugar, mixing until incorporated. Then add the butter and turn the mixer up to medium speed and mix until completely smooth, about 2 minutes.
- The filling will set up as it sits, so wait until it is thick enough to spread or pipe before filling the cookies, 5-10 minutes. Make sure not to let it sit too long, as it will become too thick and marshmallow-like to spread.
- Assemble: Use a large piping tip or an offset spatula to spread about 2 tablespoons of filling onto the bottoms of half the cookies. Press the remaining cookies onto the filling, creating sandwiches.
- Allow the cookies to set for 20-30 minutes.
Notes
Store airtight at room temperature for up to 3 days. Freeze airtight for up to a month.
Nutrition
- Serving Size:
- Calories: 356
- Sugar: 33.3 g
- Sodium: 258.2 mg
- Fat: 17.3 g
- Carbohydrates: 48.7 g
- Protein: 3.5 g
- Cholesterol: 61.3 mg
Want To Save This Recipe?
Find more recipes like this:
This recipe was originally developed and published in 2011. The photos have been updated for 2020 and the recipe has been slightly tweaked with only a few minor changes to the original.












I’ve made these several times now over the years. They come out perfect every time and they’re so good, I just had a bride order them for her wedding!
I LOVE hearing that! I love them so much too! I’m actually baking a batch tomorrow!