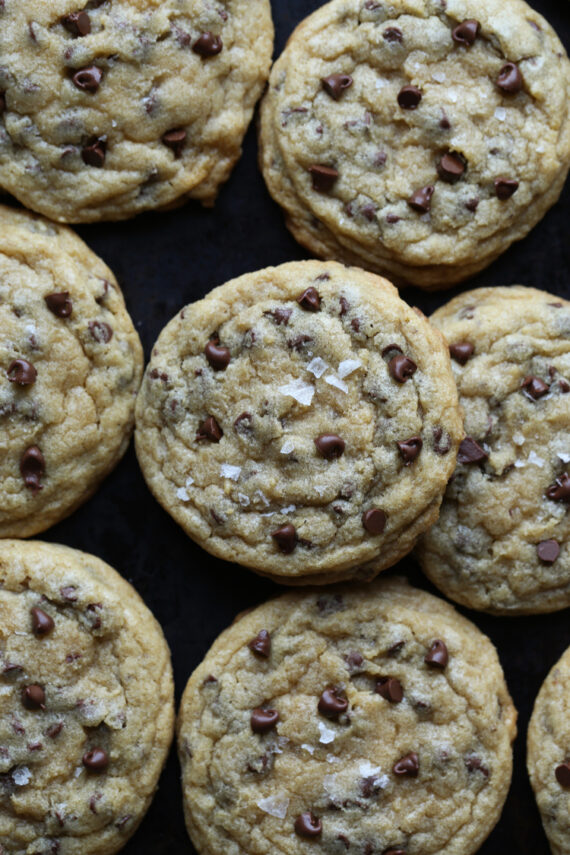
I’ve made many, many chocolate cookies in my time but this is my BEST Chocolate Chip Cookies recipe. Like, ever. Mini Chocolate Chips, three kinds of sugar and coarse sea salt are easy tricks that make these homemade chocolate chip cookies stand out.
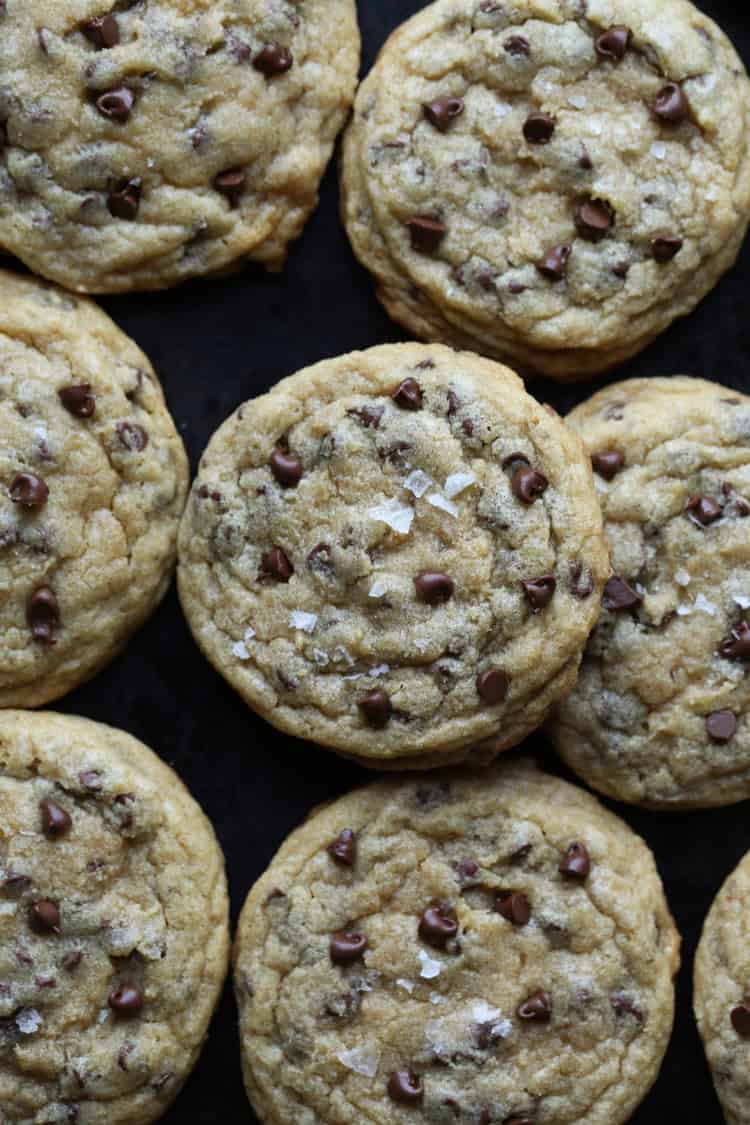
Table of Contents
- My Favorite Homemade Chocolate Chip Cookies
- Why Are These the BEST Cookies?
- What Makes this Recipe Different?
- So What’s in these Cookies?
- How to Make Chocolate Chip Cookies
- Do I Have to Chill the Cookie Dough?
- Tips for Soft & Chewy Chocolate Chip Cookies
- How to Store
- More Chocolate Chip Cookie to Try
- Get the Recipe
So these chocolate chip cookies. You guys. These cookies are everything. I have been making this same exact recipe for 8-ish years? I mean, I try ALL sorts of chocolate chip cookie recipes, trust me. I’ve posted a lot of different recipes here on my site as well – 83 and counting! BUTTTT these are my all time, most favorite, tried and true, SHELLY chocolate chip cookies.
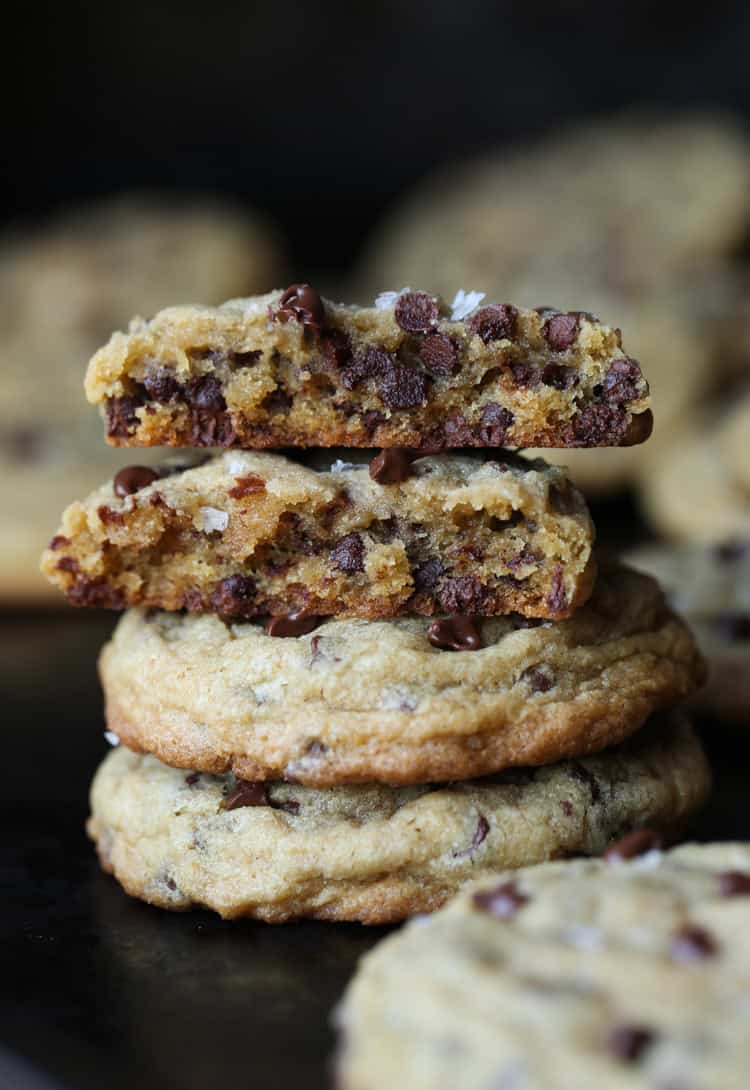
These cookies thick, but not too thick. They’re soft but still have buttery, crisp edges. They have the perfect balance of salty/sweet. They have the perfect chocolate to cookie ratio…should I keep going?
If you make these cookies you’ll immediately see why these are my FAVORITE and we’ll be best friends forever because of it. AND if you’ve been following this blog for any length of time, you know I posted this recipe WAY back in 2012. I decided the pictures needed a little facelift, and I wanted to include a few how-tos that I’ve learned over the years.
This recipe was also included in my book because so many of you guys have made them and loved them as much as I do.
Ok, let’s talk all things chocolate chip cookies!!
What Makes this Recipe Different?
Honestly, it’s simple. I am not reinventing the wheel here. I just found there are a few small changes you can make to a cookie recipe that can take it from here to HERE.
- I use three kinds of sugar in my recipe. Granulated, light brown, and dark brown sugars. The combo of the three give it the perfect depth of flavor without adding too much moisture.
- I use coarse sea salt along with salted butter. Now stay with me. If you are sensitive to salt you can use unsalted butter. But the coarse sea salt is really important here. You get these little tiny pockets or salt in the cookie that is LIFE CHANGING. Now, I went the extra mile in the pictures and added a little flaked sea salt as a garnish. This is TOTALLY optional. I’m just a salty girl.
- Mini Chocolate Chips. I stole this trick from Panera. They make amazing chocolate chip cookies, and they also use mini chips. I decided to really prefer the smaller, more even distribution of chocolate via the mini chip vs regular sized chips. Try it, I swear it’s better.
Here’s what you’ll need to make these cookies. See the recipe card below for specific amounts.
- Salted butter – You can use unsalted if you prefer, but the hint of saltiness really makes the sweetness of these cookies pop!
- 3 Kinds of Sugar – I use light brown, dark brown and white sugar.
- Eggs
- Vanilla
- Baking Soda & Baking Powder
- Coarse Sea Salt – This adds little hints of saltiness mixed in with the sweetness of every bite. It tastes amazing!
- All Purpose Flour
- Mini Chocolate Chips – These let you distribute the chocolate more evenly through your cookies.
- Flaked Sea Salt – This one is optional for a garnish on top of the cookies.
Even though these cookies taste like they came from the most fancy artisanal bakery ever, they are very easy to make. Here’s how to do it:
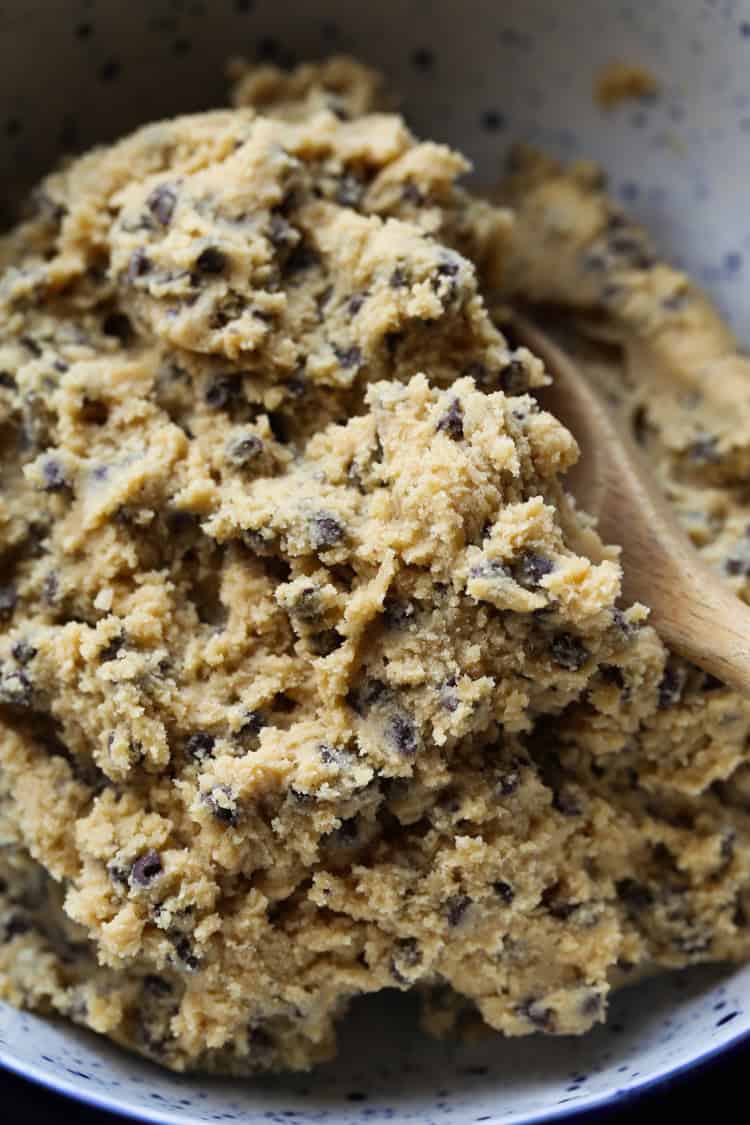
- Beat butter and sugars. Combine the butter and sugars together in a stand mixer bowl with the paddle attachment. Beat on medium speed for 2 minutes, until light and fluffy.
- Add the eggs, vanilla, baking soda, baking powder and salt. Continue mixing until the dough is well incorporated, scrapping down the sides of the bowl as needed.
- Add flour. Turn your mixer to low and add the flour.
- Stir in chocolate chips. Mix until they are just evenly distributed throughout the dough.
- Chill. Cover the dough in plastic wrap and refrigerate overnight or up to 48 hours.
- Prep tools. Preheat your oven to 350F. Line a baking sheet with parchment paper.
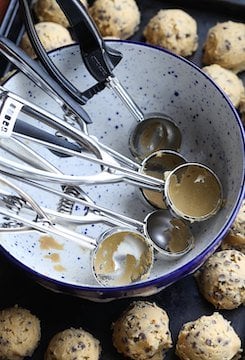
- Bake. Use a 3-tablespoon cookie scoop to form dough into balls. Place on a baking sheet 2 inches apart. Bake for 12 minutes, or until the edges are golden.
Well, long story short, you don’t HAVE to…you just should. I talked about why you should chill the dough when I made the NY Times, Jacques Torres Chocolate Chip Cookie Recipe…but I’ll do it again here, because same rules apply.
- Chilling cookie dough develops the flavor. Think of soup. NOW think of leftover soup. We all know leftover soup is better than same day soup. Why? Let’s say it together, the flavors develop, Same concept with cookies.
- Also, chilling the dough dries out ever so slightly concentrating the flavor, and giving you crispier, chewier edges.
- And chilling the dough gives the gluten in the dough a chance to relax, adding to the crispier texture of the edges, which is the goal…a softer center, with crispy, buttery edges.
- When you chill the dough, the color deepens as well, so you have a beautiful deep colored cookie, as opposed to a pale one.
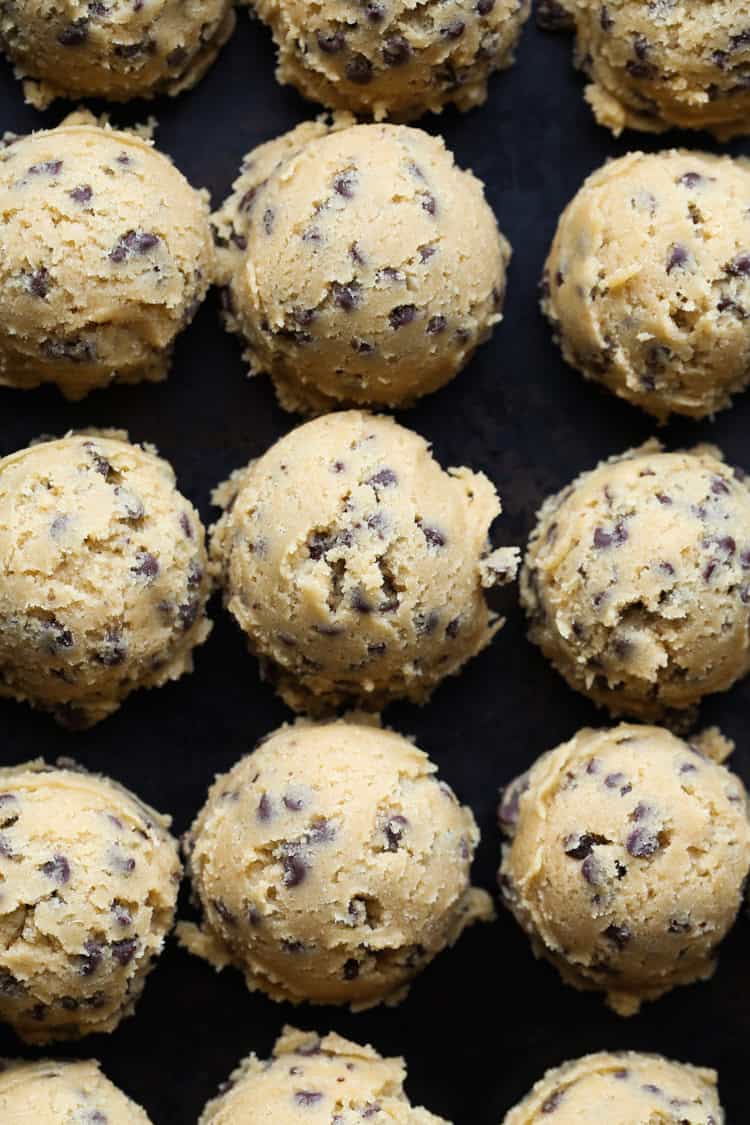
- Bake while the dough is still chilled. I like to bake these cookies with the dough still chilled. This does make it a little harder to scoop out, so I allow it to sit out, after being chilled for 15-ish minutes to make it a little easier to scoop! I have broken many a cookie scoop trying to pry out rock hard cookie dough, so let it sit out for a few minutes to make it scoop-able!
- OR pre-scoop your dough. You can also scoop the dough into portions as soon as you make it and then chill it in scoops on a large baking sheet. You can also freeze the dough in portions, which is a great trick! I have a whole post about how to freeze cookie dough.
- Don’t skimp on the chocolate chips!
- Measure your flour accurately. Whether you use the scoop and shake method, or the scoop and level method, be sure you use the right amount of flour in this recipe.
- Don’t over bake. Chocolate chip cookies won’t look “done” when you pull them out of the oven. As long as the edges are golden, they are ready to be pulled. The centers will firm up as the cookies cool.

How to Store
Let your cookies cool to room temperature, then transfer them to an airtight container and store them on the counter for up to 3 days. You can also store these cookies in an airtight container in the fridge for up to 6 days.
Want to save some cookie dough for baking later? Check out my tutorial on how to freeze cookie dough.
I know you guys love cookies as much as I do and hope you LOVE this chocolate chip cookie recipe! BUT if you’re looking for more chocolate chip cookie recipes, I have so many! Here are a few:
- Chewy Chocolate Chip Cookies
- Oatmeal Chocolate Chip Cookies
- Malted Oatmeal Chocolate Chip Cookies
- Rainbow Chocolate Chip Cookies
- Chocolate Chip Cookie Dunkers
Note: The recipe I make in the video is the recipe from my book, which is slightly different from this recipe, using a bit more baking soda and baking powder. I like both versions, but have found that adding a little, as I’ve written the recipe here, produces a thicker, chewier cookie, which I prefer. Also note I used the convection setting in the video, which bakes a bit faster than non-convection. The recipe as written below is for a non-convection oven.
Print
- Prep Time: 10 minutes
- Cook Time: 12 minutes
- Total Time: 22 minutes
- Yield: 24 cookies 1x
- Category: Cookies
- Method: Baking
- Cuisine: Dessert
Description
This recipe makes my all time favorite chocolate chip cookies! Mini chips and coarse sea salt make them the best!
Ingredients
- 1 cup salted butter, room temperature
- 3/4 cup light brown sugar
- 1/4 cup dark brown sugar
- 1/2 cup granulated sugar
- 2 eggs
- 1 tablespoon vanilla extract
- 1/2 teaspoon baking soda
- 1/2 teaspoon baking powder
- 1 teaspoon coarse sea salt
- 2 3/4 cups all purpose flour
- 1 (12 oz) bag mini semi-sweet chocolate chips
- optional – flaked sea salt to garnish
Instructions
- In the bowl of your stand mixer fitted with the paddle attachment mix the butter and sugars together for 2 minutes on medium speed, until fluffy and light.
- Add in the eggs, vanilla, baking soda, baking powder, and salt, and continue mixing until incorporated, scraping the sides of the bowl as necessary.
- Turn the mixer to low and add in flour, mixing until just combined.
- Stir in all chocolate chips until evenly distributed.
- Cover dough plastic wrap and and refrigerate overnight, or up to 48 hours.
- When ready to bake, preheat the oven to 350°F. Line a baking sheet with parchment paper and set aside.
- Using a large (3- tablespoon) cookie scoop drop the dough 2 inches apart on the baking sheet.
- Bake for 12 minutes, or until the edges are golden.
- Remove from the oven and let cool on baking sheet for 2-3 minutes before transferring to a wire rack to finish cooling.
Notes
Store the airtight for up to 3 days.
You can use regular sized chocolate chips if you prefer
Nutrition
- Serving Size: 1 cookie
- Calories: 226
- Sugar: 16.9 g
- Sodium: 192.1 mg
- Fat: 11.6 g
- Carbohydrates: 28.8 g
- Protein: 2.9 g
- Cholesterol: 35.8 mg









measured ingrediants ready, what oven temp.
350°F
Ok, let me just say, this recepie ROCKS! For years, I’d just made the recepie on the toll house bag & was getting increasingly unsatisfied with it (no clue why they seemed so good when I was a kid), so I’d been looking for a good go-to chocolate chip cookie recepie. These are moist & buttery & rich, & the mini chips make them irresistable! I made a huge batch & took them to work yesterday, & they quickly got devoured-when I went downstairs to the break area only 2 hours later, all that remained was one lonely cookie & some crumbs, lol!! (good thing I saved a few at home!)
Thank you so much! We love them too!
I made your cookies, but they didn’t look anything at all like your pictures. 🙁 My sister in law made your cookies and they looked exactly how yours looks and tasted amazing! When I made your cookies, mine was dry (not gooey like yours looks) and didn’t evenly spread when it was in the oven. Any suggestions?
Hmm…. it sounds like you might have added too much flour. When you measure flour, spoon your flour into the measuring cup so you don’t pack it down.
Hi, I love this chocolate chip cookie receipe, taste great but I find the cookies go really soft the next day and tend to stick to each other. Is it cause I didn’t bake it long enough? Any tips?
That’s strange! I would guess it’s how and when you’re storing them. Are they completely cooled when you store them? What type of container are you storing them in?
What size cookie scoop of you use? Is it the #24?
Here’s the link to the scoop I use 🙂 http://amzn.to/2dCZKbk
Have you ever made these cookies with no butter or eggs using a substitute for both ? My daughter has a few food allergies dairy and eggs are a few of them. I’m always looking to make things that we would all enjoy. They look delious.
I haven’t! If you try them please let me know how they come out!
Shelly, THIS IS IT. You have made all of my cookie dreams come true. This cookie not only looks thick and beautiful, but it is soft and chewy in the center while retaining the slightest hint of crispiness around the edges. It’s everything I love about the original Nestle Toll House recipe, except these cookies don’t turn out thin and flat. You have improved upon that classic recipe by increasing the flour and using half baking powder/half baking soda (plus that coarse sea salt is fun). I’ve been using chocolate chip cookie recipes lately that call for cornstarch, and while they do turn out wonderfully thick and chewy, I miss the bit of crisp around the edges of some other recipes. Your recipe has ticked all of my boxes! It will be my go-to from now on.
I’m one of those people that doesn’t really care for mini chocolate chips (I know, I know….I just prefer the gooey-ness of a regular sized chocolate chip), so I used 1 bag of regular semi-sweet chips and they turned out amazing, just in case anyone reading was wondering. I also used all dark brown sugar instead of part light/part dark because it was all I had. It worked great. Thanks for an adaptable recipe to my lazy pantry shopping!
This is great!! So happy you liked them and love the tip about the brown sugar!
Saw this recipe 3 years ago and it has become my go-to ever since! Everyone always loves and raves about them!
yay!!! SO glad you like them!
So good. Baked them for around 14 minutes because they were still pretty raw at 9. Perfect cookie. Really thick and chewy and delicious!
I made these again today; my family just loves them. Just perfect!