

This no-bake chocolate mousse pie recipe features a chocolate wafer cookie crust and rich, creamy chocolate mousse filling topped with whipped cream. It needs time to chill, making it the perfect make-ahead dessert for the holidays!

Chocolate mousse pie is a light yet rich dessert, with creamy chocolate mousse, a buttery chocolate wafer crust, and pillows of homemade whipped cream. If you don’t have chocolate wafer cookies, feel free to make an Oreo pie crust instead. The silky chocolate mousse filling is made in minutes, too, before the whole mousse pie goes into the fridge. This is a decadent make-ahead holiday dessert or special occasion pie that I think you’re going to love, year after year!
About This No-Bake Chocolate Mousse Pie Recipe
- It tastes like a restaurant dessert, but it’s easy to make from scratch with just 7 ingredients. Easy swaps, like Cool Whip instead of whipped cream, can cut down on prep time even more.
- This chocolate mousse pie is a favorite make-ahead holiday recipe since it needs time to chill in the fridge. Make it the day before a Christmas feast and refrigerate it overnight! Leave off the whipped cream until it’s time to serve.
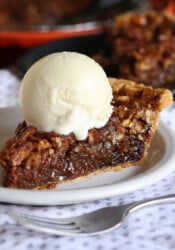
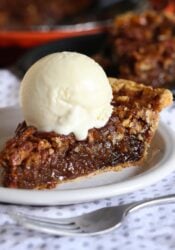
- This no-bake pie leaves the oven free for more desserts, like sugar cookies and chocolate pecan pie.

Ingredients in Chocolate Mousse Pie
Some of the ingredients for this chocolate pie recipe overlap between the pie filling and topping. Here’s what you’ll need. See the recipe card for the exact ingredient amounts.
- Semi-sweet Chocolate – You can chop up a baking bar or use chocolate chips.
- Salt and Vanilla – To balance and deepen the flavors of the mousse filling. Use vanilla extract or an equal amount of vanilla paste, and not imitation.
- Heavy Cream – For a silky, rich mousse and a fluffy whipped cream topping, you’ll want to use full-fat heavy whipping cream. Make sure it’s cold from the fridge; cold cream is easier to whip.
- Chocolate Wafers – To crush into crumbs for the cookie pie crust. Any chocolate cookie works. You can also use Oreos or make a graham cracker crust.
- Butter – Melted to bind the crust.
- Powdered Sugar – Thickens the whipped cream topping. You can replace the homemade whipped cream with
Can I Use Cool Whip Instead?
Yes. The chocolate mousse filling calls for 1 ½ cups of heavy cream to make the whipped cream, which is about 3 cups when whipped. If needed, substitute 3 cups of whipped cream with one 8-ounce tub of thawed Cool Whip. You can also use Cool Whip in place of the whipped topping.
How to Make Chocolate Mousse Pie
Gather the ingredients above, and follow along to make this easy chocolate mousse pie recipe step-by-step:.


- Melt the chocolate. Place the chopped chocolate in a heat-proof bowl, and add vanilla and salt. Meanwhile, heat ¾ cup of heavy cream just until it starts to steam (not boil). Then, pour the hot cream over the chocolate. Let it sit for a minute, then stir well until the chocolate has fully melted. Afterward, cool it in the fridge for 30 minutes.
- Whip the cream. Meanwhile, beat the remaining 1 ½ cups of heavy cream into stiff peaks, then cover the bowl. This can go into the fridge for now.
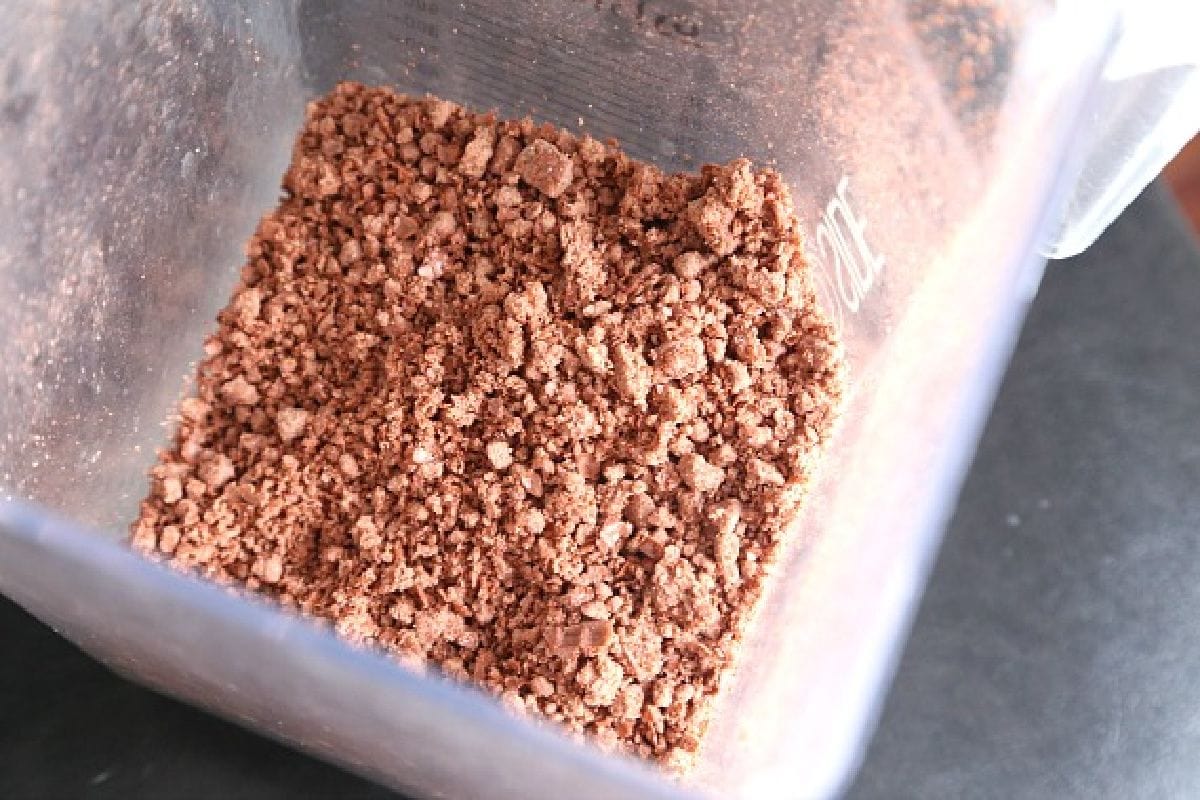

- Make the crust. Grease your springform pan, and grind the chocolate wafer cookies in the blender. Then, mix the crumbs with melted butter and press the mixture into the bottom and up the sides of the prepared pan. I usually do this by hand, as the crumbs can be a bit sticky. Keep the crust chilled until it’s time to fill it.


- Make the mousse. Take the melted chocolate out of the fridge when it’s cooled but still stirrable. Next, gently fold the prepared whipped cream into the chocolate until smooth.
- Assemble the pie. Now, spread the chocolate mousse evenly into the crust. Whip the last 1 ½ batches of heavy cream with powdered sugar until stiff peaks form, and spread the whipped cream over the whole pie. Keep the pie in the fridge until it’s time to serve.
Recipe Tips
- Whip the cream into stiff peaks. Make sure to whip the cream until it forms a peak that stands straight up on the end of the whisk (stiff peaks). If you over- or under-whip the cream, your chocolate mousse pie may not set properly.
- Let the ganache cool. I usually refrigerate the chocolate and heavy cream mixture for about 30 minutes before I make the chocolate mousse pie filling. This way it’s cool enough that it won’t melt the whipped cream, but still stirrable.
- Fold the whipped cream in gently. For a light, smooth chocolate mousse, use a gentle hand when folding the whipped cream into the ganache. Keep those air bubbles trapped!
- Chill the pie for long enough. I recommend chilling this chocolate mousse pie for at least 1-2 hours before serving to give the filling time to set.

How to Store
- Keep the pie refrigerated. Store the finished chocolate mousse pie airtight in the fridge for up to 3 days. If you plan on making this pie ahead, consider leaving off the whipped topping until it’s time to serve.
- Freeze. I recommend freezing this pie without the topping. Double-wrap the whole pan in a layer of plastic wrap, then a layer of foil, and freeze for up to 1 month. Thaw the pie in the fridge before adding the whipped cream and serving.
More No-Bake Dessert Recipes

Chocolate Mousse Pie
- Prep Time: 30 minutes
- Total Time: 30 minutes
- Yield: 12 slices 1x
- Category: Dessert
- Method: No Bake
- Cuisine: American
Description
This no-bake chocolate mousse pie features a chocolate wafer cookie crust and rich, creamy chocolate mousse filling topped with whipped cream.
Ingredients
Mousse
- 1 1/2 cups chopped semi sweet chocolate
- 1/4 teaspoon kosher salt
- 1 teaspoon vanilla
- 2 1/4 cups heavy cream, divided
Crust
- 32 Chocolate Sugar Wafer Cookies (about 8 oz)
- 2 tablespoons butter, melted
Whipped topped
- 1 1/2 cups heavy cream
- 3 tablespoons powdered sugar
- Cocoa powder for dusting
Instructions
Mousse
- Chop the chocolate and transfer to a medium-sized glass bowl. Add in salt and vanilla. Set aside.
- In a small saucepan, heat 3/4 cup of heavy cream until it starts steaming. Don’t bring it to a full boil. Pour hot cream over the chopped chocolate and allow it to sit for one minute to soften the chocolate. Immediately start stirring the chocolate until it’s completely melted with the cream. Place the bowl in the refrigerator and allow it to cool for just 30 minutes until it’s cooled but not solid; you need to be able to stir it.
- Whip remaining 1 1/2 cups heavy cream in mixer with whisk attachment on medium-high speed for 1-2 minutes until stiff peaks form. Cover and refrigerate until ready to use.
Crust
- Grease a 9- inch springform pan with butter, set aside.
- While the mousse is chilling, place the chocolate sugar wafer cookies in a blender or food processor. Pulse until they are a fine crumb. The pulsed cookies will be slightly sticky because of the filling. This is ok! Mix cookie crumbs with melted butter and press into the prepared pan. The mixture can get sticky. I used my fingers to press in the pan.
- Cover and chill this until ready to fill.
Assembly
- When the chocolate is cooled, remove it from the refrigerator and fold the extra whipped cream into the chocolate carefully. Continue stirring gently until mixed completely, and there are no more chocolate streaks. Spread this into the crust.
Topping
- Whip the remaining 1 1/2 cups of heavy cream with powdered sugar with a whisk attachment until stiff peaks form and spread over the chocolate mousse. If desired, dust with powdered sugar right before serving.
Notes
Store airtight and chilled for up to 3 days
Nutrition
- Serving Size:
- Calories: 377
- Sugar: 26.1 g
- Sodium: 132.4 mg
- Fat: 26.3 g
- Carbohydrates: 35 g
- Protein: 4.1 g
- Cholesterol: 57.1 mg


















What a great crust idea!
Oh my, so yummy!
Oh man, those wafers!! DYING for this pie!
*the idea
I am obsessed with sugar wafer cookies, and I don’t care who knows it. I love eider of using them in the crust! Beautiful pie, and so easy!
Oh my goodness!! Totally gorgeous and I know it would be perfect for a chocolate lover like me!
Oh that chocolate mousse! It’s got me going round!
what % of fat does heavy whipped cream have? I’m french and it’s kinda tricky to tell which one i need here 🙂
Chocolate chocolate and more chocolate. This dessert is perfect for me!
this looks insanely delicious! I’ve gotta make this one! yum!!