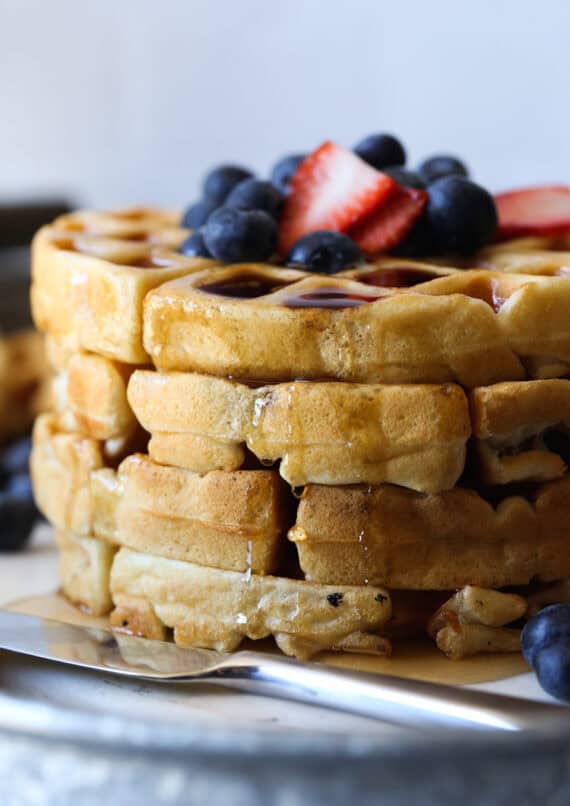
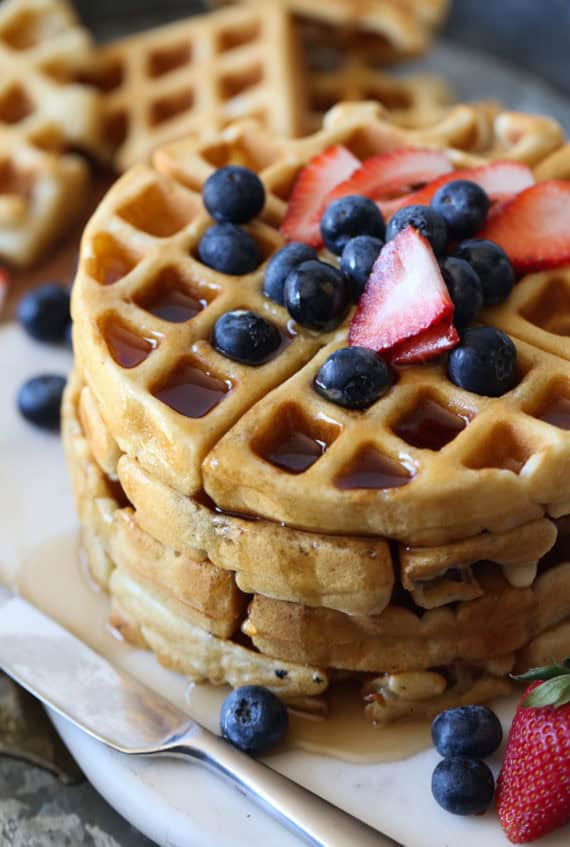
My Buttermilk Waffle Recipe makes easy, classic waffles that are crispy on the outside, and soft and tender on the inside!
This Waffle Recipe is a Breakfast and Brunch Staple!
My kids request either waffles or pancakes pretty much every weekend. Of course, I do give in most of the time, because I love waffles so much too! I created this recipe many years ago after a lot of trial and error trying to get that perfect texture…the crispy on the outside and soft and fluffy on the inside. Once I got the recipe perfect it became my go-to, even earning a place in my the Breakfast Section of my Cookbook!!
Do You Have To Use Buttermilk In This Waffle Recipe?
Well, the answer is yes and no. Let me explain! Using Buttermilk in these waffles is really what adds to the tenderness of the texture. Just like in cakes, the acids in buttermilk breaks down the tough strands of gluten, creating soft, moist waffles. So yes, buttermilk is key.
But I say no because if you don’t have buttermilk in your fridge it’s NO PROBLEM! You can create a homemade buttermilk very easily.
How To Create Homemade Buttermilk:
- A rule of thumb is 1 (scant) cup of milk plus 1 tablespoon of either lemon juice or white vinegar creates a simple buttermilk substitute. Just mix them together, let it sit for a few minutes and that’s it!
- This Waffle Recipe calls for 1 3/4 cup of buttermilk, so the mixture will be just a little less than 1 3/4 cup milk, plus 1 tablespoon plus 2 teaspoons of lemon juice or white vinegar. Stir and allow the mixture to sit for a few minutes.
- The reason that you add slightly less milk than called for, is because when you add the vinegar or the lemon juice it increases the amount of liquid, so you want to have exactly what the recipe calls for!
Why Do You Have To Fold Egg Whites Into the Waffle Batter?
I know, I know, this might be the step that when you read the recipe you dip out and look for another one. This extra step certainly isn’t hard, but adding another step (and kitchen tool) into the mix can be a turn-off on a lazy Saturday morning! Let me tell you why this step is SO important for the lightest, fluffiest waffles!
- Whipped egg whites add extra air into the batter, creating fluffy batter which equals fluffy waffles!
- Using a stand mixer with a whisk attachment is the easiest way to create fluffy egg white, but you can certainly use a whisk and do it by hand!
- Make sure the egg whites are whipped into stiff peaks for the best outcome!
- Pro Tip: Room temperature egg whites will whip up faster than cold egg whites, so allow the eggs to sit out for a but before starting the waffle recipe!
What Kind of Waffle Iron is Best For This Waffle Recipe?
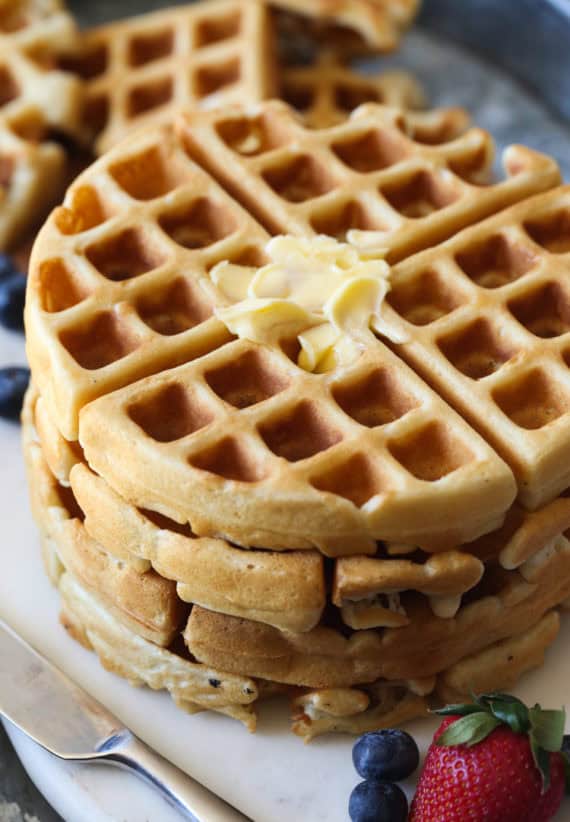
I have found, after trial and error, that we prefer Belgium-style waffles, which make thicker waffles, with deep indentations. THIS is the waffle iron we use. We like this one because it’s super cheap, and when you add the waffle batter you flip the handle and the iron spins. When the waffles are done the light turns green! There is literally no guess-work with this simple waffle iron. Of course any waffle iron will work, though!
You can absolutely use this recipe for regular, more shallow “Eggo”-style waffles too. It’s really up to personal preference!
How To Keep Waffles Warm While Your Finishing All the Batter
Of course, unless you have 5 waffle irons, you will have to work in batches. SO unless you are serving these one at a tine you will want to keep them warm so everyone can eat together! Here’s how:
- Turn your oven onto the “Warm” setting, or 200°F and place a cooling rack on top of a baking sheet.
- When each waffle is done place it on top of the cooling rack in the oven.
- Using a cooling rack is a great trick to keep the waffles crispy. Otherwise, if you place the waffles directly onto a baking sheet, condensation builds up under the waffle, causing the bottom of the waffle to get a little soft and soggy!
How to Reheat these Buttermilk Waffles
I like to make a large batch of waffles on the weekend and then my kids can enjoy them for the next few days. To reheat the waffles you can:
- Place the waffles in the oven at 300°F on a cooling rack on a baking sheet for 5-7 minutes. Use the cooking rack trick again because all sides will get heated evenly!
- A toaster (if yours is large enough) a lightly toast your waffles! This is our favorite method!
- I don’t recommend using the microwave only because they won’t get crisp.
Can You Freeze Waffles?
Absolutely! I recommend wrapping them individually in plastic wrap, then placing them in a zip-top bag and freeze them for up to a month! To reheat, use either of the methods listed above, no need to thaw them out!
Looking for other breakfast ideas? Check these out:
- Bubble Waffles! Yes you need a special waffle iron for these, but they’re SO fun!
- Blueberry Pancakes
- Breakfast Sliders
- Pancake Dippers

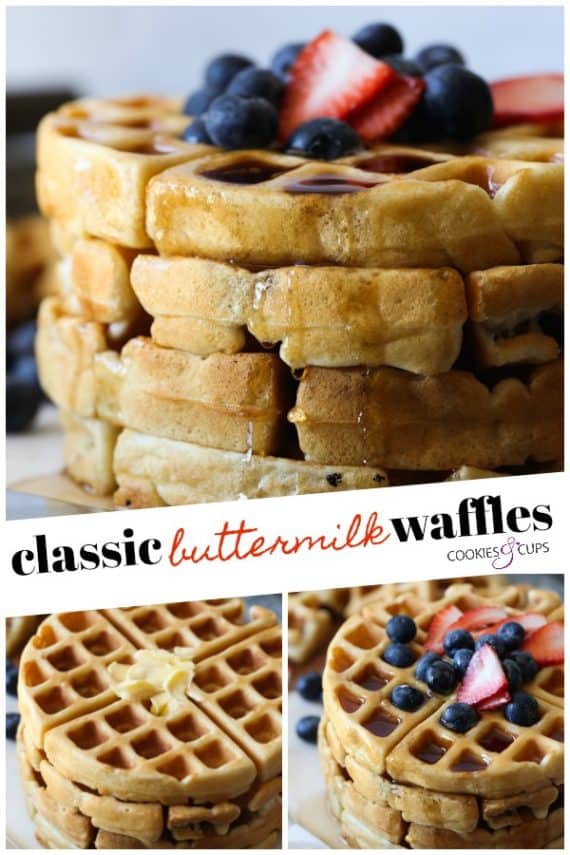
Buttermilk Waffle Recipe
- Prep Time: 10 minutes
- Cook Time: 5 minutes
- Total Time: 15 minutes
- Yield: 5 waffles 1x
- Category: Waffles
- Method: Waffle Iron
- Cuisine: Breakfast
Description
These easy waffles are the ultimate classic crispy outside and a soft inside waffle recipe!
Ingredients
- 2 cups all purpose flour
- 1/2 teaspoon kosher salt
- 4 teaspoons baking powder
- 2 eggs, whites and yolks separated
- 1 teaspoon vanilla
- 1 tablespoon brown sugar
- 1/2 cup canola oil
- 1 3/4 cup buttermilk, room temperature
Instructions
- Heat your waffle iron and spray lightly with non-stick spray.
- In a large bowl whisk together the flour, salt and baking powder. Set this aside.
- In another large bowl whisk together the egg yolks, vanilla, brown sugar and oil.
- In alternating additions add the dry ingredients and the buttermilk into the bowl with the egg yolk mixture, beginning and ending with the dry ingredients. Mix until smooth.
- In the bowl of your stand mixer fitted with the whisk attachment beat the reserved egg whites until stiff peaks form.
- Fold the egg whites into the waffle batter until just combined.
- Scoop 3/4 cup of the batter into the hot waffle iron and cook until golden brown.
- Serve immediately
Notes
To turn these into whole wheat waffles, replace 1 cup of the all purpose flour with 1 cup of whole wheat flour. Combining the all purpose with the whole wheat flour makes a nice textured waffle with a bit of a nutty flavor.
Nutrition
- Serving Size: 1 waffle
- Calories: 451
- Sugar: 6.3 g
- Sodium: 266.1 mg
- Fat: 25 g
- Carbohydrates: 46.2 g
- Protein: 10.5 g
- Cholesterol: 74.4 mg
Want To Save This Recipe?
Find more recipes like this:


Hi please i find this recipe amazing but can i keep the batter for long time before making my waffles. Would anything go wrong or i have to make them immediately?
You need to use it within the hour of making it 🙂 If you want to save for later I would recommend mixing all the dry ingredients together to save and add the wet when you’re ready to make the waffles!
Thank you so much??