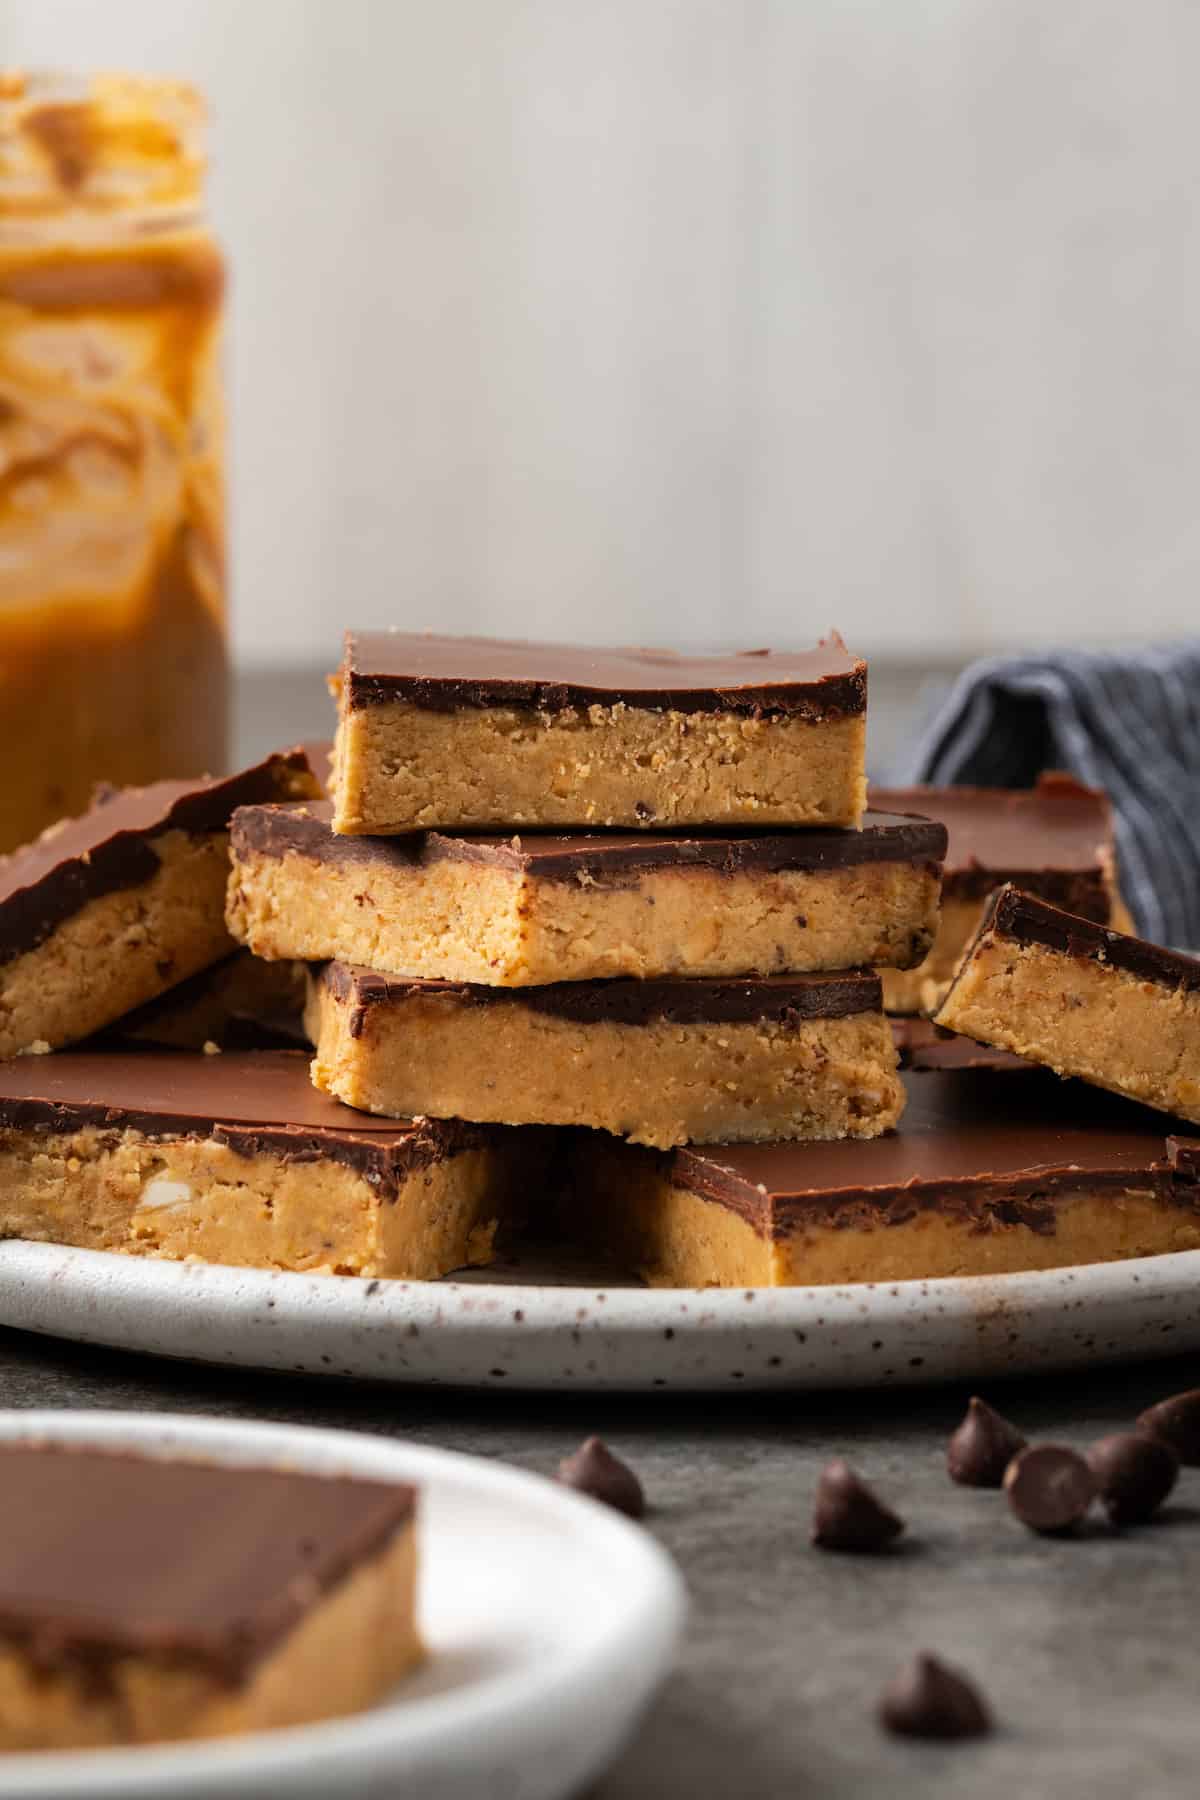
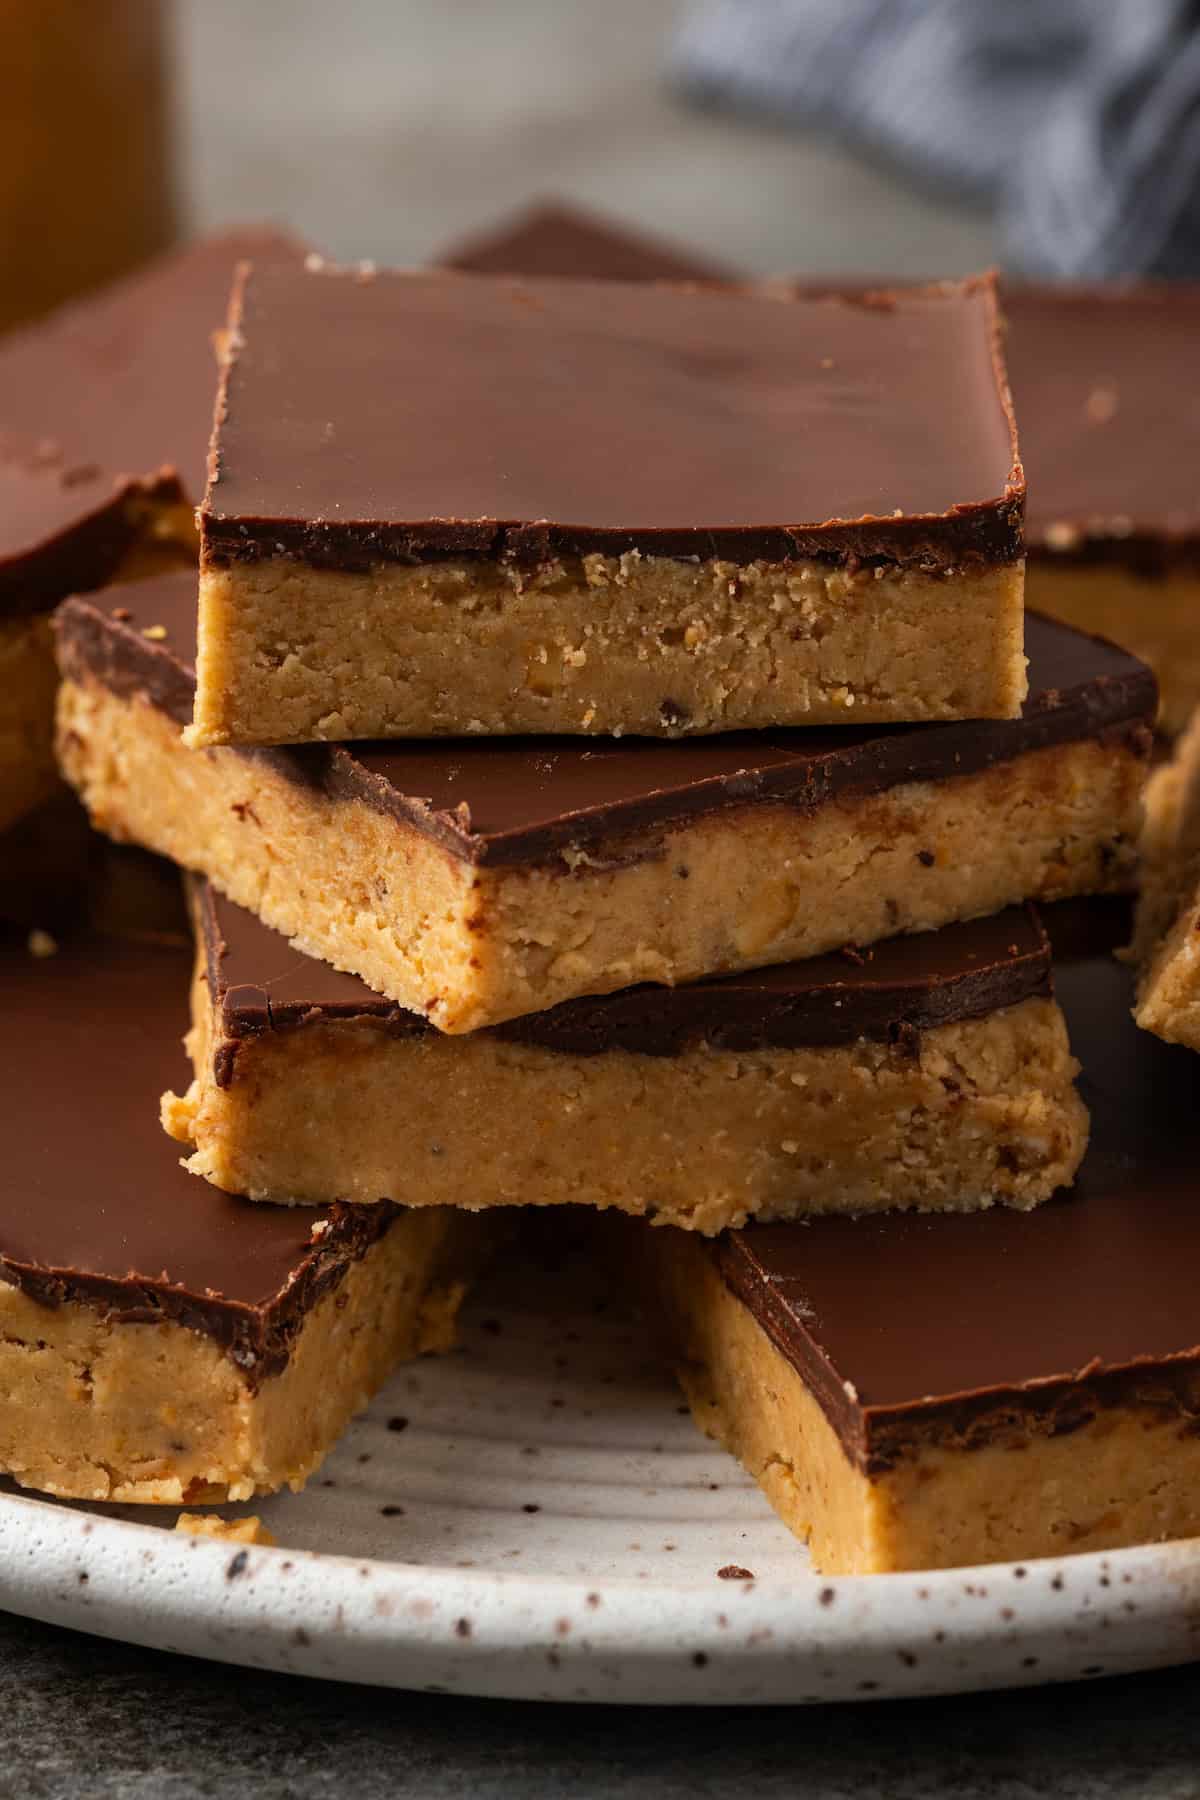
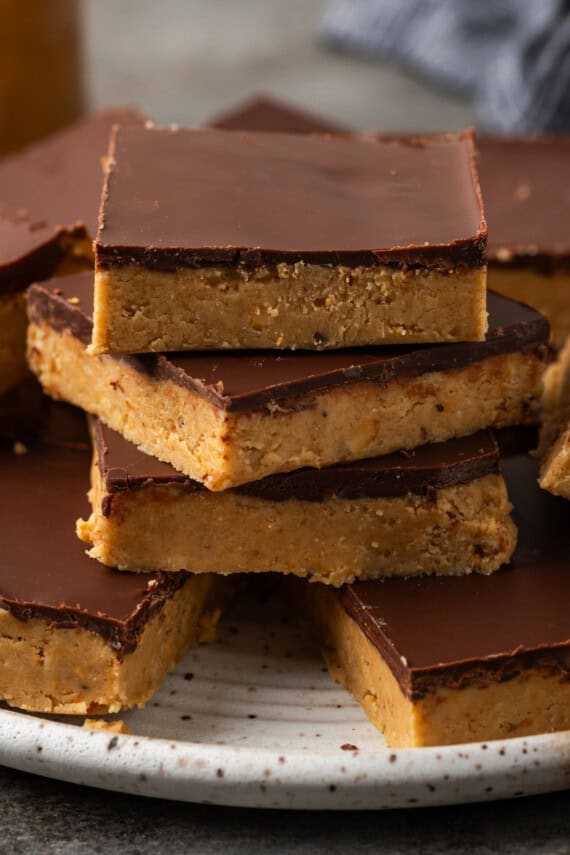
These no-bake chocolate peanut butter bars are fudgy, buttery, and easy to make with just 5 ingredients. These taste JUST like peanut butter cups, with a crunchy peanut butter filling smothered in a chocolatey top layer!
Craving more dessert bar recipes? Try my magic bars (you might also know them as 7-layer bars) and these chewy peanut butter passion bars.
Why You’ll Love These Chocolate Peanut Butter Bars
Is there anything better than chocolate and peanut butter? Not in my house there isn’t. I revisited these chocolate peanut butter bars as a last-minute dessert recently. Boy, did they disappear quickly! Here’s why you’ll want to make these bars ASAP:
- Buttery and chocolatey. In short, you take a thick layer of crunchy peanut butter goodness and slather it with chocolate. These chocolate peanut butter bars were inspired by Paula Deen’s recipe (love her!). Total bliss.
- Give your oven a rest. This is a no-bake dessert, so the oven can sit this one out. I love making these bars when I entertain, or during the holidays, when my oven is otherwise occupied with baked ham or a casserole.
- 5 ingredients. Dessert doesn’t get much simpler, or better. There’s a good chance that the ingredients for these chocolate peanut butter bars are already waiting in your pantry.
Ingredients You’ll Need
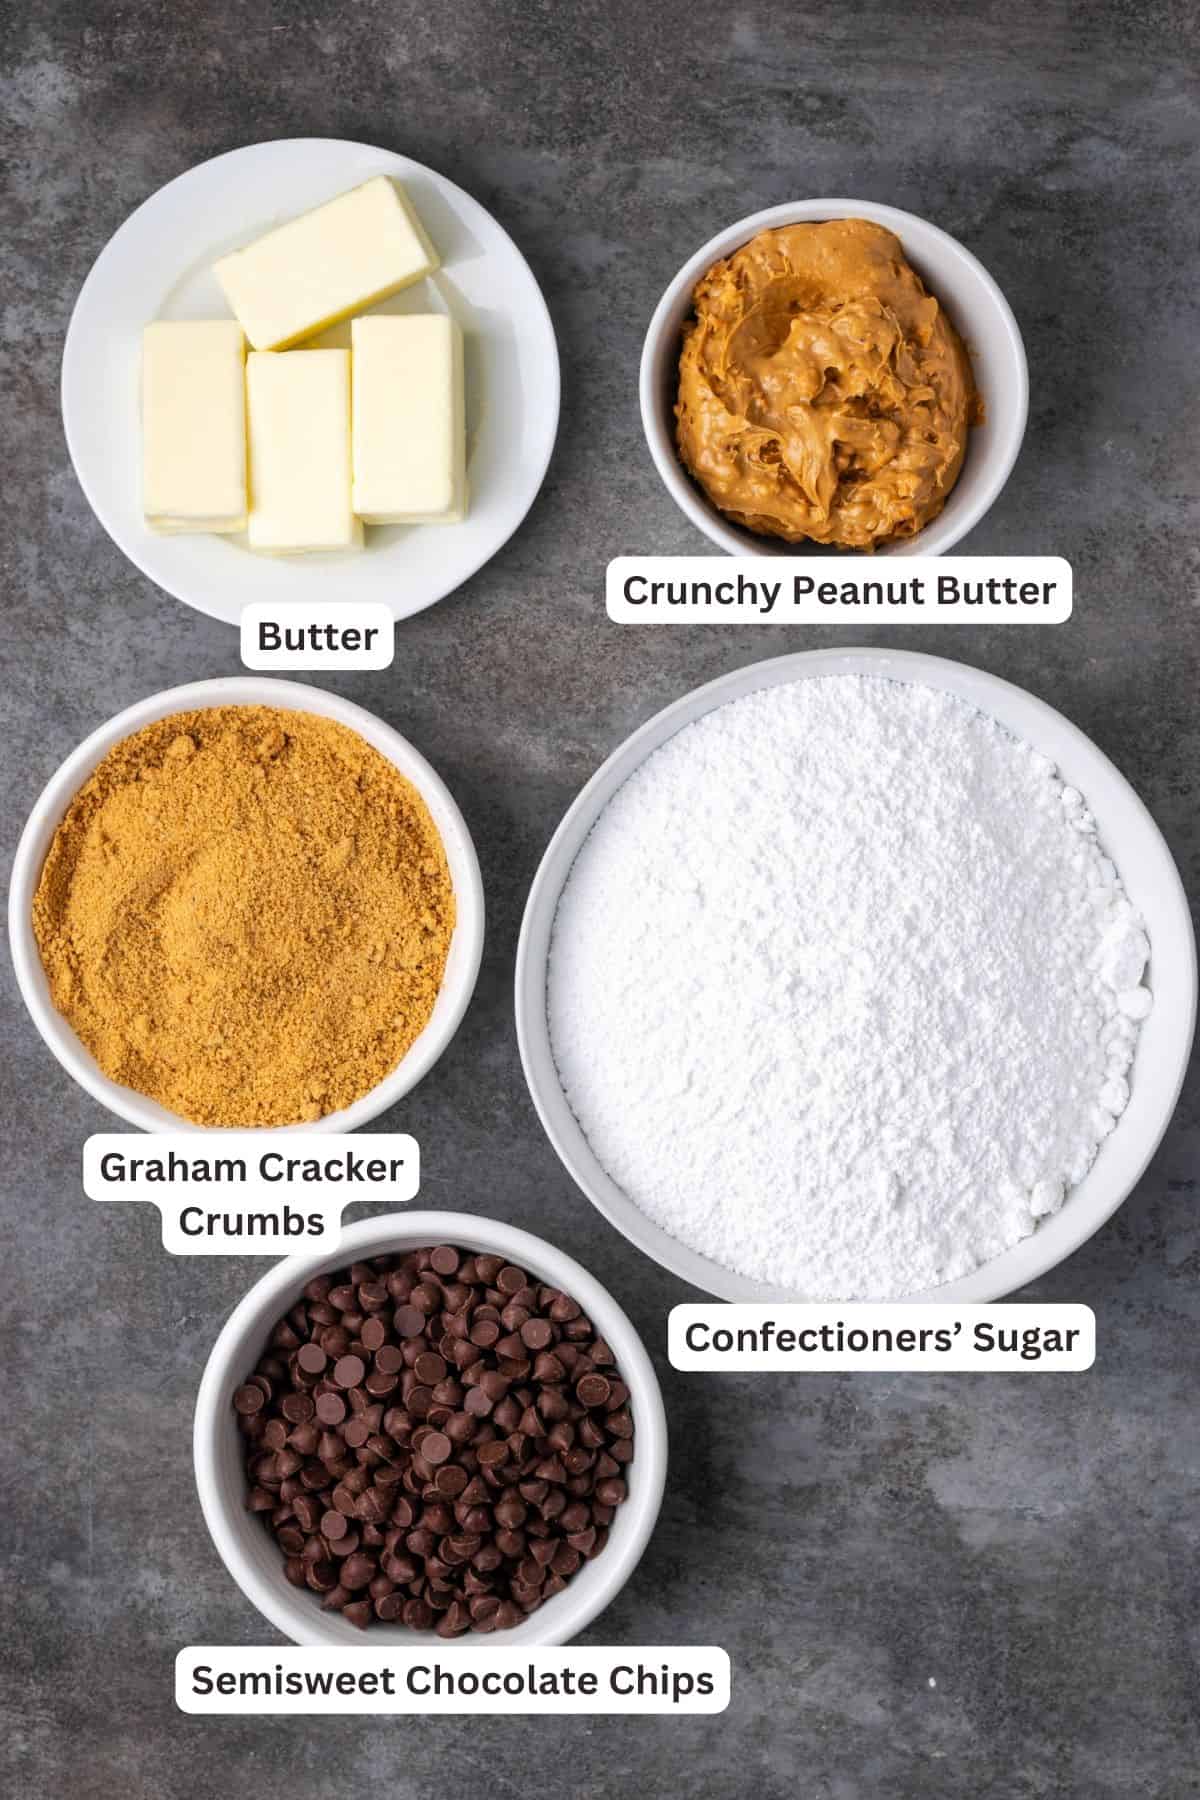
If you know Paula Deen, you know that these dessert bars are loaded with butter! I’ve learned to just embrace it. I’ve tweaked her original recipe for my own ease, though, and included some ingredient notes here. You’ll find a printable list in the recipe card below the post.
- Butter – Salted or unsalted will work here. Take your butter sticks out of the fridge to soften before you start. You can also use margarine.
- Peanut Butter – Use smooth or crunchy peanut butter (I love the extra texture that comes with crunchy). Whichever you choose, make sure it’s shelf-stable peanut butter and not the natural kind, which makes these bars oily.
- Powdered Sugar – Also called confectioner’s sugar. Sifting the sugar beforehand removes any lumps and keeps the peanut butter filling smooth.
- Graham Cracker Crumbs – Cookie crumbs help bind the filling ingredients so that the bars hold together. You can also use crushed Nilla wafers, or Ritz crackers for a sweet-salty combination.
- Chocolate Chips – You’ll melt semi-sweet or dark chocolate chips (or chopped chocolate) for the chocolate top layer.
How to Make Chocolate Peanut Butter Bars
I get so excited about these buttery bars loaded with chocolate that I sometimes forget they need time to set. Here’s a short step-by-step showing how to make the best chocolate and peanut butter bars. Scroll down to the recipe card for printable instructions.
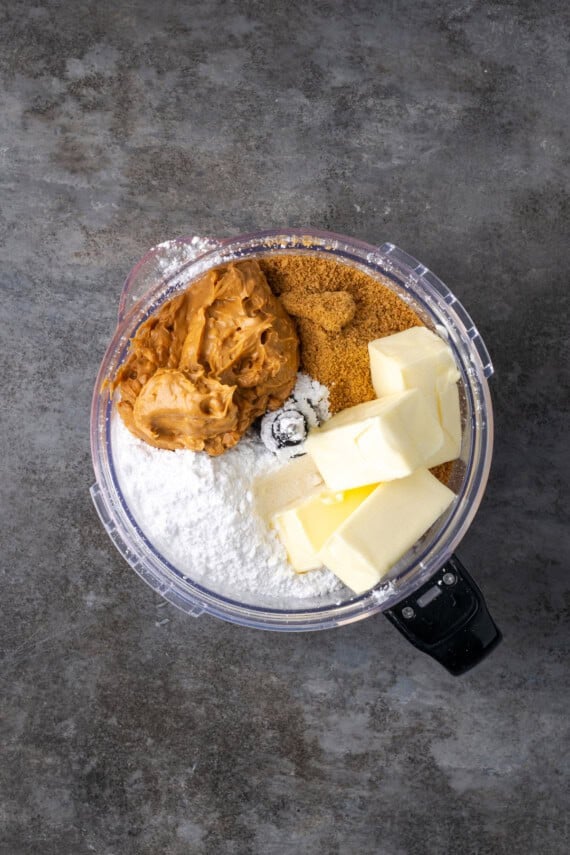
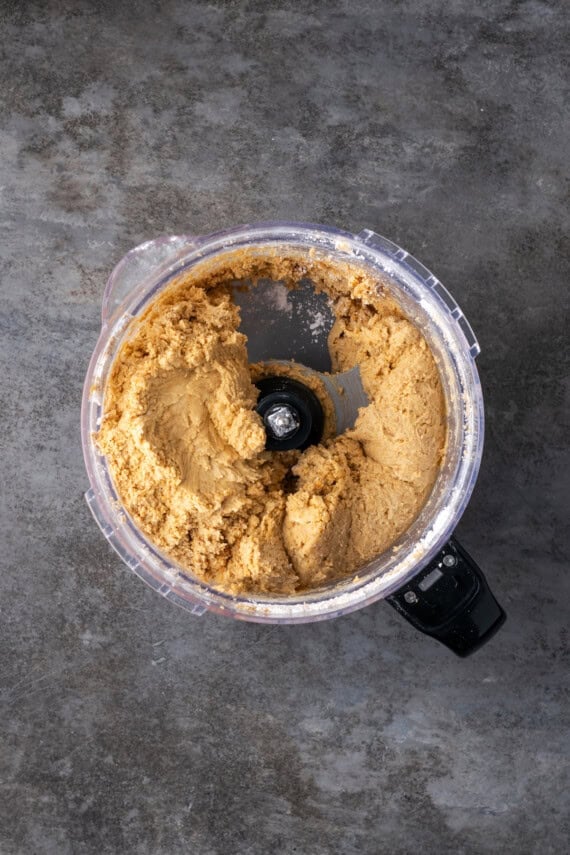
- Prepare the filling. Start by blending the peanut butter with butter, sugar, and graham crackers in a food processor.
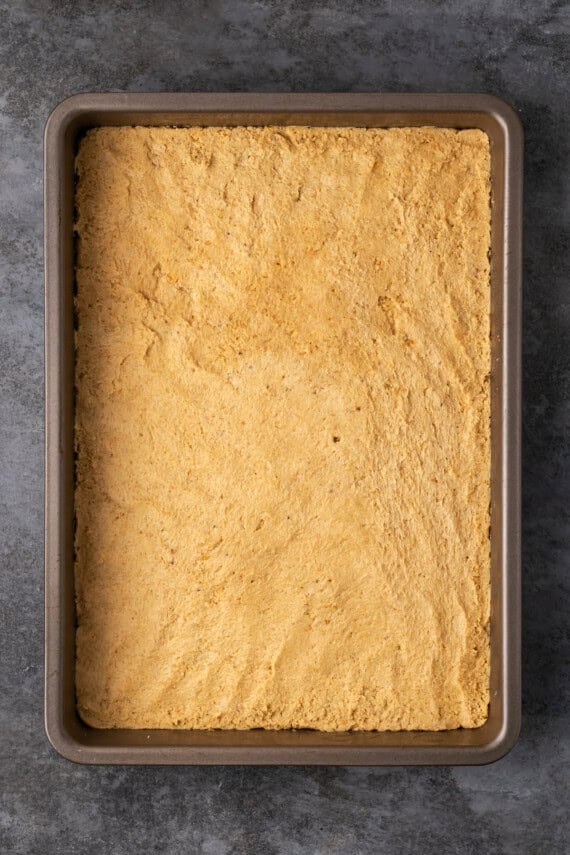
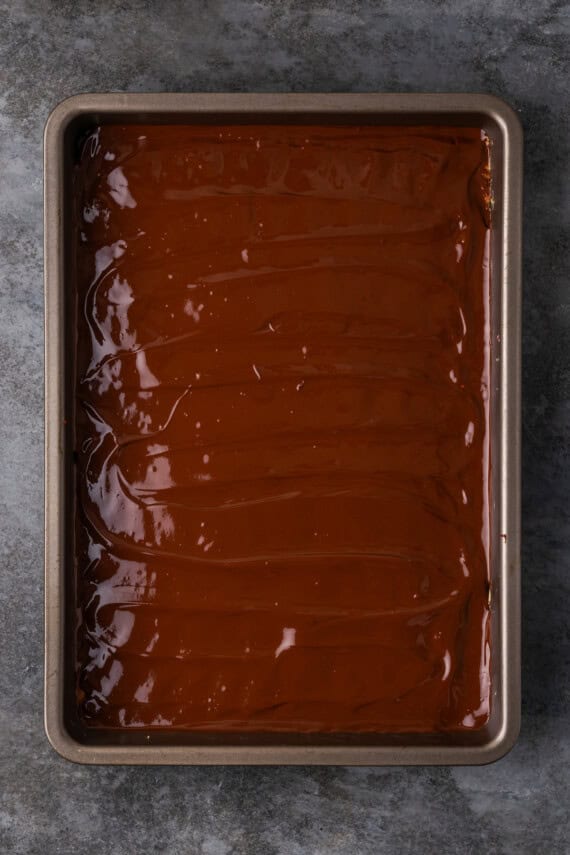
- Assemble the bars. Press the mixture into a lightly greased casserole dish. Next, melt the chocolate in the microwave. Spread this over the peanut butter layer.
- Chill. Let the bars rest while the chocolate cools completely, and then move them to the fridge.
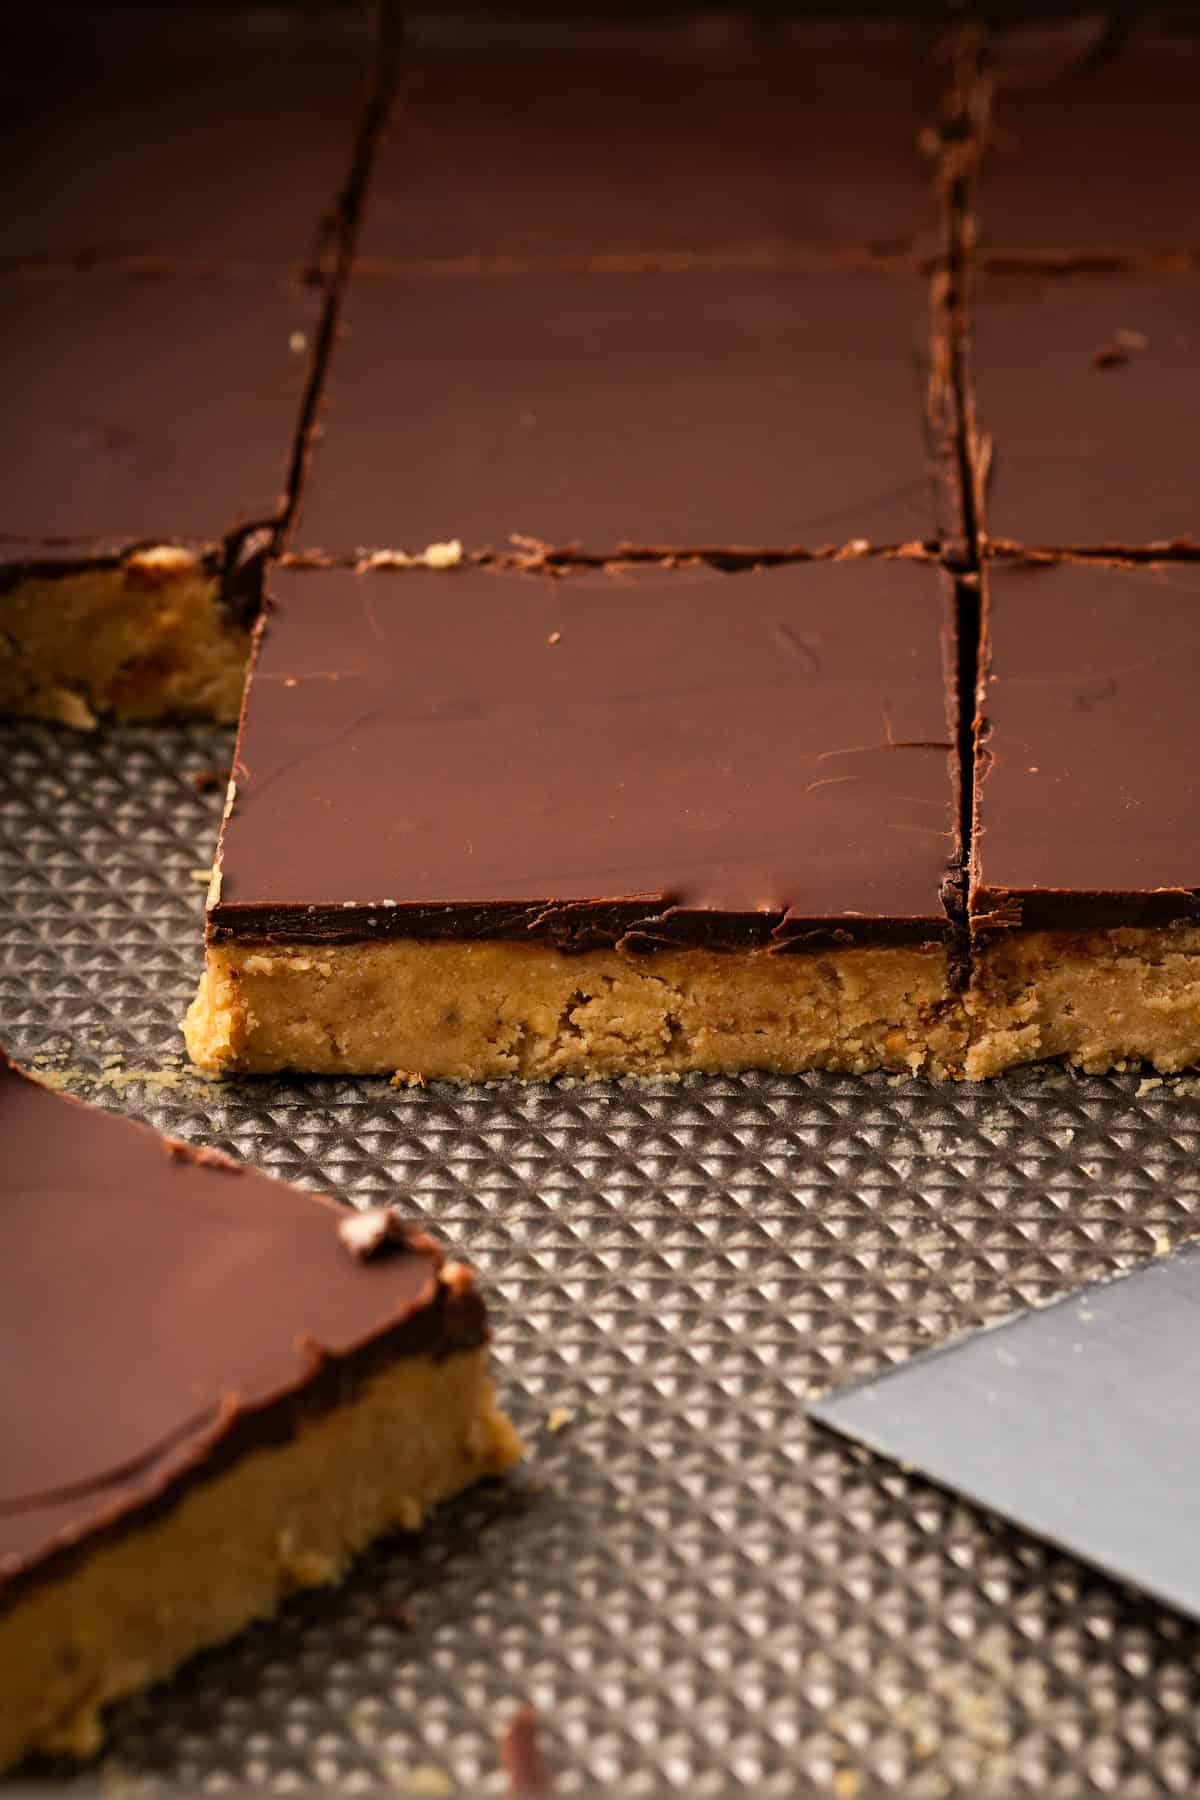
Add Toppings
I love changing up these chocolate peanut butter bars with different garnishes. The trick is to add any toppings while the melted chocolate is still wet. Sprinkle over chocolate chips, peanut butter chips, chopped nuts, crushed pretzels, or rainbow sprinkles.
After the chocolate has set, you can also drizzle the tops of your bars with icing, fudge sauce, or homemade caramel sauce.
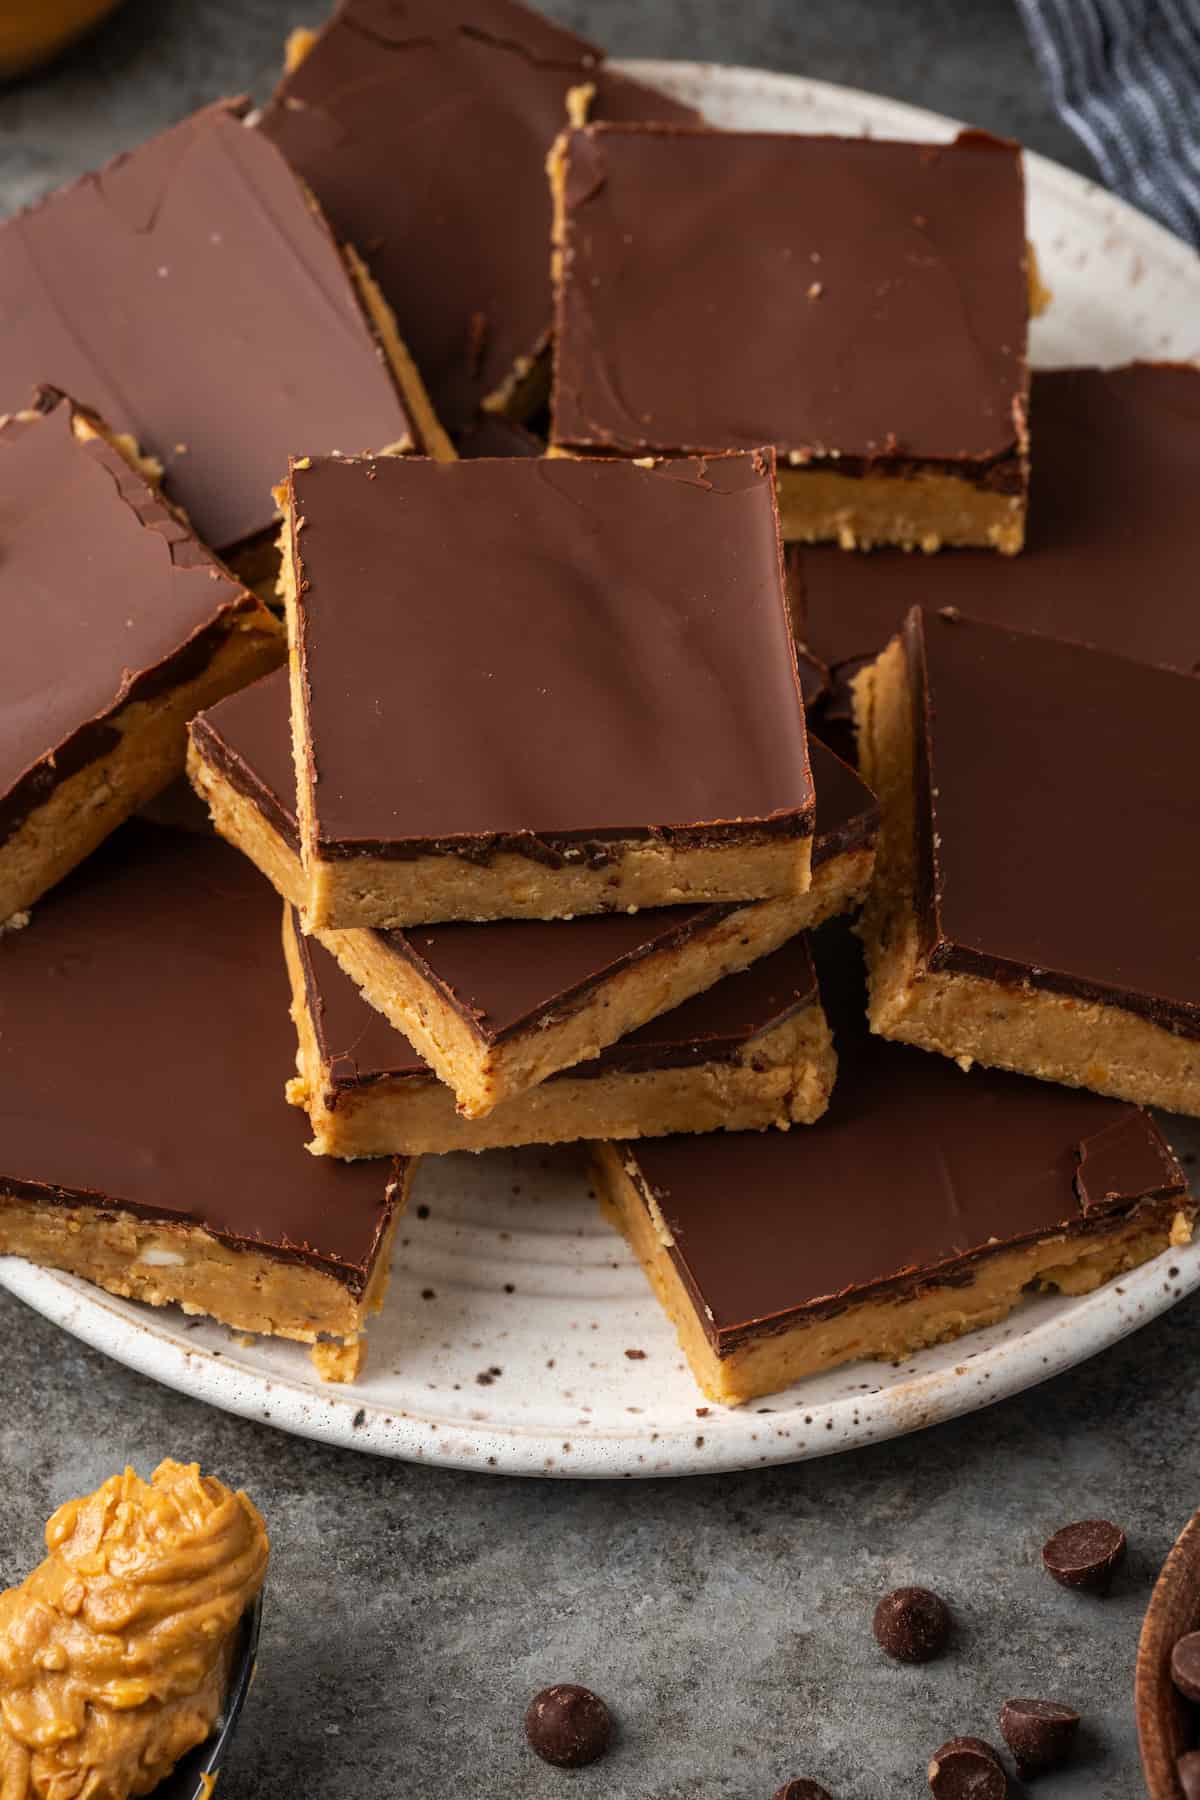
Tips and Variations
- Only lightly grease the pan. Coat the baking dish or pan you’re using with cooking spray and then wipe out the excess grease with a paper towel. This way the bottom of the bars won’t be too greasy.
- Chill the bars. A lot of chocolate peanut butter bar recipes recommend serving at room temperature. However, I’ve always found that these bars set up better when chilled. They’re less sticky and easier to handle. Feel free to serve these at whichever temperature works best for you.
- Add a touch of honey. Sweeten up these bars with honey, as I do in my chocolate and honey peanut butter bars (another easy no-bake recipe!).
- Give these bars a cookie crust. These chocolate peanut butter bars are a lot like my Girl Scout cookie-inspired Tagalong bars. In that recipe, I swap the graham crackers for a baked shortbread crust before adding a peanut butter filling and chocolate. You might also like these chocolate caramel shortbread bars.
How Long Do These Peanut Butter Bars Last?
- Refrigerate. Store your chocolate peanut butter bars in an airtight container in the fridge for up to 4-5 days.
- Freeze. These bars can be frozen for up to 2 months. Wrap them tightly in a double layer of plastic wrap or place them into a freezer bag. Defrost in the fridge before serving.
More Dessert Bar Recipes
Print
Chocolate Peanut Butter Bars
- Prep Time: 10 minutes
- Cook Time: 0 minutes
- Total Time: 2 hours
- Yield: 16
- Category: Dessert
- Method: No-Bake
- Cuisine: American
Description
These dreamy chocolate peanut butter bars are a delicious no-bake dessert idea! Made with just 5 ingredients, you’ll be whipping up these crunchy dessert bars for every occasion.
Ingredients
- 1 cup (2 sticks) butter or margarine, softened
- 1 cup crunchy peanut butter
- 3 cups confectioners’ sugar sifted
- 1 1/2 cups graham cracker crumbs
- 1 1/2 cups semisweet chocolate chips
Instructions
- Spray a 9×13-inch pan lightly with cooking spray and then wipe it with a paper towel, so you have a very light coating on the pan, but your bars won’t be greasy.
- Combine the butter, peanut butter, sugar, and graham cracker crumbs in a food processor. Process until the mixture forms a ball. Press into the pan using your hands or a spatula.
- Microwave the chocolate chips in a microwave-safe glass dish for 1 minute on high (100%). Stir. If the chocolate has not completely melted, microwave it for 10 seconds more, then stir. Spread evenly over the cookie layer with a spatula. Chill for several hours.
Notes
- Recipe adapted from Paula Deen.
- Don’t let the bars sit out too long at room temperature, otherwise they’ll be too soft to pick up.




I made these last week! And they were so yummy!!
Thanks for the recipe!
Those look perfectly decadent! I must have them!
I am so glad i found your blog. You are so talented. I'll have to spend some time looking at all the other great stuff you have here. These look awesome by the way!
These are wonderful… not a fan of peanut butter that much, but I am sure almond or coconut butter would be my next bets.
No judgment here….that sounds like heaven! 🙂
oh please don t tell me these are so easy to make. I love chocolate and peanut butter and I ll end up eating them all 🙂
These are pretty darn good. I've made them before but used almond butter! I do think they'd probably be even tastier with regular PB.
~ingrid
We are definitely on the same page. Anything chocolate and peanut butter is the best! Sometime in a pinch I will just eat a spoon full of peanut butter with some chocolate chips on it.
Mmm, those look great! I wonder if they would still be as tasty with a peanut butter substitute, since I'm allergic. I might have to try it and see! 🙂